
Most homeowners approach backyard design through a lens of static beauty, choosing shrubs or grasses that offer little beyond a visual baseline. However, the modern landscape architect views the site as a living laboratory for resource production where the intersection of utility and aesthetics occurs. Integrating a botanical dye garden into a residential master plan addresses the specific challenge of creating high-contrast texture while providing a functional harvest for textiles and art. From the deep rusts of Rubia tinctorum to the ethereal blues produced by Indigofera tinctoria, these plots require meticulous attention to microclimates, soil chemistry, and drainage. A well executed dye garden enhances curb appeal by introducing rare, pigment-rich foliage that standard nursery stock often lacks. It transforms a passive outdoor space into an active workshop, blending sustainable land use with high-level environmental design.
The success of a botanical dye plot depends heavily on regional climate considerations and the existing topography of the site. In arid environments, the architect must prioritize drought-tolerant species like Coreopsis tinctoria while utilizing sunken garden beds to capture limited moisture. Conversely, in humid coastal regions, the design must emphasize air circulation and raised cedar planters to prevent root rot. Functionality goals remain the priority; the garden must be accessible for frequent harvesting without compromising the structural integrity of the surrounding landscape. By treating the dye plot as a primary design feature rather than a hidden utility area, we create an outdoor environment that serves both the soul and the craftsman.
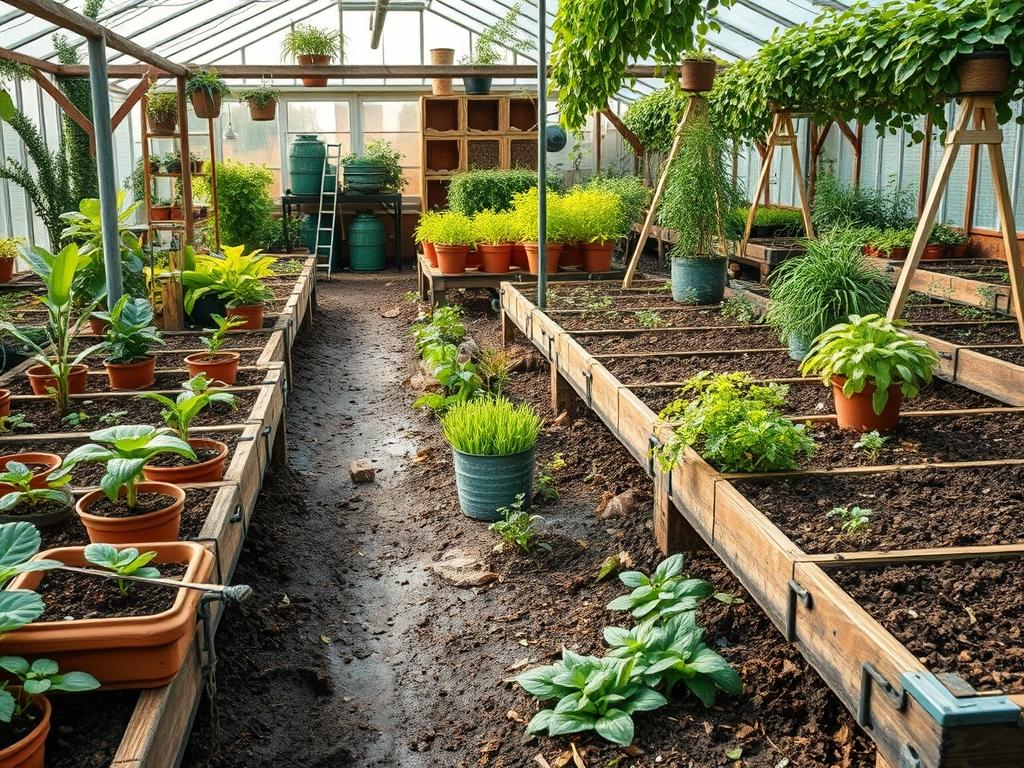
Landscape Design Principles
Symmetry and structure define the formal dye garden, preventing it from appearing as a chaotic wildflower patch. We utilize the principle of focal points to draw the eye toward the most vibrant pigment producers. Hopi Red Dye Amaranth serves as an excellent structural anchor due to its dramatic height and deep crimson plumes. Placing these larger specimens at the center or rear of a bed establishes a clear hierarchy of scale. We then layer the elevation, moving from tall biennials down to low-lying groundcovers like Galium odoratum. This tiered approach ensures that every plant receives adequate sunlight and that the overall arrangement looks intentional rather than accidental.
Irrigation planning is integrated into the initial design phase to ensure long term sustainability. We recommend a zoned drip irrigation system that can be adjusted based on the specific thirsty nature of indigo versus the drought hardiness of weld. Walkways are essential components of the layout; they serve as functional corridors for the architect to inspect growth and for the gardener to harvest blooms. We often specify crushed pea gravel or flagstone pavers for these paths. These materials provide a stable, pervious surface that prevents soil compaction. Visual balance is achieved by mirroring colors across the central axis of the garden, using the golden hues of Dyer’s Chamomile to complement the cooler greens of the surrounding foliage.
Plant and Material Selection
| Plant Type | Sun Exposure | Soil Needs | Water Demand | Growth Speed | Maintenance Level |
| :— | :— | :— | :— | :— | :— |
| Japanese Indigo | Full Sun | Rich, High Nitrogen | High | Fast | Moderate |
| Madder | Partial Shade | Loamy, Alkaline | Moderate | Slow | High |
| Woad | Full Sun | Well-Drained, Lean | Low | Rapid | Low |
| Sulphur Cosmos | Full Sun | Average, Sandy | Moderate | Moderate | Low |
| Weld | Full Sun | Calcareous, Dry | Low | Fast | Low |
| French Marigold | Full Sun | Loamy, Well-Drained | Moderate | Fast | Low |
Implementation Strategy
The construction of a botanical dye garden begins with professional grading. The land must be pitched at a 2 percent slope away from the home or any permanent hardscaping to ensure that subterranean water movement does not compromise the foundation. Once the grade is established, we implement steel edging to provide a permanent, clean line between the pigment beds and the primary turf. This prevents invasive grass species from encroaching on the delicate dye plants. For the internal bed structure, we recommend a 3-inch layer of organic cedar mulch; this suppresses weeds and regulates soil temperature, which is critical for the slow-developing roots of the Madder plant.
Drainage is further managed through the installation of French drains or catch basins if the site sits in a low-lying area. When the site requires additional elevation for visual interest or better soil control, we design retaining walls using natural fieldstone or cast concrete blocks. The hardscaping should reflect the architectural style of the residence, ensuring the garden feels like a continuation of the indoor living space. During the planting phase, we utilize hand trowels and transplanters to ensure root balls are placed at the correct depth, usually level with the surrounding soil to avoid “volcano” mulching patterns that can suffocate the stem.
Common Landscaping Failures
One of the most frequent mistakes in dye gardening is improper plant spacing, which leads to root overcrowding and diminished pigment yields. Species like Isatis tinctoria are incredibly vigorous and can quickly choke out neighboring perennials if not given at least 18 inches of clearance. Furthermore, soil compaction is a silent killer of high-yield gardens. When heavy machinery or frequent foot traffic compresses the soil, oxygen cannot reach the root zone, leading to stunted growth. Architects must ensure that the garden layout includes enough permanent walkways to keep humans off the growing medium entirely.
Irrigation inefficiencies also plague many novice installations. Overhead watering often causes fungal diseases on plants like Hollyhocks, which are prone to rust. A professional landscape should always prioritize sub-surface drip lines that deliver water directly to the base of the plant. Finally, neglecting soil chemistry is a critical error. Dye plants have specific pH requirements for optimal pigment production. For example, Madder requires an alkaline environment to produce deep reds. Failing to test and amend the soil with dolomitic lime or agricultural sulfur before planting can result in a beautiful garden that technically fails at its primary purpose of providing high-quality color.
Seasonal Maintenance
Spring is the season of preparation and regeneration. The consultant should oversee the application of slow-release organic fertilizer and the testing of irrigation timers. This is the time to prune back any woody perennials and clear out the debris from the previous year. As the weather warms, the focus shifts to monitoring for pests and ensuring that new seedlings have adequate moisture. Summer is the peak of the artisanal harvest. Frequent deadheading of Marigolds and Cosmos will encourage continuous blooming, increasing the total pigment yield. This is also the time to monitor for heat stress, potentially increasing the frequency of the drip irrigation cycles during heatwaves.
Autumn transitions the garden into its secondary harvest phase, where the focus shifts from flowers to roots and seeds. Madder roots are typically harvested after three years of growth, and this digging process requires careful management to avoid disturbing adjacent plants. Once the harvest is complete, the architect should recommend a cover crop or a thick layer of winter mulch to protect the soil from erosion. Winter maintenance is largely structural; it is the time to inspect retaining walls, clean gardening tools, and plan the crop rotation for the following spring. Protecting bark from frost crack using tree wrap on any woody dye shrubs is a final, necessary precaution.
Professional Landscaping FAQ
How do I choose the best location for a dye plot?
Select a site with at least six hours of direct sunlight and proximity to a water source. Ensure the area has excellent drainage to prevent root rot. Proper site analysis will identify microclimates that favor specific pigment species.
Can I integrate dye plants into my existing flower beds?
Yes. Use Sulphur Cosmos and Marigolds as colorful border plants. They provide high curb appeal while functioning as a harvestable resource. Ensure their water needs align with your current ornamental shrubs and perennials.
What is the best mulch for a functional dye garden?
We recommend nuggetized cedar mulch or pine bark. Avoid dyed or treated mulches, as the chemicals can alter the soil pH and contaminate the botanical pigments. Maintain a consistent 3-inch depth for moisture retention.
How do I prevent invasive dye species from spreading?
Use deep metal edging or raised planters to contain aggressive root systems. For prolific self-seeders like Woad, harvest the flower heads before they transition to seed. This maintains the design’s integrity and prevents unwanted colonization.
Do I need a special irrigation system for these plants?
A low-pressure drip system is ideal. It delivers water to the soil without wetting the foliage, which reduces the risk of mildew. Group plants into hydrozones based on their specific water requirements for maximum efficiency.