
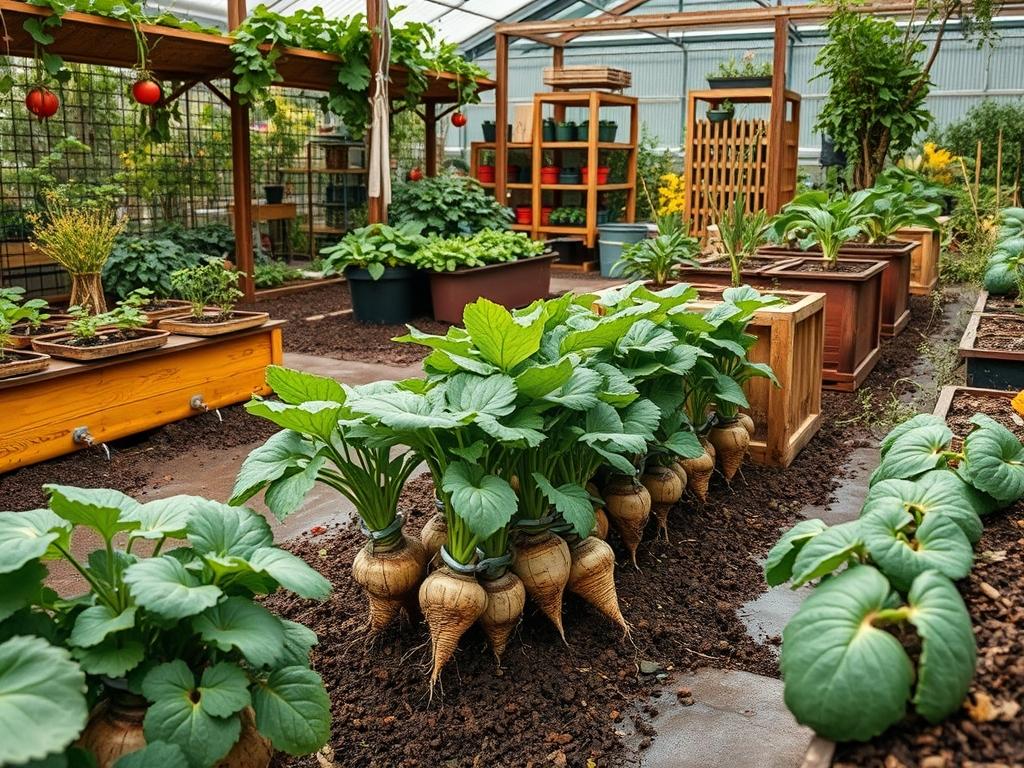
Successful landscape architecture often requires a delicate balance between visual elegance and pragmatic utility. When designing high performance outdoor environments, one of the most significant challenges involves integrating food security and long term resource management into the residential or commercial master plan. This is particularly true in temperate climates where the seasonal transition into winter necessitates a strategy for preserving harvests without relying solely on mechanical refrigeration. Implementing a system for clamping root vegetables offers a sophisticated solution that utilizes the natural thermal mass of the earth. When properly executed, these storage structures do not detract from the curb appeal of a property; instead, they become an integrated part of the garden’s topography. Achieving this requires a keen understanding of soil mechanics, site grading, and the aesthetic orchestration of natural materials to ensure the landscape remains functional and attractive throughout the dormant months.
Integrating functional storage elements into a modern landscape demands adherence to core design principles that prioritize both form and function. Symmetry plays a vital role in this process, especially when locating storage zones near high visibility areas. If the clamping root vegetables site is placed within a kitchen garden, it should be framed by permanent structures such as Low Stone Walls or Boxwood Hedges to maintain a sense of order. Focal points can be established by using the storage mounds as subtle elevation changes, perhaps capped with decorative Cedar Lathen or masked by a thoughtfully placed Trellis.
Elevation and drainage are the most critical technical considerations. A storage clamp must never be situated in a low point where water might collect, as excessive moisture leads to anaerobic conditions and crop failure. A landscape architect will typically select a north facing slope to maintain consistent, cool temperatures, or create a raised berm using Structural Fill to ensure the site sits at least 6 inches above the surrounding grade. Irrigation planning must also be adjusted; any existing Subsurface Drip Lines must be diverted away from the storage zone to prevent accidental hydration of the crop during the curing process. Walkways should be designed with all weather materials, such as Crushed Granite or Permeable Pavers Pavers, to allow easy access when the ground is frozen or muddy.
Selecting the right plant material and construction components is essential for a successful storage installation. The following table outlines the primary crops suitable for this method and the environmental variables required for their long term health within a landscaped environment.
Plant and Material Specifications for Winter Clamping
| Plant Type | Sun Exposure | Soil Needs | Water Demand | Growth Speed | Maintenance Level |
| :— | :— | :— | :— | :— | :— |
| Carrots | Full Sun | Loose Sandy Loam | Moderate | Medium | Low |
| Beets | Full Sun | Well Drained | Moderate | Medium | Low |
| Potatoes | Full Sun | Acidic, Rich | Low to Moderate | Fast | Medium |
| Parsnips | Full Sun | Deep, Stone Free | Moderate | Slow | Low |
| Turnips | Partial Shade | Loamy, Moist | Moderate | Fast | Low |
| Rutabagas | Full Sun | High Organic Matter | Moderate | Medium | Low |
Implementation begins with a comprehensive site assessment and a clear layout plan. Once the location is identified, the area should be cleared of all existing turf and organic debris. Excavate a shallow pit, approximately 4 inches deep, and line it with a barrier of 1/4 inch Hardware Cloth to discourage subterranean rodents. The base of the clamp should be layered with 3 inches of clean, dry Wheat Straw or Silica Sand. This layer acts as a moisture wick, pulling condensation away from the produce.
Each layer of vegetables should be separated by additional Straw or Peat Moss to prevent localized rot from spreading. As the mound takes shape, it should be built into a conical or ridged form to naturally shed water. The primary insulation layer consists of 6 inches of Packed Soil, which is often sourced from local Topsoil Stockpiles or recycled from other grading projects on the property. To finish the exterior, apply a final layer of Wood Mulch or Pine Bark Nuggets. This provides a professional finish that blends with the rest of the landscape’s ornamental beds. A Perforated PVC Pipe or a bundle of straw should be inserted through the top of the mound to act as a ventilation chimney, allowing heat generated by respiration to escape.
Professional landscaping failures often stem from a lack of attention to site physics. Drainage mistakes are the most common issue; failing to account for the “bathtub effect” in heavy clay soils can cause the entire storage site to flood from below. If the surrounding soil is not properly graded to carry water away, the clamp becomes a localized sump. Root overcrowding within the clamp is another frequent error. If Potatoes and Apples are stored in the same structure, for instance, the ethylene gas produced by the fruit will cause the tubers to sprout prematurely.
Compaction is a significant risk in high traffic areas. If the storage mound is placed near a path or heavy maintenance route, the weight of equipment can collapse the air pockets within the soil and straw layers. This destroys the insulative value and can crush the vegetables. Furthermore, irrigation inefficiencies often result from leaving automated systems active near the clamp. Even a small leak in a Polyethylene Lateral Line can introduce enough moisture to ruin the entire seasonal stock within weeks. Proper spacing between the clamp and surrounding Canopy Trees is also necessary to prevent aggressive root systems from penetrating the storage mound in search of moisture.
Seasonal maintenance ensures the longevity of both the landscape aesthetics and the stored crops. In the Spring, once the harvest is depleted, the mound should be leveled and the site remediated. This is the ideal time to incorporate the spent Straw and Leaf Mold back into the garden soil as an amendment. Check for any signs of pest activity and reset the hardware cloth barriers if necessary.
During the Summer, the site can be utilized for annual flower displays or shallow rooted groundcovers like Creeping Thyme. This keeps the soil active and prevents erosion while the clamp is not in use. In Autumn, the focus shifts back to preparation. As temperatures drop, clear any summer growth and ensure the drainage swales around the site are free of debris. This is the time to gather 3/4 inch Clean Stone for replenishing the drainage base.
Winter management is largely passive but requires occasional inspection. After a heavy snow event, ensure the Ventilation Pipe remains clear of obstructions. Monitor the exterior for any signs of burrowing by local wildlife. If temperatures are predicted to drop significantly below zero for extended periods, an additional layer of Burlap Sacks or Pine Boughs can be added to the exterior of the mound to provide extra thermal protection without compromising the visual integrity of the garden.
Professional Landscaping FAQ
How do I prevent the storage mound from looking like a pile of dirt?
Integrate the clamp into the existing topography by using Natural Stone Edging or Timber Retaining Walls. Mask the structure with Evergreen Shrubs or ornamental grasses that provide winter interest while obscuring the utilitarian nature of the site.
What is the best way to handle excess moisture in the clamp?
Ensure the base is constructed with Coarse Sand or Pea Gravel over a perforated drainage pipe. Always grade the surrounding soil to a 2 percent slope away from the mound to prevent surface water infiltration.
Can I use treated lumber for the structure?
Avoid using pressure treated lumber in direct contact with the vegetables. Instead, use naturally rot resistant woods like Cedar or Redwood for any structural frames or vents, which ensures a safe environment for food storage.
How deep should the insulation layer be for extreme climates?
In regions with deep frost lines, the soil cover should be at least 12 inches thick. Supplement this with 8 inches of tightly packed Barley Straw to maintain a consistent internal temperature between 32 and 40 degrees Fahrenheit.
Is ventilation truly necessary for root storage?
Yes, living roots continue to respire and produce heat and moisture. Without a Ventilation Chimney, heat will build up, leading to condensation and rapid fungal growth, which can destroy the entire harvest in a matter of days.