
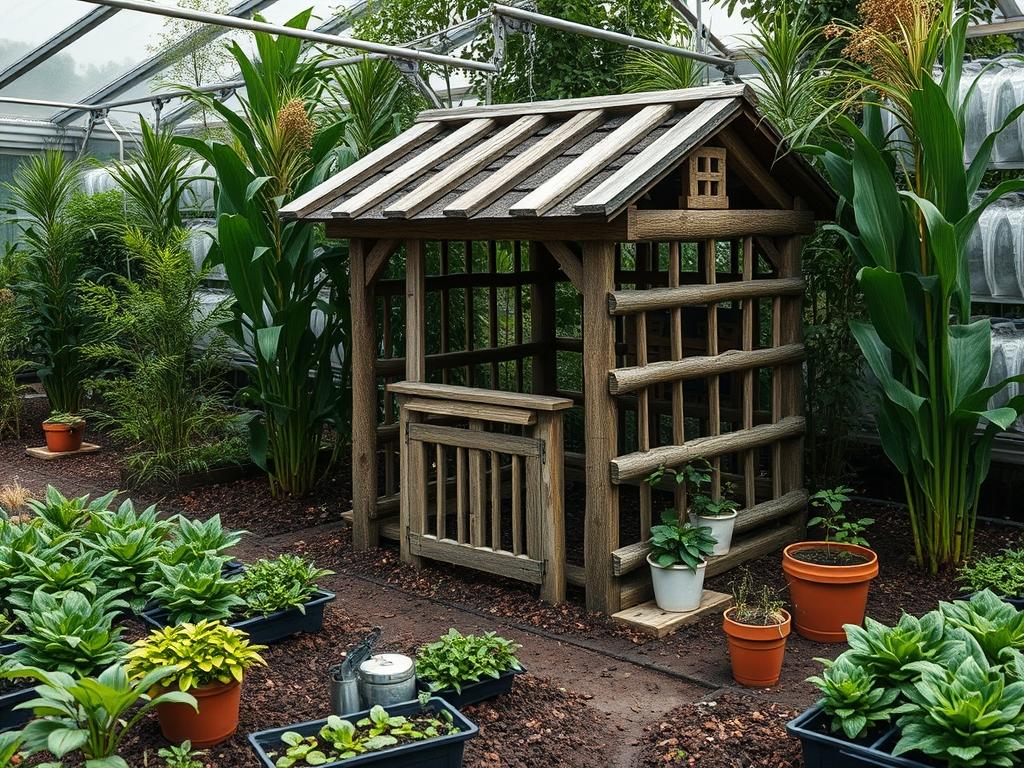
Integrating a functional agricultural structure into a modern landscape requires a delicate balance of utility and aesthetic harmony. The traditional corn crib, once a staple of the American farmstead, offers a unique opportunity for landscape architects to create a focal point that serves both as a historical nod and a practical drying system. Achieving success in this endeavor begins with understanding the specific environmental needs of a drying structure. Unlike a standard shed or barn, a corn crib depends entirely on the movement of air through its walls. If the surrounding landscape is poorly planned, it can inadvertently choke the airflow, leading to moisture retention and structural decay. Therefore, the architectural placement must account for local wind patterns, solar orientation, and the topography of the property to ensure that the structure remains dry and prominent within the overall garden scheme.
When we consider the curb appeal of a corn crib, we are looking at a vertical element that possesses significant texture. Its slatted walls and narrow silhouette create a rhythmic visual pattern that can be used to anchor a larger outdoor environment. In a residential or estate context, this building should not be tucked away in a dark corner. It demands a position of prominence, perhaps at the terminus of a vista or as a backdrop for a rustic kitchen garden. By treating the corn crib as a piece of functional sculpture, we enhance the outdoor functionality of the site. The landscape architect must manage the Transition from the manicured areas of the lawn to the rugged, utilitarian zone of the crib, ensuring that the ground remains stable and the drainage flows away from the sensitive wooden footings.
Landscape Design Principles
Successful integration of a Traditional Corn Crib Design relies on the principle of symmetry and the intelligent use of focal points. Because the structure is often long and narrow, placing it in a symmetrical frame can elevate its appearance from a simple utility shed to an intentional architectural feature. This can be achieved through the use of parterre gardening or flanking the entrance with structured shrubs. The goal is to draw the eye toward the crib while providing enough negative space around it to facilitate the necessary ventilation. Elevation layers play a critical role here; placing the crib on a slightly elevated pad of Crushed Limestone or Pea Gravel not only prevents water pooling but also gives the structure a literal and metaphorical pedestal within the garden.
Walkway design is another vital component. A path leading to the corn crib should feel established, using materials like Flagstone or Reclaimed Brick laid in a running bond pattern. This creates a clear sense of purpose for the structure. Irrigation planning must be handled with extreme caution near the crib. Over-spraying from automated systems can lead to premature Rot in the wood slats or the 2×4 Studs used in the framing. Drip irrigation for nearby ornamental plants is preferred, as it delivers moisture directly to the roots without increasing the ambient humidity levels around the drying corn. Visual balance is maintained by repeating the vertical lines of the crib in the surrounding plantings, such as using tall grasses or columnar trees that echo the slats without blocking the prevailing summer breezes.
Plant and Material Selection
The following table provides a selection of plants and materials that complement the environment of a traditional corn crib, ensuring durability and aesthetic cohesion.
| Plant or Material Type | Sun Exposure | Soil Needs | Water Demand | Growth Speed | Maintenance |
| :— | :— | :— | :— | :— | :— |
| Little Bluestem | Full Sun | Well-drained / Lean | Low | Moderate | Low |
| Common Lilac | Full Sun | Neutral / Rich | Moderate | Moderate | Medium |
| Creeping Phlox | Full / Part Sun | Loamy / Gritty | Moderate | Fast | Low |
| Switchgrass | Full / Part Sun | Variable | Low to Medium | Fast | Low |
| Crushed Granite | N/A | Compacted Subgrade | N/A | N/A | Low |
| River Rock | N/A | High Permeability | N/A | N/A | Very Low |
Implementation Strategy
The first step in a backyard layout for a corn crib is a thorough site analysis. Use a Transit Level to determine the high and low points of the intended build site. Grading is the most critical technical phase; the land must slope away from the structure at a rate of at least 2 Inches of drop for every 10 Feet of horizontal distance. This ensures that heavy rains do not saturate the earth beneath the crib. Once the grade is established, clear the area of all organic matter and install a layer of Geotextile Fabric. This prevents weeds from growing up through the base while allowing water to pass into the subsoil.
For the base, a depth of 4 Inches of 3/4-Inch Clean Stone is recommended. This provides a stable, inorganic platform that does not retain moisture. When laying out the garden beds around the crib, create a distinct edging using Steel Edging or Pressure Treated Timbers to keep the mulch from migrating into the gravel base. Mulch depth should be kept to a maximum of 3 Inches to prevent it from becoming a sponge for moisture. If the site has heavy clay soil, the installation of a French Drain around the perimeter of the gravel pad is a wise investment. This system should consist of a perforated pipe buried in a trench of River Rock, leading water safely to a lower point on the property or a designated dry well.
During the hardscaping phase, consider the structural footings of the crib. Traditionally, these were set on Large Flat Stones or Concrete Piers. By elevating the floor of the corn crib at least 12 Inches above the ground, you allow for secondary airflow beneath the structure, which is vital for preventing floor rot. The use of Galvanized Hardware Cloth or Wire Mesh along the bottom of the structure will keep rodents from nesting in the harvest while still allowing air to move freely through the floorboards.
Common Landscaping Failures
The most frequent mistake in corn crib placement is failing to account for the “shadow” of the wind. If you plant a dense hedge of Evergreens or a row of Privet too close to the windward side of the crib, you create a pocket of stagnant air. In Traditional Corn Crib Design, the movement of air is the primary drying agent. Without it, the grain will mold and the timber frame will deteriorate. Maintain at least a 20-Foot clearance from tall, dense foliage to ensure the wind can reach the slats with sufficient velocity.
Another common failure is root overcrowding near the foundation piers. Planting large canopy trees like Oak or Maple within 15 Feet of the crib can lead to structural shifting as the roots grow and exert pressure on the footings. Additionally, the shade provided by these trees can prevent the wood of the crib from drying out after a rainstorm. Soil compaction is also an issue to monitor. Constant foot traffic or the use of heavy machinery near the crib during the landscaping phase can crush the pore space in the soil, leading to poor drainage and “ponding” around the building. Finally, many owners make the mistake of using organic mulches, like wood chips, directly against the wood siding. This creates a bridge for Termites and Carpenter Ants to access the structure. Always maintain a “dry zone” of gravel or stone at least 12 Inches wide between the building and any planted beds.
Seasonal Maintenance
Spring maintenance should focus on clearing the debris that accumulated during the winter. Check the French Drains and Gravel Pads for any clogs caused by fallen leaves or silt. Use a Leaf Blower to clear out the interior of the crib and inspect the Wire Mesh for any holes made by wintering pests. This is also the time to apply a fresh layer of Stone Dust if the gravel base has shifted or settled over the winter months.
Summer management involves monitoring the growth of nearby plants. Prune any stray branches of Common Lilac or other shrubs that might be reaching toward the crib walls. Air circulation is at its most critical during the humid summer months, so thinning out dense foliage in the surrounding garden can significantly improve the drying capabilities of the structure. Inspect the Wood Siding for signs of sun damage or peeling sealant, as the long days of UV exposure can be hard on the southern-facing side of the building.
In Autumn, the focus shifts to the harvest and the weight load on the structure. Ensure that the Floor Joists are clear of all summer debris before loading the corn. Clear away any fallen leaves from the perimeter of the building immediately, as wet leaves against wood are a primary cause of fungal growth. Finally, Winter maintenance is largely about snow management. When shoveling paths, do not pile snow against the sides of the crib. The melting snow will seep into the wood and create moisture pockets that are difficult to dry out in the cold air. Keep the area around the air intake at the bottom of the crib clear to allow for whatever minimal airflow is available during the dormant season.
Professional Landscaping FAQ
How far should the corn crib be from the main house?
Maintain a distance of at least 50 Feet from the primary residence. This ensures that the dust and noise associated with drying and handling corn do not interfere with indoor living, while also mitigating fire risks.
Can I use climbing vines on a traditional corn crib?
It is generally discouraged. Vines like English Ivy or Virginia Creeper hold moisture against the slats and block the airflow essential for Traditional Corn Crib Design. They can also damage the wood with their adhesive aerial roots.
What is the best ground cover for under a corn crib?
Crushed Limestone or Pea Gravel are the superior choices. Unlike grass, they do not require mowing or watering and they provide an inorganic barrier that deters pests and facilitates rapid drainage away from the wooden supports.
Do I need a retaining wall if my crib is on a slope?
If the slope exceeds a 10 Degree angle, a low Retaining Wall made of Stackable Stone may be necessary to create a level pad. This prevents soil erosion from undermining the footings during heavy rain events.
How often should I treat the wood of the crib?
Depending on the climate, apply a high-quality UV-rated sealant or Linseed Oil every 3 to 5 Years. This protects the wood from moisture without completely sealing the pores, allowing the timber to breathe as it dries.