
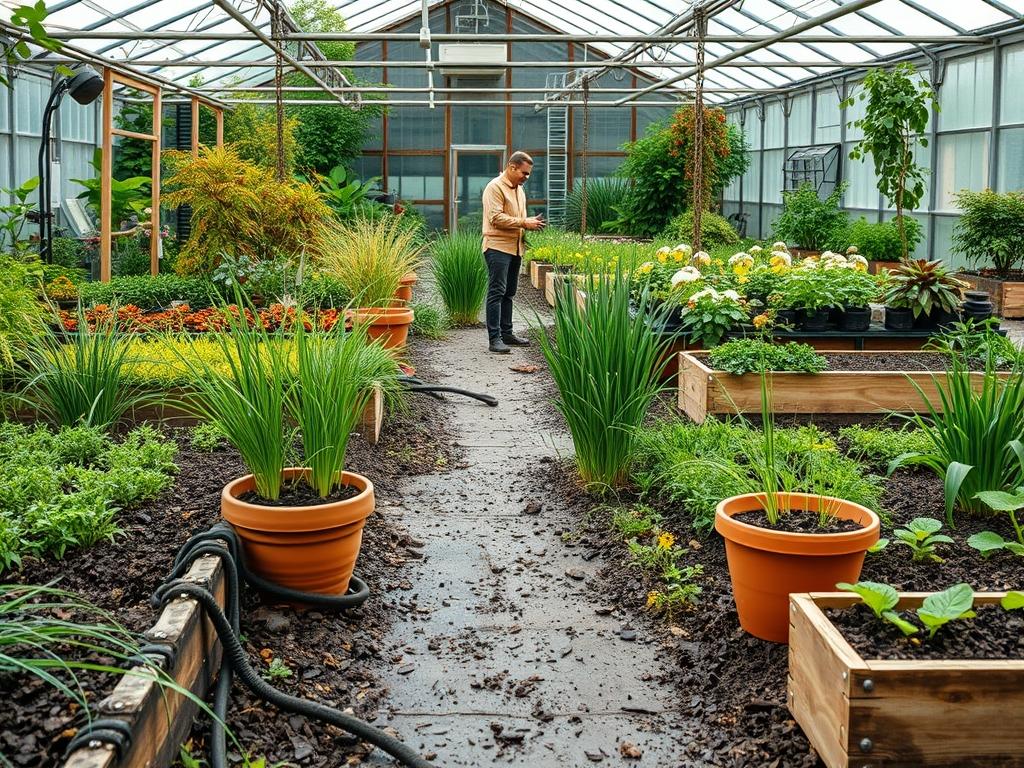
The transition from traditional turfgrass to sustainable, ecologically mindful landscapes represents a significant shift in modern residential architecture. For decades, the monoculture lawn was the primary standard for curb appeal, yet its high demand for potable water and chemical inputs has led many homeowners to seek more resilient solutions. Integrating native grass lawn alternatives requires a sophisticated understanding of regional microclimates, soil chemistry, and hydraulic patterns. A successful transition does not merely replace one plant with another; it reconfigures the entire outdoor environment to function as a self-sustaining ecosystem. By selecting species that evolved in specific local conditions, property owners can reduce maintenance overhead while enhancing the aesthetic value and structural integrity of their land. Professional landscape planning ensures these alternatives provide the same recreational functionality as traditional grass while supporting local pollinators and improving groundwater infiltration.
Landscape Design Principles
Effective landscape design using native alternatives hinges on the balance between wild ecology and structured human utility. Symmetry plays a vital role in keeping a non-traditional lawn looking intentional. By using hardscaping elements such as stone pavers or steel edging, you create “cues to care” that frame the more organic, textured appearance of native grasses. Focal points remain essential; a large specimen boulder or a structured retaining wall can anchor a flowing expanse of Blue Grama or Sedge, preventing the site from appearing neglected.
Elevation layers are another critical consideration. A flat yard often feels monotonous when stripped of uniform green turf. By introducing subtle grading and berms, you can create visual depth and manage surface runoff simultaneously. These elevation changes allow for the placement of different species based on their moisture requirements. For instance, more droughttolerant species occupy the higher, well-drained peaks of a berm, while moisture-loving varieties thrive in the lower swales.
Irrigation planning must also evolve. While native grasses require significantly less water once established, the initial two years demand a precise drip irrigation system or a low-flow rotary nozzle setup to ensure deep root penetration. Walkways should be integrated early in the design phase to define traffic patterns, protecting the crowns of the plants from excessive foot traffic. Using decomposed granite or river rock for these paths provides a permeable surface that complements the natural aesthetic while maintaining a clean, professional finish.
Plant and Material Selection
Selecting the right species involves analyzing the Hardiness Zone and the specific light conditions of the site. The following table highlights several high-performing native alternatives across various climates.
| Plant Type | Sun Exposure | Soil Needs | Water Demand | Growth Speed | Maintenance Level |
| :— | :— | :— | :— | :— | :— |
| Buffalo Grass | Full Sun | Clay/Loam | Very Low | Moderate | Low |
| Pennsylvania Sedge | Shade/Part Sun | Well-Drained | Moderate | Slow | Minimal |
| Blue Grama | Full Sun | Sandy/Rocky | Very Low | Moderate | Moderate |
| Frogfruit | Full Sun/Part Shade | Adaptable | Low | Fast | Low |
| Red Fescue | Shade/Part Sun | Acidic/Sandy | Moderate | Moderate | Low |
| Kurapia | Full Sun/Part Shade | Most Types | Low | Fast | Moderate |
Implementation Strategy
The process of installing a native grass alternative begins with thorough site preparation. You must first remove existing vegetation, which often involves a process called solarization or the application of a high-strength organic herbicide. Once the site is clear, you must address the grading. Use a landscape rake to ensure the ground slopes away from the home foundation at a minimum 2 percent grade to prevent ponding and potential basement dampness.
After grading, conduct a comprehensive soil test to determine the pH and nutrient levels. Most native grasses do not require heavy fertilization; in fact, excessive nitrogen can encourage weed growth and lead to weak, leggy stems. If the soil is heavily compacted, use a power aerator or a broadfork to improve oxygen exchange. When planting, whether using plugs, seed, or sod, ensure the spacing follows the specific growth habit of the species. For plugs, a standard 12 inch on-center spacing is common for rapid coverage.
Once the plants are in the ground, apply a 3 inch mulch depth of fine-shredded bark or pine straw around the base of the plants to retain moisture and suppress weed competition during the establishment phase. Install heavy-duty edging—either aluminum or composite—to create a permanent boundary between the planting beds and the walkways. This keeps the landscape looking crisp and prevents the “creeping” habit of certain native species from invading unintended areas.
Common Landscaping Failures
One of the most frequent mistakes in native landscaping is the failure to manage drainage correctly. Homeowners often assume that because native plants are “tough,” they can handle standing water. However, many prairie grasses are highly susceptible to root rot if the soil remains saturated for extended periods. Improper soil compaction during the construction phase often creates “bowls” where water collects, drowning the delicate root systems of young Buffalo Grass or Sedge.
Another common pitfall is improper spacing. In an attempt to achieve “instant” curb appeal, installers may place plugs too close together. This leads to root overcrowding and competition for limited soil nutrients, which eventually causes portions of the landscape to die back. Conversely, spacing plants too far apart leaves large gaps of bare soil, which are quickly colonized by invasive weeds, increasing the labor required for maintenance.
Irrigation inefficiencies also plague many projects. Even though these plants are droughttolerant, they are not droughttolerant during their first ninety days in the ground. Neglecting to provide consistent, deep watering during this window is the primary cause of plant mortality. Finally, many people treat native alternatives exactly like traditional turf, mowing them too short or applying high-nitrogen fertilizers. This disrupts the natural growth cycle and can kill species that thrive on low-nutrient inputs.
Seasonal Maintenance
Managing a native grass landscape requires a calendar-based approach that differs significantly from traditional lawn care. In the Spring, focus on “cleaning the crown.” Use a string trimmer or hand shears to remove the previous year’s dead foliage before new growth emerges. This allows sunlight to reach the base of the plant and stimulates the growth of fresh, green blades. This is also the time to check the irrigation heads for blockages and ensure the timer is set for the increasing temperatures.
During the Summer, the primary task is weed management. Even with mulch, some weeds will inevitably appear. Hand-pulling is the most effective method, as it prevents chemical drift from harming the native species. If the weather is exceptionally dry, a deep, infrequent watering once every two weeks will keep the plants from entering a premature dormancy. Avoid mowing during the heat of the day to prevent stressing the plants.
In the Autumn, allow the grasses to go to seed. Many native species, such as Little Bluestem or Blue Grama, produce beautiful seed heads that provide visual interest and food for local birds. This is also the ideal time to add a fresh layer of bark mulch to protect the root zones from the upcoming winter freeze. If you are planning to expand the landscape, autumn is the best season for late-season seeding, as the cold winter temperatures help break the dormancy of many native seeds.
Throughout the Winter, maintenance is minimal. The primary goal is to protect the structural elements of the landscape. Avoid using heavy de-icing salts near your native beds, as the salt runoff can significantly alter the soil chemistry and kill the plants. If you experience heavy snowfall, be careful not to pile snow onto the plant beds, as the weight can compress the soil and the salt from cleared driveways can leach into the root systems.
Professional Landscaping FAQ
How long does it take for native grass alternatives to fill in completely?
Depending on the species and planting method, most native alternatives take two growing seasons to achieve full coverage. Plugs typically establish faster than seeds, while sod provides immediate results but requires higher initial water and labor costs.
Can native grass alternatives handle high foot traffic from pets and children?
Some species, like Buffalo Grass or Kurapia, are highly resilient and can withstand moderate activity. However, sedges and ornamental bunchgrasses are better suited for low-traffic areas or as visual borders alongside flagstone walkways and permanent paths.
Do I still need a lawnmower for a native grass lawn?
In most cases, you only need to mow once or twice per year. A string trimmer or a mower set to the highest deck height is used in early spring to remove old growth and encourage a fresh aesthetic.
Will switching to native grasses reduce my water bill significantly?
Yes. Once established, native grass alternatives can reduce outdoor water consumption by fifty to seventy percent. These plants are biologically adapted to local rainfall patterns, allowing them to thrive with minimal supplemental irrigation during standard weather cycles.
Are native lawn alternatives more expensive to install than traditional sod?
The initial cost for plugs or specialized seed may be higher than standard turfgrass. However, the long-term savings on water, fertilizer, and professional mowing services generally result in a lower total cost of ownership within three years.