
The fragmentation of local ecosystems poses a significant challenge for modern landscape architecture; however, the strategic development of native pollinator corridors offers a robust solution for even the most restricted urban plots. In small-scale design, every square foot must perform double duty by balancing aesthetic appeal with ecological productivity. A well-executed corridor functions as a biological bridge, connecting isolated green pockets to allow insects and birds to move safely through a developed environment. For the homeowner, this approach translates into a high-performance garden that requires fewer chemical inputs and provides a dynamic, ever-changing visual landscape throughout the year. Success hinges on a clear understanding of site-specific microclimates, drainage patterns, and the lifecycle requirements of local fauna. By prioritizing native species that have evolved alongside local pollinators, designers can create resilient outdoor spaces that defy their small footprints and contribute to regional biodiversity.
Landscape Design Principles
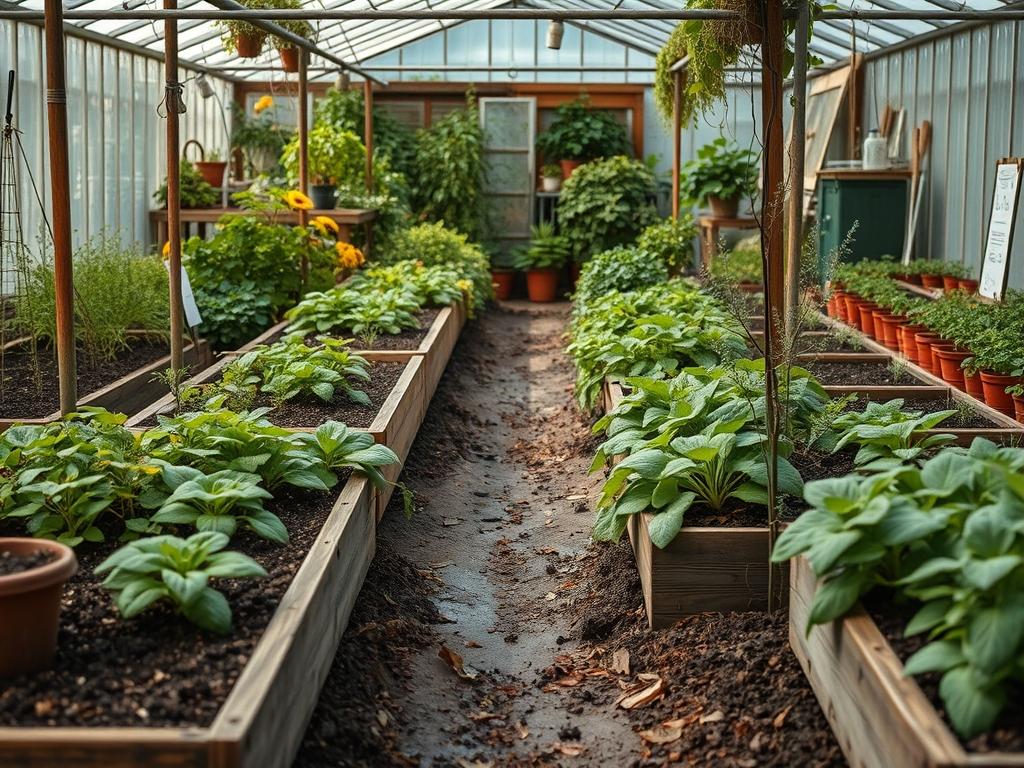
Effective small-space design relies on the mastery of scale and the deliberate use of elevation layers. In a native pollinator corridor, this means moving beyond the horizontal plane to incorporate verticality. Designers should utilize trellises, retaining walls, and tiered planters to maximize the available surface area for foraging. Symmetry often plays a role in formalizing what might otherwise appear as a wild or untidy space. By framing a diverse selection of native plants within a structured layout, such as a symmetrical arrangement of boxwood alternatives or a central stone focal point, the garden maintains a sense of intentionality and curb appeal. Visual balance is achieved by anchoring the space with high-visibility features while allowing the softer, pollinator-friendly textures to fill the mid-ground.
Elevation is another critical factor in site planning. Creating varying heights through the use of raised beds or small berms allows for improved drainage and provides different thermal zones for insects. Focal points, like a sculptural birdbath or a reclaimed wood arbor, serve as visual anchors that draw the eye through the space, making a small yard feel more expansive. Irrigation planning must be integrated early into the design process to ensure that water is delivered efficiently to the root zones without encouraging fungal growth on foliage. Hydrozoning, the practice of grouping plants with similar water requirements, is essential for maintaining a sustainable corridor. Walkways should be constructed from permeable materials like decomposed granite or flagstone with wide joints to allow for natural groundwater recharge, further supporting the local ecosystem.
Plant and Material Selection
Selecting the right biological palette requires a balance between environmental suitability and growth habits. The following table outlines high-performance native options for small-space corridors.
| Plant Type | Sun Exposure | Soil Needs | Water Demand | Growth Speed | Maintenance Level |
| :— | :— | :— | :— | :— | :— |
| Asclepias tuberosa | Full Sun | Well-drained | Low | Moderate | Low |
| Monarda fistulosa | Full/Part Sun | Loamy/Clay | Medium | Fast | Moderate |
| Echinacea purpurea | Full Sun | Average | Low to Medium | Moderate | Low |
| Schizachyrium scoparium | Full Sun | Lean/Dry | Low | Moderate | Low |
| Solidago rigida | Full Sun | Well-drained/Dry | Low | Fast | Low |
| Heuchera americana | Shade/Part Sun | Rich/Humus | Medium | Slow | Moderate |
Implementation Strategy
The transition from a design concept to a physical installation begins with meticulous site preparation. First, the area should be cleared of invasive species and turfgrass using an edger and a square-point shovel. Grading is the next priority; ensure the ground slopes away from any building foundations at a minimum two percent grade to prevent water accumulation. If the site is inherently flat or prone to pooling, consider installing a French drain or a small rain garden at the lowest point to manage runoff effectively. Once the grade is established, define the boundaries with steel edging or heavy-duty plastic landscape benders to create crisp lines that provide a professional finish and prevent the migration of mulch into walkways.
Before planting, assess the soil structure and amend it with high-quality organic compost only if necessary; many native species actually prefer leaner soils and may become floppy or over-productive if over-fertilized. Use a string line to mark the placements according to the design plan, ensuring that taller species are positioned toward the rear or center to avoid overshadowing smaller plants. Dig holes that are twice the width of the root ball but no deeper than the nursery container to prevent the plant from settling too deep. After installation, apply a three-inch layer of hardwood mulch or pine bark to the surface. This layer is crucial for moisture retention and weed suppression, but it must be kept a few inches away from the stems of the plants to avoid rot. Finally, install a low-voltage LED lighting system to highlight focal points and ensure the garden is functional after sunset.
Common Landscaping Failures
One of the most frequent mistakes in small-space landscaping is the overcrowding of specimens. While it is tempting to plant densely for immediate impact, failure to account for the mature width of native shrubs and perennials leads to poor air circulation and increased disease pressure. Root overcrowding also causes competition for nutrients, which can stunt the growth of the entire corridor. Another common issue is soil compaction, which often occurs during the construction phase when heavy foot traffic or equipment crushes the soil structure. Compacted soil lacks the pore space necessary for oxygen and water to reach the roots, leading to slow decline or death of the corridor plants. To avoid this, use plywood sheets to distribute weight if you must move heavy materials across the planting area.
Drainage mistakes can also undermine a well-planned design. If a garden is located in a depression without an outflow, the resulting “bathtub effect” will drown even the most resilient native species. Similarly, improper irrigation, such as the use of overhead sprinklers in a dense perennial bed, can lead to powdery mildew and other foliage issues. Always opt for drip irrigation tubing or soaker hoses buried beneath the mulch to deliver water directly to the soil. Lastly, designers often overlook the importance of proper edging. Without a physical barrier, aggressive native grasses or nearby lawn turf will quickly invade the corridor, turning a neat design into a maintenance nightmare.
Seasonal Maintenance
Seasonal management of a native pollinator corridor differs from traditional ornamental gardening. In the spring, wait until temperatures are consistently above fifty degrees Fahrenheit before clearing away dead stalks. Many native bees and beneficial insects overwinter in the hollow stems of plants like Goldenrod or Bergamot. Once the weather warms, apply a light top-dressing of compost and inspect the irrigation emitters for clogs. Summer maintenance involves deadheading certain species to encourage a second flush of blooms, though some seeds should be left to mature for birds. Monitor moisture levels during heatwaves; while native plants are drought-tolerant once established, young plants require consistent watering during their first two seasons.
As autumn approaches, resist the urge to perform a deep cleanup. Leave the seed heads of Coneflowers and Little Bluestem as a food source for migratory birds. This is also the ideal time to add new perennials or bulbs, as the cooler soil temperatures and increased rainfall support root development without the stress of summer heat. During the winter, the focus shifts to structural maintenance. Check retaining walls for signs of shifting due to freeze-thaw cycles and ensure that hardscape paths remain clear of debris. The architectural silhouettes of dried grasses and seed pods provide visual interest throughout the coldest months, proving that a functional pollinator corridor can remain a beautiful landscape feature year-round.
Professional Landscaping FAQ
What is the minimum size for a pollinator corridor?
Even a series of twelve-inch containers on a balcony can function as a corridor. In a ground-level landscape, a strip as narrow as three feet is sufficient to provide essential nectar and nesting resources for local insects.
How do I prevent my native garden from looking messy?
Use “cues to care” such as clearly defined stone borders, neatly applied mulch, and structured focal points. Massing several plants of the same species together rather than scattering them creates a more intentional, professional appearance.
Do I need a professional irrigation system for a small corridor?
While not strictly required, a timed drip system ensures consistency, which is vital during the establishment phase. For very small spaces, a simple soaker hose connected to a manual timer is a cost-effective and efficient alternative.
Which mulch is best for native pollinator plants?
Use a natural wood mulch or leaf mold rather than dyed products or landscape fabric. Many ground-nesting bees require access to bare or lightly mulched soil, so leave small patches of earth uncovered in hidden areas.
How long does it take for a corridor to become established?
Most native perennials require two to three growing seasons to reach their full potential. The first year is focused on root growth; by the third year, the plants will typically fill their allotted space and require less frequent watering.