
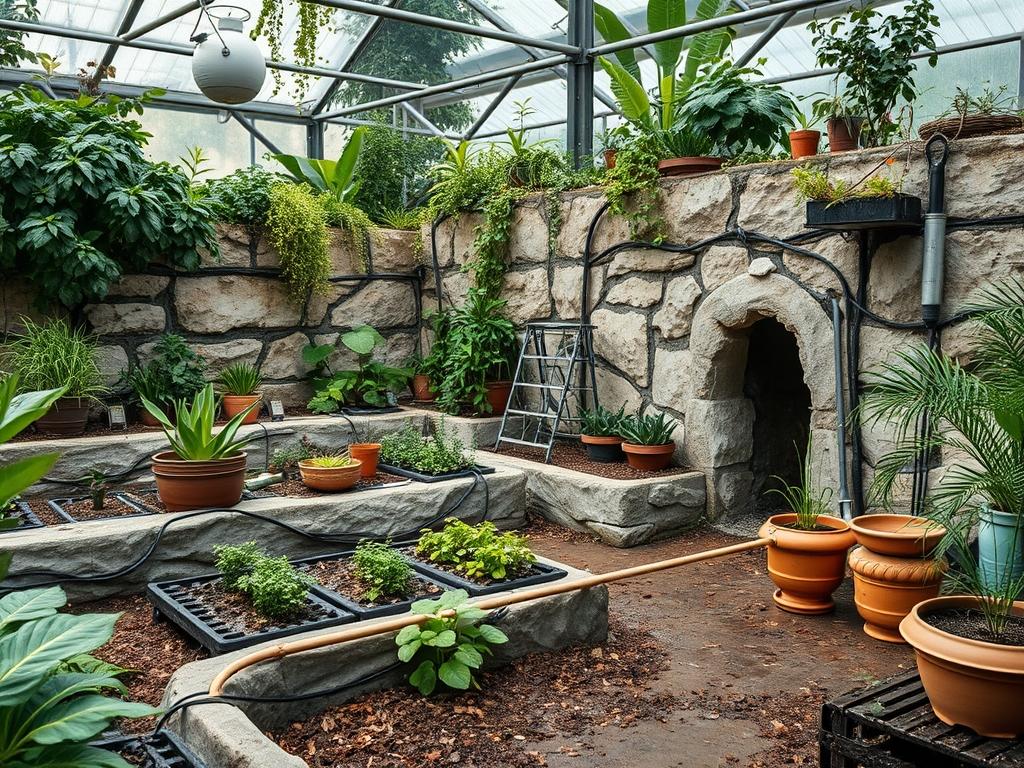
Modern landscape architecture often faces the paradox of wanting structural definition while striving for environmental circularity. Conventional masonry relies heavily on carbon intensive materials like Portland cement; however, the resurgence of clay plaster garden walls offers a sophisticated, carbon neutral alternative that utilizes the very ground beneath the site. Applying these finishes using native soil transforms a simple retaining wall or garden boundary into a living piece of art that breathes with the environment. This approach enhances curb appeal through its unique, matte texture and organic color palette while providing significant thermal mass to regulate microclimates in outdoor living spaces. Successful integration requires a deep understanding of site grading, moisture management, and the specific chemistry of local aggregates to ensure the structure remains resilient against the elements.
When planning a layout that incorporates earthen finishes, the primary goal is to create a seamless transition between the built environment and the natural horizon. Clay plaster provides a velvet like backdrop that absorbs light rather than reflecting it, making it an ideal choice for focal points where glare might otherwise be an issue. By using native soil, the wall naturally matches the local geology, creating a sense of “place” that many high end residential projects lack. This material strategy also allows for soft, curvilinear forms that are difficult or expensive to achieve with standard brick or concrete block. The result is a landscape that feels sculpted rather than merely constructed, providing a tactile quality that invites interaction.
Landscape Design Principles
Symmetry and visual balance are the cornerstones of any professional garden plan, yet with clay plaster, these concepts take on a more nuanced role. Because these walls are often hand finished, they possess a slight irregularity that lends warmth to formal designs. To achieve proper focal points, designers should use the earthen wall as a canvas for dramatic shadows, perhaps by placing a Multi-Stem Olive Tree or a Desert Willow three feet from the surface to cast intricate patterns during the golden hour. Elevation layers are equally critical; a clay wall should rarely stand alone on flat ground. Instead, it should act as a terrace or a backdrop for tiered plantings, where the height of the wall is offset by the varying heights of the flora.
Walkways and circulation paths must be planned with a clear understanding of how the wall interacts with the ground plane. A Gravel Path or Decomposed Granite walkway provides a porous boundary that prevents rainwater from splashing soil and tannins onto the bottom of the plaster. Furthermore, irrigation planning must be solved early in the design phase. Earthen structures are sensitive to consistent splashing, so drip irrigation is non negotiable. Any spray heads or rotors must be positioned at a distance that prevents direct contact with the wall surface, ensuring the longevity of the plaster finish.
Plant and Material Selection
Selecting the right materials for the plaster mix and the plants that will surround it is essential for a cohesive ecosystem. The native soil must be tested for its clay to sand ratio before application begins.
| Plant or Material | Sun Exposure | Soil Needs | Water Demand | Growth Speed | Maintenance |
| :— | :— | :— | :— | :— | :— |
| Bouteloua Gracilis | Full Sun | Well Drained | Low | Moderate | Low |
| Agave Ovatifolia | Full Sun | Sandy/Rocky | Very Low | Slow | Low |
| Lavandula Angustifolia| Full Sun | Alkaline | Low | Moderate | Medium |
| Fescue Grass | Part Shade | Rich Loam | Medium | Fast | High |
| Native Clay Soil | N/A | Variable | N/A | N/A | N/A |
| Coarse Silica Sand | N/A | N/A | N/A | N/A | N/A |
| Chopped Straw | N/A | N/A | N/A | N/A | N/A |
Implementation Strategy
The process begins with the “hat and boots” philosophy of earthen construction. Every clay plaster wall must have a waterproof foundation, or boots, and a protective cap, or hat. Start by grading the area to ensure a 2 percent slope away from the wall base. Construct a foundation of Concrete Masonry Units or Local Stone that rises at least 6 to 10 inches above the finish grade to prevent rising damp. For the structural core, you can use Earth Bricks or a Cob mixture consisting of native subsoil and long straw fibers.
Once the core is dry and stable, prepare the native soil for plastering. Perform a jar test by mixing a handful of soil with water in a glass jar, shaking it, and letting it settle; this reveals the layers of sand, silt, and clay. The ideal plaster mix is roughly 25 to 30 percent Clay and 70 to 75 percent Sand. If your native soil is too heavy in clay, it will crack as it dries; if it is too sandy, it will crumble. Add Chopped Straw or Hemp Hurd to the mix to provide tensile strength and prevent shrinkage cracks.
Apply the plaster in three distinct stages. The first is the scratch coat, which is roughly 0.5 inches thick and applied with a Steel Trowel. Score this layer with a comb to create a mechanical bond for the next layer. The second is the brown coat, which levels the surface and defines the final shape. Finally, a thin finish coat is applied using finely sifted soil and Fine Sand. For a professional sheen, burnish the finish coat with a Plastic Trowel or a smooth stone as it reaches a leather hard state. To seal the wall against wind driven rain, apply a breathable finish such as Potassium Silicate or multiple coats of Raw Linseed Oil thinned with mineral spirits.
Common Landscaping Failures
The most frequent failure in clay plaster projects is the lack of a proper thermal or moisture break at the base. If the plaster extends all the way to the mulch or grass line, it will wick moisture through capillary action, causing the plaster to delaminate and flake off within a single season. Similarly, improper grading that allows water to pool at the base of the wall will eventually soften the structural core, leading to catastrophic collapse.
Another common error involves soil compaction during the construction phase. Heavy machinery used to move soil often compacts the areas where future plants are intended to grow. This leads to poor drainage and “potting” effects where the roots of new shrubs cannot penetrate the surrounding earth, eventually drowning in the very holes meant to sustain them. In terms of the plaster itself, the most significant failure is “rich” mixing. Using too much clay and not enough sand leads to deep spiderweb cracking that compromises the aesthetic and allows water to penetrate deep into the wall. Always perform small test patches on the actual wall substrate and allow them to dry for 48 hours before committing to the full surface.
Seasonal Maintenance
Maintenance requirements for clay plaster are different from those of standard stucco or stone. In the spring, inspect the wall for any “check cracks” that may have appeared during the winter freeze thaw cycles. These can be easily repaired by wetting the area and rubbing in a small amount of new plaster mix. Ensure that all drainage channels and French drains are clear of debris from winter storms.
During the summer, the primary task is monitoring the irrigation system. Even a small leak in a drip line can saturate the soil near the wall foundation. If the wall is in a high traffic area, check for physical abrasions or chips. In the autumn, refresh the mulch levels to ensure that they have not built up against the “boots” of the wall. Finally, as winter approaches, ensure the wall cap or “hat” is secure. If you live in a climate with heavy snow, ensure that snow is not piled directly against the wall during driveway or path clearing, as the prolonged contact with melting ice can degrade the protective oil or silicate sealants over time.
Professional Landscaping FAQ
Can I use any soil from my backyard for the plaster?
You must use subsoil, which is found below the organic topsoil layer. Subsoil contains the necessary clay and minerals without the decaying organic matter that would cause the plaster to rot or lose structural integrity over time.
How long will a clay plaster wall last outdoors?
With a proper roof overhang or cap and a moisture proof foundation, these walls can last for decades. They require occasional reapplication of natural sealants like linseed oil every three to five years depending on local rainfall and sun exposure.
Does a clay plaster wall require a permit?
Generally, non load bearing garden walls under three feet do not require permits. However, if the wall acts as a retaining structure for a slope, you must consult a structural engineer and your local building department regarding specific safety codes.
Will the color of the wall fade over time?
Native soil colors are extremely stable because they are composed of mineral oxides. Unlike synthetic paints that break down under UV light, the natural ochres, reds, and browns of the earth will remain vibrant for the life of the wall.
Can I apply clay plaster over existing concrete blocks?
Yes, but you must first apply a “bonding leap” or a slurry of clay and sand mixed with a non re-emulsifying bonding agent. This creates the necessary suction and tooth for the earthen plaster to adhere to the smooth masonry surface.