
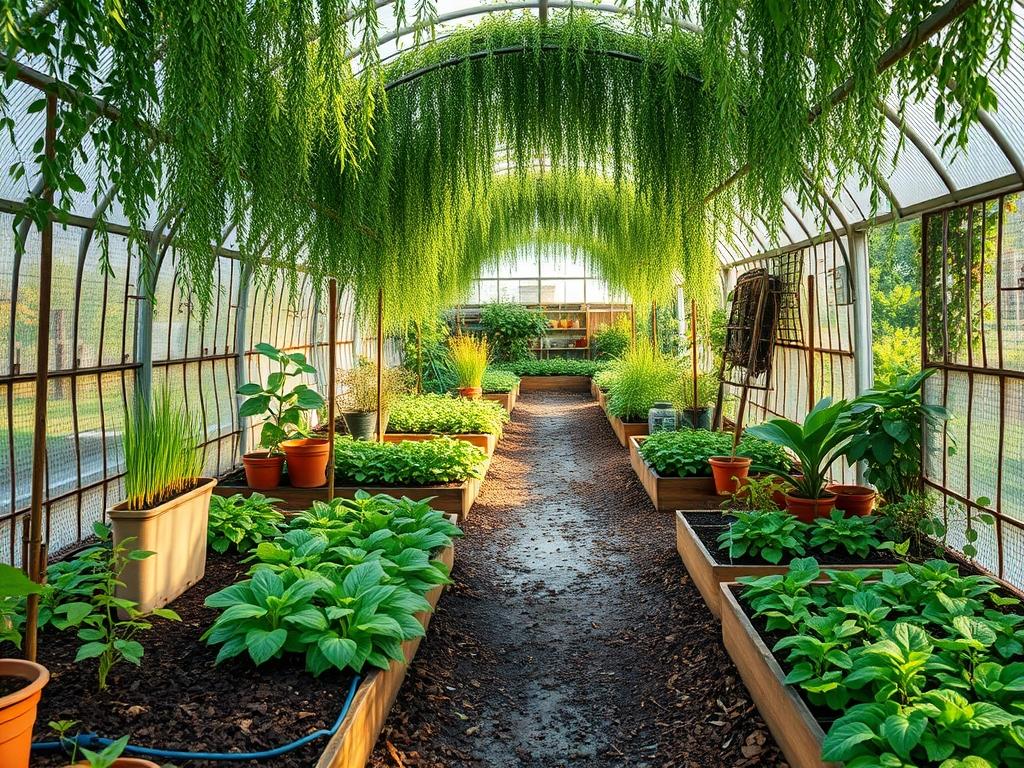
Integrating living architecture into a residential or educational landscape transforms a standard garden into a dynamic, three dimensional environment that engages the senses and promotes active play. Living willow tunnels represent a unique intersection between sculpture and horticulture, offering a sustainable alternative to plastic or timber play structures. From a professional landscape perspective, these installations solve the common challenge of providing shade and vertical interest without the long lead times required by traditional hardwood trees. While a standard oak might take decades to provide a canopy, a willow structure can reach full height in two growing seasons. The structural flexibility of the Salix genus allows designers to manipulate form, creating organic arches that serve as focal points or natural screening elements. Beyond their functional use for children, these tunnels enhance curb appeal by adding architectural texture and a sense of whimsy to the backyard. They also serve as highly effective windbreaks and can assist in managing site moisture in areas prone to seasonal saturation.
Landscape Design Principles
Successful willow installations rely on the same fundamental principles used in hardscaping and formal garden design. Symmetry and visual balance are paramount, as the tunnel acts as a directional focal point that draws the eye toward a specific destination, such as a hidden bench or a secondary garden room. If the tunnel is part of a larger master plan, its placement should consider the elevation layers of the surrounding foliage. Integrating lower-growing perennials at the base of the tunnel creates a tiered effect that softens the transition from the vertical willow rods to the horizontal plane of the turf.
When planning the layout, irrigation must be factored into the initial design. Willows are riparian species with a high transpiration rate, meaning they require consistent moisture to remain supple and disease resistant. Designers should plan for a dedicated drip line or a soaker hose system hidden beneath the mulch layer to ensure even water distribution. Furthermore, the walkway inside the tunnel requires careful consideration of foot traffic. For high-traffic play areas, a base of landscape fabric topped with 10 centimeters of engineered wood fiber or decomposed granite prevents mud formation and soil compaction, which could otherwise suffocate the developing roots. Visual balance is maintained by ensuring the height of the tunnel is proportional to the width of the garden; a tunnel that is too tall can overwhelm a small yard, while one that is too narrow may feel claustrophobic as the foliage thickens.
Plant and Material Selection
Selecting the correct subspecies is the most critical decision in the planning phase. Salix viminalis, commonly known as the common osier, is the industry standard for its rapid growth and flexible, long rods. However, mixing varieties can add visual depth and color variation through the bark.
| Plant Type | Sun Exposure | Soil Needs | Water Demand | Growth Speed | Maintenance Level |
| :— | :— | :— | :— | :— | :— |
| Salix viminalis | Full Sun | Heavy Clay/Loam | High | 2m per year | Moderate |
| Salix triandra | Full Sun/Partial | Moist/Alluvium | High | 1.5m per year | High |
| Salix purpurea | Full Sun | Neutral/Acidic | Moderate | 1.2m per year | Low |
| Salix alba Vitellina | Full Sun | Deep Loam | High | 1.8m per year | Moderate |
| Salix daphnoides | Full Sun | Well-drained | Moderate | 1.4m per year | Moderate |
Implementation Strategy
The implementation of a living tunnel begins with site preparation and grading. The ground must be level to prevent water from pooling at one end of the structure, which could lead to root rot. Start by marking the footprint of the tunnel using landscape marking paint or string lines. A standard children’s tunnel should be approximately 1.5 meters wide and 2 to 3 meters long to allow for comfortable passage and future growth.
Once the layout is established, the soil should be amended with organic compost to a depth of 30 centimeters. Dig two parallel trenches, each about 20 centimeters wide and 30 centimeters deep. Insert the thickest willow rods, known as the main structural uprights, into the trench at 25-centimeter intervals. These rods should be pushed deep into the soil to ensure stability. After the uprights are in place, they are bent toward the center and tied together using biodegradable twine to form the arches.
Following the primary structure, diagonal rods are woven through the uprights at a 45-degree angle. This lattice pattern provides the lateral strength needed to withstand wind and snow loads. Once the weaving is complete, backfill the trenches with a mix of soil and potting grit to improve drainage around the stem base. Apply a 7-centimeter layer of bark mulch over the entire base area to retain moisture and suppress weeds. Finally, install a root barrier if the tunnel is located within 5 meters of a building foundation or drainage pipes to prevent the aggressive willow roots from interfering with underground infrastructure.
Common Landscaping Failures
The most frequent error in willow construction is improper spacing and overcrowding. While it is tempting to plant rods close together for an immediate screen, this leads to competition for nutrients and poor air circulation. Overcrowded willow structures are highly susceptible to rust and aphids, which can defoliate a tunnel in a single season. Another common failure is neglect of the initial irrigation phase. Willow rods are essentially large unrooted cuttings; if the soil dries out in the first six weeks, the rods will fail to strike roots and will eventually die.
Soil compaction is another silent killer of living structures. In children’s play areas, constant foot traffic around the base of the stems compresses the earth, pushing out oxygen and preventing water penetration. This is why a designated walkway using permeable pavers or thick mulch is not just an aesthetic choice, but a structural necessity. Lastly, many owners fail to account for the ultimate diameter of the stems. A rod that is 2 centimeters thick at planting can grow to be 10 centimeters thick over several years, potentially closing the gap of the tunnel if the initial width was too narrow.
Seasonal Maintenance
Managing a living structure requires a disciplined seasonal schedule to maintain its shape and health. In the spring, the focus is on growth and pest management. Apply a high-nitrogen fertilizer just as the leaf buds appear to encourage vigorous new shoots. Check the structural ties to ensure they are not constricting the growing wood, and replace any twine that has snapped.
During the summer, the primary task is weaving the new, flexible “whips” back into the existing lattice. This increases the density of the walls and strengthens the overall structure. Irrigation must be monitored closely during heat waves; the leaves will begin to yellow and drop prematurely if the sap flow is interrupted by drought stress.
In autumn, clear away fallen leaves from the base of the tunnel to prevent fungal spores from overwintering in the mulch. This is also the best time to identify any dead rods that need replacement in the coming winter.
Winter is the most labor-intensive season for structural maintenance. While the willow is dormant, conduct “hard” pruning to maintain the tunnel’s height and width. Use sharp loppers to remove any branches that are growing away from the main frame. This is also the ideal window for “coppicing” sections of the tunnel to rejuvenate older wood and encourage the growth of fresh, colorful rods for the following year.
Professional Landscaping FAQ
How long does it take for a willow tunnel to become leafed out?
Willow rods usually begin to sprout leaves within 3 to 6 weeks of planting in early spring. By the end of the first growing season, the structure will be partially covered, reaching full density by the second year.
Can willow tunnels be planted in dry, sandy soils?
Willows prefer moist, heavy soils but can grow in sand if heavily amended with organic matter. A dedicated irrigation system and thick mulch layers are mandatory in these conditions to prevent the rods from dehydrating and dying.
What is the best time of year to install a living structure?
The ideal window is late winter to early spring, specifically between January and March. This allows the dormant rods to be planted while the ground is workable but before the sap begins to rise for the spring growth spurt.
How do I prevent the tunnel from becoming an overgrown mess?
Consistent weaving and pruning are essential. New shoots should be tucked back into the frame during summer. A major structural prune every winter keeps the tunnel at its desired dimensions and prevents it from reverting into a wild thicket.
Are the roots of a willow tunnel dangerous to my house?
Willow roots are opportunistic and will seek out water sources. Keep tunnels at least 5 to 10 meters away from septic lines and foundations. Using a professional-grade root barrier can help mitigate risk in smaller residential lots.