
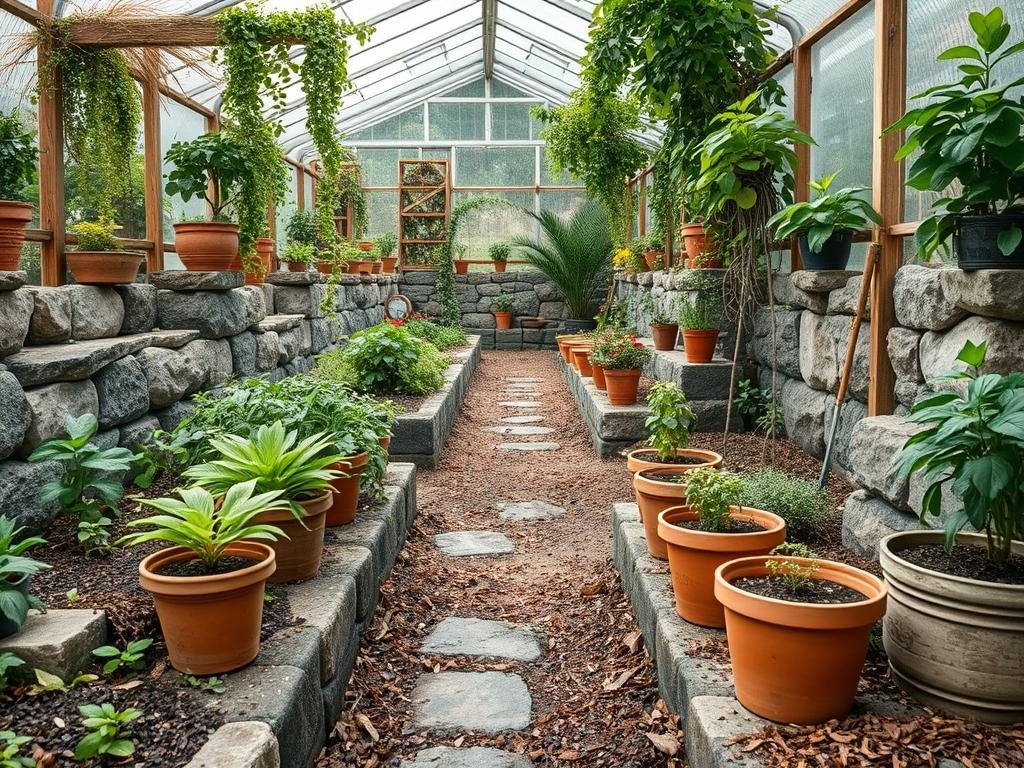
Traditional stone walls serve as the foundational skeleton of a well-balanced landscape, providing structural integrity while acting as a bridge between controlled garden spaces and the raw natural environment. When we approach Traditional Stone Wall Care, we must view these structures not merely as barriers, but as vertical ecosystems that influence the thermal dynamics and moisture levels of the entire property. A properly maintained dry stone wall enhances curb appeal through its timeless aesthetic, yet its most vital contribution often lies in the microclimates it creates. By managing these structures with a focus on wildlife, a landscape architect can resolve drainage issues, stabilize steep elevations, and provide critical habitat for beneficial insects and small vertebrates without sacrificing the clean lines of a professional outdoor design. The challenge lies in balancing the rigidity required for structural safety with the permeability needed for ecological health.
Landscape Design Principles
Effective landscape design using stone walls relies heavily on the principle of elevation layers. Instead of treating a slope as a singular problem, we use walls to create terraces that break the descent, which manages water runoff and prevents soil erosion. Visual balance is achieved by mirroring these stone elements with walkways or patios, ensuring that the heavy texture of the stone does not overwhelm the softer organic elements of the garden. We often suggest a symmetrical approach for formal entries, whereas a staggered, asymmetrical layout works better for naturalistic wildlife corridors.
A primary focal point in any stone wall project is the transition between the hardscape and the planting beds. By integrating irrigation planning directly into the wall’s footprint, we ensure that moisture reaches the root zones of bank-stabilizing plants without undermining the wall’s foundation. We utilize String lines and Levels to maintain professional grade, but we purposefully leave small gaps, known as voids, within the interior of the wall. These voids serve as thermal buffers and nesting sites. The goal is a structure that feels integrated into the earth, where the visual weight of the Fieldstone or Limestone is tempered by the rhythmic placement of native greenery.
Plant and Material Selection
| Plant Type | Sun Exposure | Soil Needs | Water Demand | Growth Speed | Maintenance Level |
| :— | :— | :— | :— | :— | :— |
| Sedum spurium | Full Sun | Poor, Gritty | Low | Medium | Low |
| Dryopteris filix-mas | Full Shade | Loamy, Moist | Moderate | Slow | Low |
| Thymus praecox | Full Sun | Well-drained | Low | Fast | Medium |
| Aubrieta deltoidea | Sun to Part Shade | Alkaline | Moderate | Medium | Medium |
| Cymbalaria muralis | Part Shade | Damp Crevices | Moderate | Fast | Low |
| Saxifraga | Part Shade | Gritty, Moist | Moderate | Slow | High |
Selecting the right materials is as critical as the plants themselves. For wildlife-centric walls, Local Fieldstone is preferred over pre-cast concrete blocks because the natural variations in shape create the necessary crevices for colonizing flora. We recommend using Crushed Limestone or Coarse Sand for the leveling pad rather than a solid concrete footing, as this allows for natural drainage and prevents the “heaving” associated with freeze-thaw cycles. When choosing plants, prioritize species that can withstand the high-alkalinity often found near stone surfaces. Wild Thyme and Stonecrop are excellent choices for the top of the wall, where drainage is fastest, while Male Ferns can be tucked into the base where moisture collects.
Implementation Strategy
The process begins with precise grading. The base trench should be excavated to a depth of at least 6 inches to 12 inches, depending on the height of the wall, to accommodate a compacted layer of Aggregates. This foundation ensures that the wall remains stable during heavy rains. As we lay the first course of stone, we utilize a Tamping bar to secure each piece. Unlike mortared walls, a wildlife-friendly dry stone wall relies on gravity and friction. We place the largest, heaviest stones at the base, slightly tilting them back toward the slope to create a batter. This inward lean, usually about 1 inch for every 1 foot of height, increases structural resilience.
As the wall rises, we fill the space behind the stones with clean 1-inch Drainage Stone rather than soil. This prevents hydrostatic pressure from building up behind the wall, which is the most common cause of collapse. For the wildlife aspect, we avoid using Geotextile fabric in a way that seals the wall completely. Instead, we use it only to separate the drainage stone from the backfilled soil. This allows insects and small amphibians to move through the wall layers. The final step involves adding a 2-inch layer of Organic Mulch or Leaf Mold at the top and base to help retain moisture for the newly installed plants and to provide a foraging ground for local birds.
Common Landscaping Failures
The most frequent failure in Traditional Stone Wall Care is the use of Portland cement to “repair” old dry stone structures. This traps moisture inside the wall, which leads to rapid deterioration when the water freezes and expands, eventually blowing out the face of the stone. Another significant mistake is improper drainage planning. If water is allowed to pool at the base or saturate the soil directly behind the stones, the resulting weight can cause a catastrophic lean. We also see many homeowners fail by planting invasive root systems, such as certain species of Ivy, which can pry stones apart over time.
Soil compaction is another silent killer of both the wall and the surrounding landscape. If heavy machinery is operated too close to the wall during construction, it crushes the pore spaces in the soil, preventing water from infiltrating and forcing it to run off the surface, which causes erosion at the wall’s foundation. Furthermore, root overcrowding occurs when plants are placed too densely within the crevices. As the plants mature, their woody roots can displace the Hearting stones, the small infill stones that provide the wall’s internal stability. Proper spacing, usually leaving 8 inches to 12 inches between primary plantings, is essential to prevent this structural shifting.
Seasonal Maintenance
Spring is the time for structural audits. Inspect the wall for any stones that have shifted due to the winter frost. Use a Rubber Mallet to gently tap minor displacements back into alignment. This is also when you should clear out any heavy debris that may have clogged the drainage weep holes. Summer requires a focus on moisture management. While the stones provide shade for the soil, the plants living within the crevices can dry out quickly. A targeted drip Irrigation system can be beneficial during heatwaves to ensure the “living” part of the wall does not perish.
In autumn, the primary goal is managing leaf litter. While some leaves provide habitat, a thick layer of wet foliage against the stone can promote unwanted moss growth that may become slippery or overly heavy. Gently brush away excess leaves from the face of the stone using a Stiff Broom. Winter maintenance is largely passive; however, you must avoid using de-icing salts near the wall. The salt can penetrate porous stones like Sandstone or Limestone, causing them to crumble through a process called subfluorescence. Instead, use a small amount of Sand for traction if the wall is near a walkway.
Professional Landscaping FAQ
Why is dry stone better for wildlife than mortared stone?
Dry stone construction creates natural cavities and temperature-stable corridors. These gaps allow insects, toads, and small mammals to seek refuge, hibernate, or nest, whereas mortar seals these entry points and prevents the structure from functioning as a living habitat.
How deep should the foundation of a stone wall be?
A professional standard requires a trench depth of 6 to 12 inches. It must be filled with compacted Crushed Stone or Gravel to ensure proper drainage and to prevent the wall from shifting during seasonal ground heaves.
What are the best tools for stone wall repair?
Essential tools include a Masonry Hammer, a Chisel, and a Level. A Tamping bar is used for the foundation, while a String line ensures the wall remains straight and maintains the proper batter throughout its length.
Does a stone wall require a dedicated irrigation system?
While the stones themselves do not, the plants integrated into the crevices often do. A Drip Irrigation line tucked behind the capstones provides consistent moisture to the root zones without causing the surface erosion associated with overhead spraying.
How do I prevent my stone wall from leaning over time?
Ensure a proper inward batter of at least 1 inch for every 1 foot of height. Additionally, use adequate Drainage Stone behind the wall to prevent hydrostatic pressure, which is the primary force that pushes walls forward.