
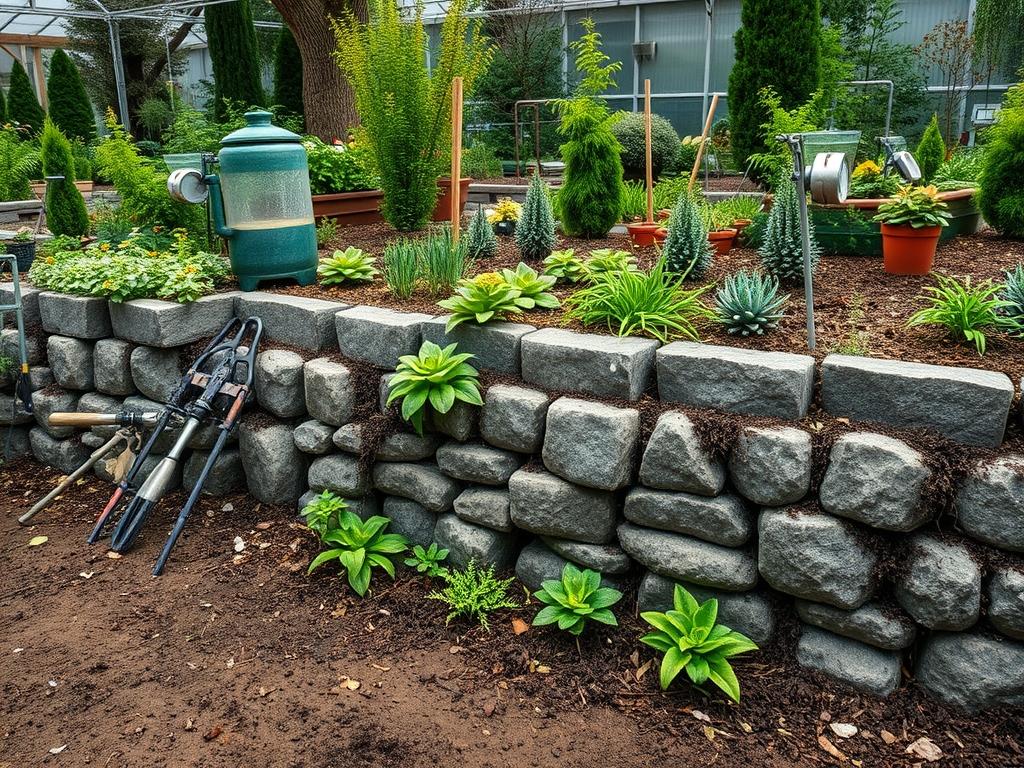
Sloped landscapes represent a unique paradox for the modern homeowner. While they offer stunning topographical interest and natural elevation, they simultaneously present significant challenges regarding erosion, water runoff, and usable square footage. Traditional Stone Retaining Walls serve as the primary solution to these architectural hurdles; they provide a structural anchor that transitions a chaotic incline into a series of functional, level platforms. When properly executed, these walls elevate the curb appeal of a property by introducing the timeless textures of Limestone, Sandstone, or Granite. Professional landscape planning must account for the local climate, as freeze-thaw cycles can wreak havoc on poorly constructed barriers. By integrating these stone structures into a comprehensive garden plan, designers create a sense of permanence and intentionality that standard timber or manufactured concrete blocks often fail to replicate. Beyond aesthetics, the functionality of a well-placed stone wall is found in its ability to manage hydrostatic pressure, ensuring that the soil remains stable during heavy precipitation.
Landscape Design Principles
Successful garden planning centers on the concept of visual balance and functional flow. When dealing with Traditional Stone Retaining Walls, the designer must consider the verticality of the site and how it relates to the horizontal planes of the walkways and patios. Symmetry can be used to create a formal, neoclassical feel, while asymmetrical, tiered walls better suit a rustic or naturalistic environment. Every wall should have a clear purpose; for example, it may act as a border for a new flagstone path or provide the structural foundation for a built-in seating area.
Elevation layers are perhaps the most vital tool in a landscape architect’s kit. Rather than building one massive wall, which can feel imposing and prison-like, the professional approach involves “terracing.” This involves creating several shorter walls, staggered at different heights. This technique reduces the physical load on each individual structure and provides more space for ornamental planting. Within these layers, focal points should be established to draw the eye. A large basalt boulder or a strategically placed ornamental tree can break up the monotony of a long stone face. Furthermore, irrigation planning must be integrated into the design phase. Gravity naturally pulls water down a slope; therefore, the placement of drainage pipes and catch basins is essential to prevent the “waterfall effect” during storms.
Plant and Material Selection
The choice of stone defines the longevity and style of the project. Dry-stacked fieldstone offers a charming, weathered look that fits perfectly in a cottage-style garden. In contrast, cut Ashlar masonry provides clean lines suitable for contemporary architecture. Regardless of the aesthetic, the material must be durable enough to withstand the local environment. Once the hardscape is selected, the planting scheme must soften the stone’s edges and provide year-round interest.
| Plant Type | Sun Exposure | Soil Needs | Water Demand | Growth Speed | Maintenance Level |
| :— | :— | :— | :— | :— | :— |
| Creeping Phlox | Full Sun | Well-drained | Moderate | Fast | Low |
| Sedum ‘Autumn Joy’ | Full Sun | Sandy/Loamy | Low | Medium | Very Low |
| Blue Star Creeper | Partial Shade | Moist/Rich | Moderate | Fast | Moderate |
| Dwarf Boxwood | Part/Full Sun | Loamy/Neutral | Moderate | Slow | High |
| Japanese Forest Grass | Full Shade | Moist/Humus | Moderate | Slow | Low |
| Lavender | Full Sun | Gritty/Alkaline| Low | Medium | Moderate |
Implementation Strategy
The successful construction of Traditional Stone Retaining Walls begins long before the first stone is set. Grading is the most critical step; you must ensure the ground behind the wall is sloped away from the house to redirect runoff. Start by excavating a trench that is roughly 6 to 12 inches deep, depending on the wall’s height. This trench must be filled with a compacted crushed stone base, usually 3/4-inch minus gravel. Avoid using sand for the base as it shifts too easily under weight.
Once the foundation is level, the first course of stone is laid. These stones should be the largest and heaviest in the collection, as they bear the most weight. One essential technique in stone wall construction is “batter.” This refers to the slight backward lean of the wall toward the slope, usually at a ratio of 1 inch of setback for every 1 foot of height. This leaning design helps the wall resist the pressure of the earth pushing against it. As you build upward, fill the space directly behind the stones with clean angular gravel. This creates a drainage chimney that allows water to flow down to a 4-inch perforated drain pipe installed at the base. Finally, a layer of geotextile fabric should separate the gravel backfill from the garden soil to prevent fine sediment from clogging the drainage system. Finishing the top with flat capstones and a 3-inch layer of hardwood mulch creates a polished look that protects the upper soil layers from evaporation.
Common Landscaping Failures
The most frequent mistake in retaining wall construction is the neglect of drainage. Many DIY enthusiasts and inexperienced contractors fail to install adequate weep holes or gravel backfill. Without a way for water to escape, hydrostatic pressure builds up behind the wall, leading to “bowing” or a total collapse during a heavy rain event. Another common failure is failing to account for the root systems of nearby trees. As an Oak or Maple matures, its roots expand with incredible force, capable of lifting even the heaviest stones out of alignment.
Soil compaction is another silent killer of landscape health. In the process of moving heavy machinery to build a wall, the surrounding soil often becomes compressed, destroying the pore spaces that allow air and water to reach plant roots. This leads to stunted growth and poor drainage in the newly created garden beds. Finally, improper spacing of plants can lead to overcrowding within three to five years. While a garden may look “full” immediately after planting, the senior architect knows to space shrubs and perennials based on their mature width. This prevents a cluttered appearance and reduces the risk of fungal diseases caused by poor airflow.
Seasonal Maintenance
Landscape management is a year-round commitment. In the spring, the focus should be on inspecting the wall for signs of “frost heave.” If stones have shifted due to the freezing and thawing of ground moisture, they should be reset before the weight of the growing season begins. This is also the time to apply a pre-emergent herbicide and refresh the bark mulch to suppress weeds.
During the summer, the primary task is irrigation monitoring. Plants situated at the top of a retaining wall tend to dry out faster than those at the base because water naturally migrates downward. Deep, infrequent watering is better for establishing strong root systems than frequent, shallow mists. In the autumn, homeowners must clear fallen leaves from the base of the wall. Decomposing organic matter can clog the drainage pipes and create a slick surface on flagstone walkways. Winter maintenance involves checking the wall for ice buildup. Avoid using harsh de-icing salts on or near natural stone; these chemicals can cause “spalling,” where the face of the stone flakes away. Instead, use sand or a stone-safe melting agent to maintain traction.
Professional Landscaping FAQ
How high can I build a stone wall without an engineer?
In most jurisdictions, any wall exceeding 4 feet in height requires a structural engineer and a building permit. Lower walls are generally safe for residential landscaping provided they utilize a proper 1-inch batter and adequate drainage systems.
What is the best stone for a natural look?
Fieldstone and River Rock offer the most organic appearance because they retain their natural, weathered shapes. For a more structured yet traditional aesthetic, Weathered Limestone provides a historic feel that blends seamlessly with most temperate horticultural environments.
How do I stop weeds from growing between the stones?
Using a polymeric sand in the joints of mortared walls or a heavy layer of landscaping fabric beneath the gravel of dry-stacked walls is effective. For a greener look, planting creeping thyme in the crevices naturally crowds out weeds.
Is it necessary to use mortar in a stone wall?
No, dry-stacked walls are often preferred for sloped landscapes. They allow for natural flexibility and drainage, which prevents the cracking that often occurs in rigid, mortared structures when the ground shifts or freezes throughout the changing seasons.
How do I manage water runoff on a steep slope?
Incorporate a French drain behind the wall and utilize rip-rap or large stones at the base of the slope to slow water velocity. Planting dense groundcovers like Vinca Minor also helps by stabilizing the topsoil with deep root networks.