
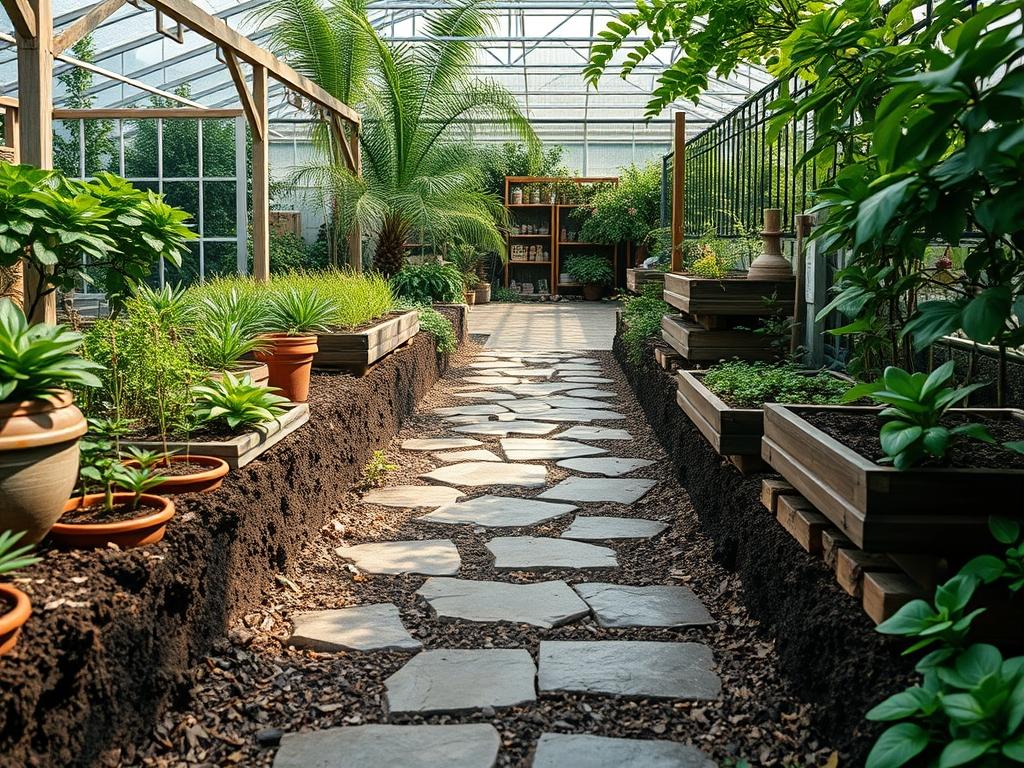
A well executed landscape serves as a dialogue between the built architecture of a home and the organic forms of the natural environment. Among the various elements available to a designer, the implementation of a Traditional Stone Path Design stands as one of the most enduring methods for establishing structure, direction, and character within a garden. A path is rarely just a means of moving from point A to point B; it is a fundamental design layer that defines the rhythm of the outdoor experience. When planned with precision, these walkways mitigate the impact of foot traffic on delicate turf, manage site drainage, and significantly elevate a property’s curb appeal. In climates that experience heavy rainfall or freeze-thaw cycles, the choice of material and the integrity of the sub-base become the difference between a lifetime of elegance and a maintenance nightmare of shifting, cracked pavers.
Successful landscape architecture requires an understanding of how stone interacts with the specific microclimate of the site. A path located in a shaded, damp corridor requires a different stone porosity and jointing strategy than a path exposed to the relentless heat of a south-facing slope. Beyond the physical properties, the aesthetic durability of a path depends on its ability to harmonize with the home’s facade. Whether using organic flagstone, reclaimed cobblestone, or thermal-cut bluestone, the designer must ensure the hardscape provides a sense of permanence. This sense of stability is what transforms a simple backyard into a professional outdoor environment, providing a functional foundation that supports everything from quiet morning walks to large scale social gatherings.
Landscape Design Principles
The success of a Traditional Stone Path Design rests on its adherence to core spatial principles, starting with symmetry and visual balance. In formal gardens, paths are often designed with geometric precision, using straight lines and sharp right angles to create a sense of order and grandeur. Conversely, in naturalistic or English cottage styles, curved paths soften the transition between planting beds, using gentle arcs to lead the eye toward specific focal points like a stone water feature, a specimen tree, or a custom pergola. The width of the path is equally critical; a primary walkway should generally be 48 to 60 inches wide to allow two people to walk side by side comfortably, whereas secondary garden trails can narrow to 24 to 36 inches for a more intimate feel.
Elevation layers play a vital role in how a path is perceived. When a site is not level, the integration of stone steps or retaining walls becomes necessary to manage the transition between different garden rooms. These changes in height add vertical interest and provide opportunities to showcase different stone textures. Furthermore, irrigation planning must be integrated into the path design from the outset. Water should always be directed away from the path surface to prevent pooling, which can lead to slippery algae growth or ice hazards. Achieving this requires a subtle 1 to 2 percent cross-slope during the grading phase, ensuring that the walkway remains dry and safe regardless of the weather. By balancing these technical requirements with the aesthetic need for sightlines and scale, the designer creates a cohesive environment that feels both planned and effortless.
Plant and Material Selection
Selecting the right combination of stone and vegetation is essential for creating a path that feels integrated into the landscape.
| Plant Type | Sun Exposure | Soil Needs | Water Demand | Growth Speed | Maintenance Level |
| :— | :— | :— | :— | :— | :— |
| Creeping Thyme | Full Sun | Well-Drained, Sandy | Low | Medium | Low |
| Boxwood (Buxus) | Full Sun to Part Shade | Loamy, Well-Drained | Moderate | Slow | Medium |
| Blue Star Creeper | Part Shade | Moist, Fertile | Moderate | Fast | Low |
| Dwarf Mondo Grass | Shade to Part Sun | Rich, Moist | Moderate | Slow | Very Low |
| Lavender | Full Sun | Gritty, Alkaline | Low | Moderate | Medium |
| English Ivy | Shade | Adaptable, Moist | Low | Fast | High |
For the stone itself, Natural Flagstone offers a timeless, rustic appearance with varied thicknesses, while Dimensional Bluestone provides a cleaner, more contemporary edge. In areas where permeability is a priority, using crushed granite or pea gravel between larger stones allows water to infiltrate the soil directly, reducing runoff and supporting the health of nearby native plants.
Implementation Strategy
The process begins with a detailed site analysis and layout. Once the path of travel is determined using marking paint or a string line, excavation can commence. For a durable traditional path, you must excavate to a depth that allows for a compacted sub-base, typically 6 to 8 inches depending on the soil type and local frost line. In areas with heavy clay, a deeper base is often required to prevent heaving. After excavation, a layer of non-woven geotextile fabric is laid down to separate the native soil from the base material; this prevents the stone from sinking into the mud over time.
Following the fabric, a 4-inch layer of crushed stone (often referred to as 3/4-inch minus) is spread and compacted using a plate compactor. This base must be perfectly leveled and pitched for drainage. A 1-inch layer of bedding sand or fine stone screenings is then applied to provide a smooth surface for stone placement. When laying the stones, whether they are uniform pavers or irregular fieldstone, it is vital to maintain consistent joint widths. Once the stones are set, a rubber mallet is used to seat them firmly into the bedding. The joints are then filled with polymeric sand, which hardens when misted with water to lock the stones in place and inhibit weed growth, or a groundcover plant like Corsican Mint if a softer, living joint is desired. Finally, a robust edge restraint made of plastic, metal, or vertical stones is installed to prevent lateral shifting.
Common Landscaping Failures
One of the most frequent mistakes in walkway construction is the failure to address sub-surface drainage. If water is allowed to collect under the stones, it will eventually cause the base to wash out, leading to uneven surfaces and tripping hazards. This “bathtub effect” is common when paths are built in low-lying areas without an integrated French drain or proper grading. Another common failure is skipping the compaction step; hand-tamping is rarely sufficient for long-term stability. Without a mechanical plate compactor, the stones will inevitably settle, creating pockets that collect water and debris.
Improper spacing and plant selection also plague many DIY projects. Overcrowding native shrubs next to a path will lead to encroaching foliage that obstructs the walkway within just a few growing seasons, necessitating aggressive pruning. Similarly, failing to account for the mature root spread of nearby specimen trees can lead to root heaving, where powerful roots lift and crack even the heaviest granite slabs. Finally, using the wrong jointing material, such as plain sand in a high-wind or high-slope area, will result in constant erosion and the need for frequent refills.
Seasonal Maintenance
Maintaining a Traditional Stone Path Design involves distinct tasks for each season to ensure longevity and safety. In the spring, the focus should be on inspecting the joints for any winter damage. If polymeric sand has cracked or washed away, it should be replenished to prevent weeds from taking hold. This is also the time to prune any perennials that are beginning to lean over the path edges. During the summer, maintenance is primarily about weed control and irrigation management. Even with professional edging, stubborn weeds can appear; these should be removed manually or with a targeted organic herbicide to avoid staining the stones.
Autumn requires diligent leaf removal. Decomposing organic matter can leave permanent tannins on porous stones like limestone or sandstone. Using a leaf blower or specialized outdoor vacuum ensures the path remains clean and free of slick, wet foliage. In winter, avoid using harsh de-icing salts, which can cause the stone surface to spall or flake. Instead, utilize coarse sand for traction. If snow removal is necessary, ensure that shovels or snow Blower blades have a protective rubber edge to prevent scratching the stone face.
Professional Landscaping FAQ
How deep should the base be for a flagstone path?
A professional installation typically requires an excavated depth of 8 to 10 inches. This allows for a 6-inch compacted gravel base, a 1-inch sand setting bed, and the thickness of the natural stone itself for maximum stability.
What is the best way to prevent weeds between stones?
Using a high-quality polymeric sand is the most effective method. Once activated by water, it hardens to create a durable bond that resists wind, rain, and seed germination while remaining flexible enough to handle thermal expansion.
Can I lay stone paths directly on top of soil?
It is not recommended. Direct soil contact leads to uneven settling, moisture retention, and rapid weed infestation. A proper crushed stone base and geotextile fabric are essential for a path that remains level and durable for decades.
How do I choose between irregular and dimensional stone?
Dimensional stone provides a formal, clean aesthetic suitable for traditional or modern entries. Irregular flagstone offers a rustic, organic feel that blends seamlessly with wooded or informal gardens. Both require similar sub-base preparation for long-term durability.
Is drainage really that important for a flat path?
Yes, even a seemingly flat path requires a 1 percent slope to shed water. Proper drainage prevents the sub-base from saturating, which protects the stones from shifting during freeze-thaw cycles and prevents hazardous standing water.