
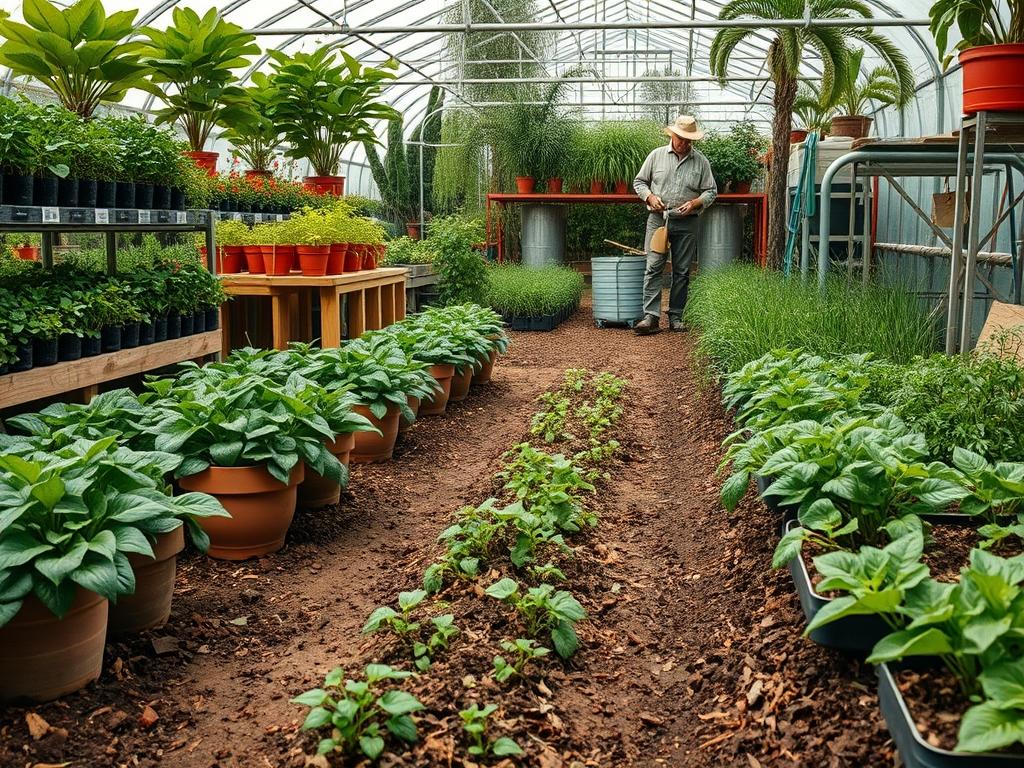
Integrating a slow maturing dye crop into a professional landscape requires a departure from traditional seasonal planting schedules. Most residential gardens prioritize immediate visual gratification, yet the Madder Root Harvest demands a three year commitment before the first spade ever touches the ground. As a landscape architect, I view this timeframe not as a delay, but as an opportunity to build a rich, multi layered environment that evolves alongside the crop. The challenge lies in managing a plant that, for much of its life, appears as a sprawling, somewhat unruly vine. Success requires careful site selection, where the biological needs of Rubia tinctorum meet the aesthetic requirements of a high end outdoor space. We must balance the need for deep, friable soil with the necessity of maintaining curb appeal, ensuring that the garden remains a structural asset during the long wait for the pigment to mature.
Climate considerations are the first hurdle in the planning phase. Madder thrives in temperate zones but requires a specific soil chemistry to produce the deep reds for which it is prized. In regions with heavy clay, we must engineer the soil through aggressive grading and the introduction of organic matter to prevent root rot. This isn’t just about plant health; it is about site functionality. A saturated plot becomes a stagnant eyesore and a breeding ground for pests. By designing the garden with a focus on subterranean development, we ensure that the Madder Root Harvest will be tanto plentiful and high in alizarin content when the three year mark finally arrives.
Landscape Design Principles
Effective landscape design for long term crops centers on containment and accessibility. Because the roots of the madder plant must be excavated after three years, placing them in the middle of a delicate perennial border is a mistake. Instead, we utilize the principle of zoning. We create dedicated “production zones” that are framed by permanent hardscaping like stone pavers or low cedar retaining walls. This provides a clean visual break between the productive garden and the recreational areas. Symmetry plays a vital role here; a mirrored set of raised beds can turn a utilitarian dye garden into a formal focal point that anchors the backyard.
Elevation is another critical design tool. By utilizing raised beds that stand 18 to 24 inches high, we achieve two goals. First, we provide the deep, loose soil column required for the roots to expand without hitting compacted subsoil. Second, we make the eventual harvest significantly easier on the body. These beds should be serviced by wide gravel walkways at least 36 inches in width. This ensures that wheelbarrows and harvesting equipment can reach the site without damaging surrounding turf or ornamentals. Irrigation must be planned with precision. A drip irrigation system buried 2 inches below the mulch line delivers water directly to the root zone, minimizing surface evaporation and keeping the foliage dry to prevent powdery mildew.
Plant and Material Selection
The following table outlines the specifications for integrating madder and its companion plants into a cohesive landscape plan.
| Plant Type | Sun Exposure | Soil Needs | Water Demand | Growth Speed | Maintenance |
| :— | :— | :— | :— | :— | :— |
| Madder (Rubia tinctorum) | Full Sun | Alkaline Loam | Moderate | Fast (Vines) | Medium |
| French Lavender | Full Sun | Well Drained | Low | Moderate | Low |
| Yarrow (Achillea) | Full Sun | Sandy/Poor | Low | Fast | Low |
| Creeping Thyme | Full Sun | Gritty | Low | Moderate | Low |
| Boxwood (Buxus) | Part Shade | Rich Loam | Moderate | Slow | High (Trimming) |
Selecting the right materials for the infrastructure is just as important as the plants themselves. For the beds, I recommend pressure treated timber or natural larch, which resists rot for the duration of the three year cycle. The soil mix should be a custom blend: 40 percent topsoil, 30 percent compost, 20 percent coarse sand, and 10 percent agricultural lime. This lime is essential. It raises the pH, which is a chemical requirement for the plant to synthesize the red dyes effectively. Without it, your harvest will yield dull oranges rather than the deep crimmons desired by professional dyers.
Implementation Strategy
The implementation phase begins with professional grading. The site should have a gentle 2 percent slope away from any permanent structures to ensure proper drainage. Once the site is leveled, we lay out the footprint using surveyor stakes and landscape twine. For a successful Madder Root Harvest, the preparation of the soil bed is the most labor intensive step. We recommend a method called double digging, where the soil is loosened to a depth of 2 feet. During this process, we incorporate the lime and compost to ensure the nutrients are available at the deeper levels where the primary roots will grow.
Hardscaping should be installed before the first seeds or starts are placed. If you are using retaining walls, ensure they are backed with filter fabric to prevent soil migration. Once the beds are built, install the polyethylene drip tubing. This prevents the “cycle of neglect” that often happens in year two of a long term project. Finally, applying a 3 inch layer of arborist wood chips or straw mulch provides a clean finish and regulates soil temperature. This mulch layer is vital for weed suppression, as madder seedlings are easily outcompeted in their first six months of growth.
Common Landscaping Failures
The most frequent failure I see in long term dye gardens is root overcrowding. Madder is an aggressive grower above ground, but the roots need space to thicken. If plants are spaced closer than 12 inches apart, the roots remain thin and spindly, resulting in a disappointing Madder Root Harvest. Another common error is failing to provide vertical support. While madder can sprawl as a groundcover, its tiny hooked hairs allow it to climb. Designating a wrought iron trellis or a wooden lattice keeps the garden looking intentional and prevents the vines from suffocating neighboring plants.
Irrigation inefficiencies also plague these projects. Many homeowners rely on overhead sprinklers, which lead to fungal issues and uneven water distribution. In a three year cycle, even a minor bout of root rot in year two can destroy the entire investment. Furthermore, soil compaction is a silent killer. If guests or maintenance crews walk over the planting beds, the soil structure collapses, preventing the roots from expanding. This is why clearly defined edging and walkways are not just aesthetic choices, they are structural requirements for a healthy harvest.
Seasonal Maintenance
Managing a landscape over a three year period requires a seasonal rhythm. In the spring of Year 1, focus on establishment. This is when you monitor the drip system for leaks and pull any competing weeds by hand. In the summer, watch for pests like aphids, using neem oil or insecticidal soap as needed. By autumn, the foliage will die back. Do not remove it immediately; let it provide a natural mulch for the crown. In winter, add an extra 2 inches of mulch to protect the dormant roots from deep freezes, especially if you are in a zone lower than 6.
In Year 2, the plant will be much more vigorous. This is the year for “management.” You will need to tuck the vines back into their designated areas or tie them to the trellis. Do not fertilize with high nitrogen products now, as this encourages leaf growth at the expense of the roots. Instead, a light application of bone meal can support root development. By Year 3, you are preparing for the finale. In the final autumn, reduce watering to allow the plant to enter deep dormancy. The Madder Root Harvest should occur after the first hard frost but before the ground freezes solid, as the cold triggers the plant to store its maximum energy and pigment in the root system.
Professional Landscaping FAQ
How much space is needed for a viable madder harvest?
A dedicated area of at least 25 square feet is recommended. This allows for roughly 20 to 25 plants, which provides enough root material for several large dye batches while maintaining a manageable footprint within a residential landscape.
Can I grow madder in containers to avoid digging?
Yes, but they must be large. Use 20 gallon pots or deep troughs at least 24 inches deep. Be aware that container plants require more frequent watering and are more susceptible to temperature fluctuations than those in the ground.
Does madder require special fertilizer during the three year wait?
Avoid high nitrogen fertilizers, which produce excess foliage. Use a low nitrogen, high phosphorus amendment once a year in early spring. Maintaining an alkaline pH with occasional hits of garden lime is more important than standard feeding.
What should I do with the empty space during the first two years?
Interplant with shallow rooted annuals like calendula or pansies. These provide color and fill gaps without competing for the deep soil territory that the madder roots need to occupy during their three year development cycle.
Will the harvest process destroy my entire garden design?
If you plan with modular beds, the impact is localized. Only the production zone is disturbed. By using structural edging and defined paths, the rest of your landscape remains intact while you excavate the roots in the third year.