
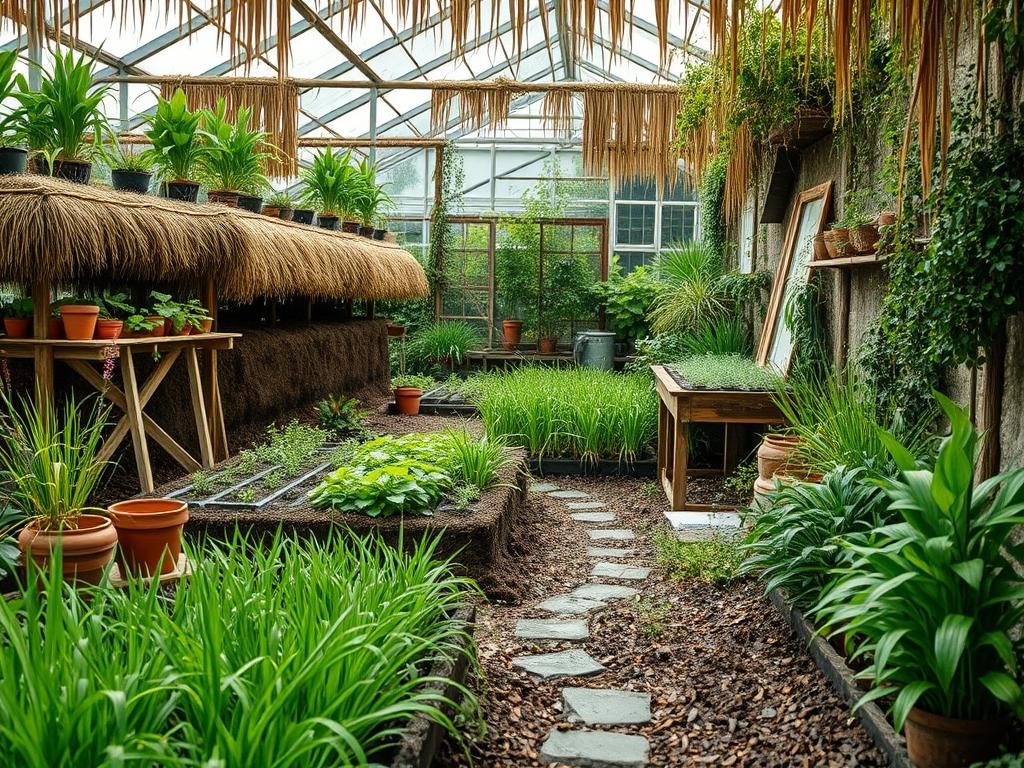
Integrating a reed bed into a high end residential or commercial landscape represents a sophisticated intersection between heritage craftsmanship and modern ecological land management. For property owners seeking the distinct aesthetic of Traditional Reed Thatching, the challenge lies not only in the architectural application but also in the cultivation of the raw materials. Establishing a functional reed plantation, or a “bed,” requires a deep understanding of riparian biology, hydrological engineering, and visual spatial planning. Unlike standard ornamental gardens, a thatch-producing landscape must balance the rugged, wild nature of wetland species with the refined requirements of luxury curb appeal and functional outdoor living spaces.
The primary objective is to create a self-sustaining ecosystem that yields high quality Phragmites australis or Schoenoplectus lacustris while serving as a stunning backdrop for the estate. This process begins with a comprehensive site analysis. We must evaluate the existing water table, the acidity of the soil, and the prevailing wind patterns. A well designed reed bed acts as a natural filtration system, improving local water quality and providing a sanctuary for native bird species. However, without strict architectural controls, these vigorous growers can quickly overwhelm a site. The landscape architect must view the reed as both a crop and a living privacy screen, ensuring that the height of the mature harvest does not obstruct critical sightlines or diminish the perceived scale of the primary residence.
Landscape Design Principles
Successful landscape design for reed cultivation hinges on the principle of intentional layering and elevation management. We treat the reed bed as a structural element, much like a hedge or a retaining wall. To achieve visual balance, designers often utilize symmetry by flanking a central water feature with mirrored reed plots. This creates a formal “entryway” for the water, grounding the landscape in a sense of order. Focal points are essential; a thatched summer house or a bespoke bridge can serve as the visual anchor, drawing the eye across the swaying textures of the reeds toward a clear architectural goal.
Elevation plays a critical role in the functionality of the harvest. By utilizing laser levels and precise grading, we create sloped transitions that allow for different water depths. The deep interior of the bed supports the tallest, most robust reeds, while the shallower margins can be blended with ornamental native plants to soften the transition to upland lawn areas. Irrigation planning in this context is less about sprinklers and more about controlled flooding and drainage. Utilizing a series of sluice gates or check dams allows the land manager to manipulate the water level according to the season, which is vital for hardening the reed stems prior to the winter harvest. Furthermore, the inclusion of permanent walkways or boardwalks is non-negotiable. These structures provide access for maintenance and harvesting equipment like a scythe or specialized reed harvester without causing soil compaction or damaging the rhizome mat.
Plant and Material Selection
Selecting the correct species is paramount, as the quality of the thatch depends entirely on the thickness of the stem wall and the flexibility of the fiber. While the common reed is the standard, regional variations like the great bulrush offer different textural qualities for ridge work and decorative finishing.
| Plant Type | Sun Exposure | Soil Needs | Water Demand | Growth Speed | Maintenance Level |
| :— | :— | :— | :— | :— | :— |
| Phragmites australis | Full Sun | Heavy Silt/Clay | High (Standing Water) | Fast | Moderate (Annual Cut) |
| Schoenoplectus lacustris | Full Sun | Muddy Substrate | Very High | Medium | Low |
| Cladium mariscus | Partial to Full | Calcareous/Peat | High | Slow | High (Specific pH) |
| Typha latifolia | Full Sun | Any Wet Soil | High | Very Fast | High (Invasive Risk) |
| Carex acutiformis | Partial Shade | Damped Loam | Medium | Medium | Low |
The selection of hardscaping materials must complement the organic nature of the reeds. We often specify weathered limestone or reclaimed timber for edging to provide a clear boundary between the wild reed zone and the manicured turf. For the substrate, a base of Bentonite clay is often required to ensure the area retains water effectively, preventing the “leakage” that can lead to unintended boggy patches in other areas of the estate.
Implementation Strategy
The implementation of a harvesting landscape begins with heavy earthworks. Once the surveyor’s level has confirmed the grades, we use an excavator to carve out the basin to a depth of roughly 18 inches to 3 feet. The edges are reinforced with riprap or geotextiles to prevent erosion during the establishment phase. Following the grading, we install a high volume agricultural irrigation pump system if natural water flow is insufficient. This ensures the reed bed remains submerged during the peak growing months of June and July.
After the basin is prepared, we plant the rhizomes or “plugs” at a density of roughly four plants per square yard. Spacing is critical; if they are too crowded, the stems will be thin and weak; if they are too sparse, the bed will be susceptible to weed invasion. Once planted, we apply a thin layer of river sand to weigh down the organic matter and prevent the young starts from floating away. As the reeds establish themselves, the focus shifts to “edging” the perimeter. We use a trencher to create a root barrier, often a 30-mil HDPE liner installed vertically to a depth of 24 inches. This prevents the aggressive rhizomes from encroaching into the formal gardens or beneath the foundations of the retaining walls. Final touches include a 4-inch mulch layer of wood chips around the dry margins to suppress competition and retain moisture for the peripheral native species.
Common Landscaping Failures
The most frequent failure in reed-based landscape design is a lack of adequate drainage control. Stagnant water can lead to “root rot” and the buildup of anaerobic gases, which significantly weakens the structural integrity of the reed. A reed intended for Traditional Reed Thatching must be durable and “bony,” a result of moving water and cyclical drying. Over-fertilization is another common pitfall. While it may result in taller plants, the rapid growth creates brittle, hollow stems that are unsuitable for long term roofing.
Improper spacing and lack of “thinning” can also lead to a poor harvest. If the colonial mat becomes too dense, air circulation is restricted, inviting fungal pathogens that can destroy an entire season’s yield. Furthermore, we often see soil compaction issues where heavy machinery is used on wet ground without the protection of timber mats. This destroys the delicate pore space in the soil, leading to stunted growth. Finally, many planners fail to account for the “transition zone.” Without a clear physical barrier between the reed bed and the lawn, the reeds will inevitably migrate, turning a refined water feature into an unruly swamp within three to five seasons.
Seasonal Maintenance
Landscape management for a thatching project follows a strict chronological rhythm. In the Spring, the focus is on “uncovering.” We clear away any deadfall or debris from the previous winter to allow sunlight to reach the new shoots. This is also the time to inspect the irrigation lines and ensure the sluice gates are functioning perfectly as the water levels are raised to stimulate growth.
Summer maintenance involves aggressive weed management. We must manually remove invasive species that compete for nutrients. Water levels are kept at their highest, typically around 6 to 12 inches of standing water, to support the rapid biomass production. By Autumn, we begin the drawdown process. Reducing the water level encourages the plants to enter dormancy and allows the stems to “harden off” by losing their green chlorophyll.
Winter is the primary harvest season. Once the first hard frost has hit and the leaves have dropped, the reeds are at their peak structural strength. This is when the sickle or mechanical cutter is used to harvest the bundles. The ground must be frozen or dry enough to support the weight of the crew. After the harvest, the bed is “swept” or burned under controlled conditions to remove the “duff” layer, ensuring a clean start for the following spring.
Professional Landscaping FAQ
How much space do I need for a harvestable reed bed?
For a meaningful harvest for repairs, a minimum of 2,500 square feet is recommended. Larger estates often dedicate a half-acre to ensure a full roof replacement cycle can be supported by internal materials over several decades.
Can I grow thatching reed in a standard backyard pond?
It is difficult because architectural reeds require specific hydrological cycles. Standard ponds often lack the sluice gate systems needed to dry the bed for winter harvesting, leading to weak, waterlogged stems unsuitable for traditional thatch.
Are these reed beds high maintenance for a homeowner?
They require specialized knowledge rather than constant labor. The primary tasks are the annual winter harvest and seasonal water level adjustments. Once established with proper root barriers, the daily maintenance is minimal compared to a formal garden.
Does the reed bed attract pests or mosquitoes?
When designed with proper drainage and water movement, mosquito larvae are minimized by natural predators like dragonflies. A healthy, circulating reed bed becomes a balanced ecosystem that actually reduces the presence of nuisance insects through biodiversity.
What is the best soil for growing Phragmites?
A heavy, nutrient-rich clay loam or silty clay is ideal. These soils provide the stability needed for tall stems to withstand wind and the capacity to hold moisture throughout the intense summer heat.