
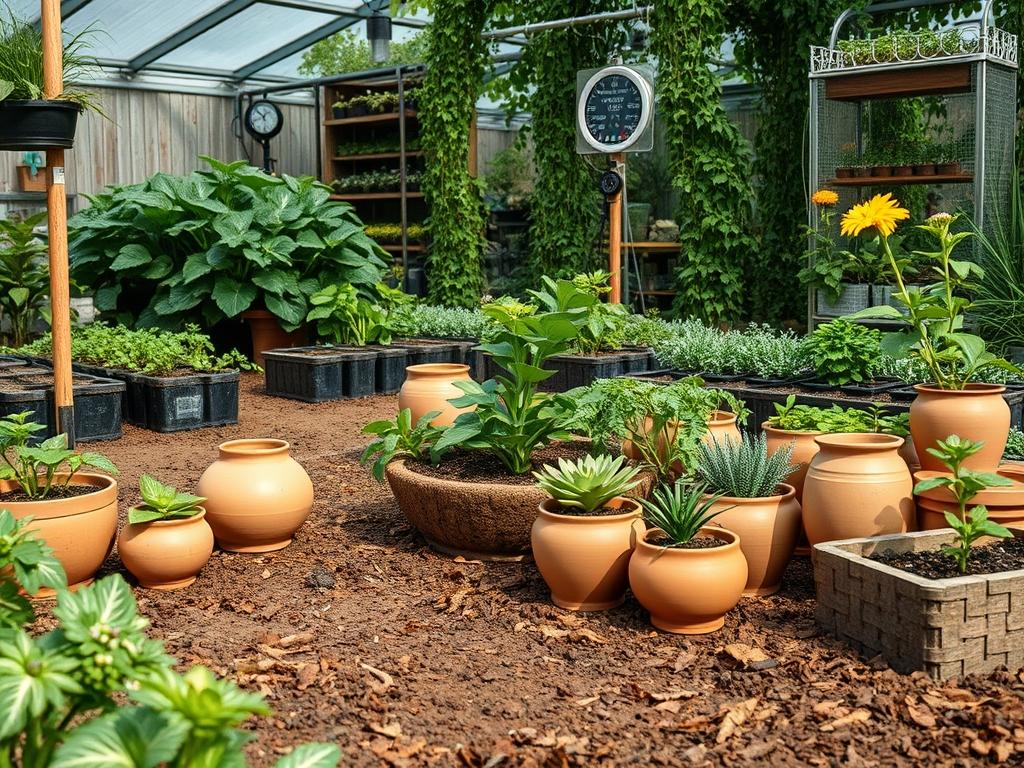
Working with heavy soil is one of the most persistent challenges in professional landscape architecture. While suburban developers often view dense, sticky earth as a drainage nightmare, a designer with a focus on resource recovery sees it as an opportunity. Transforming raw garden clay for pottery into functional art or structural building materials requires a deep understanding of soil horizons and site grading. When we approach a property, we assess the soil not just for its ability to support a foundation or a retaining wall, but for its mineral potential. Identifying high quality clay during the initial excavation phase can save on disposal costs and provide a unique, site specific material for custom garden features. This dual focus improves the outdoor living experience by connecting the homeowner directly to the land through the very medium that supports their garden.
A successful landscape plan must account for the physical properties of the substrate. If the property sits on a heavy clay vein, the curb appeal is often marred by standing water or struggling turf. However, by strategically harvesting this material, a landscape architect can create better drainage while stockpiling a valuable resource. The process of testing and processing garden clay for pottery is not merely a hobbyist pursuit; it is a sophisticated form of site management. We must look at the climate, specifically how forensic excavation during dry seasons can reveal the cleanest clay deposits without the presence of overwhelming groundwater. This integration of geology and design ensures that the outdoor space is both beautiful and functionally optimized.
Landscape Design Principles
In the realm of high end residential design, symmetry and focal points often dictate where we dig. If you are planning to extract garden clay for pottery, the location of your “harvest” should align with future site features like a sunken fire pit or a tiered reflecting pool. Elevation layers are critical here. By removing clay from higher elevations, you can create natural swales that guide water toward a central drainage point. This satisfies the primary goal of professional grading while providing the raw material needed for ceramic projects.
Visual balance plays a significant role when integrating these utility areas into a master plan. A well designed landscape uses walkways and paths to separate the aesthetic zones from the functional ones. If you are processing clay on site, it must be done in a way that does not disrupt the visual flow of the environment. Focal points can be used to distract the eye from the temporary mess of an excavation site. For example, a wrought iron trellis or a large limestone boulder can anchor a corner of the yard while the adjacent earth is being tested and refined.
Irrigation planning must be adjusted when dealing with the high water retention levels of clay zones. We often design specific “low zones” for moisture loving plants, while using the higher, clay rich areas for structural hardscaping. The dense nature of clay makes it an excellent base for paver sand and crushed stone, provided it is properly compacted. By understanding the structural integrity of the clay, we can design more durable walkways and patios that will not shift significantly over the years.
Plant and Material Selection
Effective landscaping on clay rich sites requires selecting species that can handle the unique “shrink and swell” cycle of the soil. The following table provides a selection of plants that thrive in these conditions, ensuring that your garden remains vibrant even after you have harvested some of the earth for ceramic use.
| Plant Type | Sun Exposure | Soil Needs | Water Demand | Growth Speed | Maintenance Level |
| :— | :— | :— | :— | :— | :— |
| Swamp White Oak | Full Sun | Heavy Clay | High | Medium | Low |
| Purple Coneflower | Full Sun | Well Draining | Moderate | Fast | Low |
| Blue Flag Iris | Part Shade | Saturated Clay | High | Medium | Moderate |
| Switchgrass | Full Sun | Adaptable | Low | Fast | Low |
| Joe Pye Weed | Full Sun | Moist Clay | High | Fast | Moderate |
| Serviceberry | Part Sun | Loamy Clay | Moderate | Medium | Moderate |
In addition to plants, the material selection for the surrounding hardscape should include natural flagstone, river rocks, and hardwood mulch. These materials complement the earthy aesthetic and provide the necessary weight to keep soil in place during heavy rain. Using 3 inch river rock in drainage channels helps prevent the erosion of the very clay you might be trying to harvest for your studio.
Implementation Strategy
The process of shifting from a raw backyard to a refined ceramic resource begins with the “ribbon test.” As a consultant, I recommend taking a handful of moist soil from a depth of at least 12 inches. Squeeze the earth into a ball and then press it out between your thumb and forefinger to create a ribbon. If the ribbon extends more than 2 inches before breaking, you have found a high concentration of garden clay for pottery. This spot becomes your extraction point, which should be carefully marked on your landscape layout planning documents.
Once the site is identified, the next step is grading. You should use a sharpshooter spade to remove the topsoil or “O Horizon,” which is rich in organic matter but useless for pottery. Set this aside to use as a base for new garden beds. Dig down into the “B Horizon,” where the mineral clay resides. After collecting the clay in five gallon buckets, you must process it using a technique called slaking. This involves covering the dry clay chunks with water and letting them sit for 48 hours until they dissolve into a thin slurry.
After slaking, pass the mixture through a 60 mesh or 80 mesh screen to remove roots, rocks, and organic debris. The resulting liquid is then poured into “drying bats” or onto a plaster of Paris slab. As the water is wicked away, the clay reaches a plastic state suitable for throwing or hand building. From a landscaping perspective, the holes left behind from extraction must be backfilled with clean fill dirt or converted into a dedicated planting pocket with 2 inches of shredded cedar mulch to prevent compaction.
Common Landscaping Failures
The most frequent mistake in clay heavy landscapes is neglecting drainage. Many homeowners try to plant directly into heavy clay without considering that it can act like a bathtub, holding water until the roots of expensive plants rot. This is often exacerbated by improper grading, where water is inadvertently directed toward the home’s foundation. In professional landscaping, we use 4 inch perforated pipe wrapped in filter fabric to create French drains that move water away from these sensitive areas.
Soil compaction is another significant failure point. Using heavy machinery on wet clay destroys the soil structure, making it impossible for air or water to penetrate. We recommend using plywood sheets to distribute the weight of skid steers or mini excavators during the excavation process. Furthermore, root overcrowding occurs when plants are forced into small holes dug into the clay. Always dig a hole three times wider than the root ball to allow new roots to penetrate the surrounding earth.
Finally, irrigation inefficiencies are common when the system is not calibrated for clay’s slow absorption rate. Standard spray heads often deliver water faster than the clay can take it in, leading to massive runoff. Converting these zones to drip irrigation with inline emitters ensures that moisture reaches the roots without creating a muddy mess that complicates both gardening and clay harvesting.
Seasonal Maintenance
Spring is the time for soil assessment. After the winter thaw, check for “heaving,” where the expansion of freezing water in the clay has pushed plants or pavers out of the ground. Apply a fresh layer of organic compost to areas where you haven’t extracted clay to help break down the surface tension of the soil. This is also the ideal window to start a new “slaking” batch of garden clay for pottery before the summer heat hardens the ground.
During the summer, the focus shifts to moisture management. Clay can crack deeply when dry, which can damage root systems. Maintain a 3 inch depth of mulch across all beds to preserve soil moisture. In autumn, clear away fallen leaves and debris to prevent the buildup of anaerobic bacteria in the heavy soil. This is also the best time to dig for new clay, as the soil is usually dry enough to handle without becoming a sticky slurry.
Winter maintenance involves protecting the landscape from erosion. Use jute netting or straw wattles on any sloped areas where you have recently excavated clay. This prevents your valuable topsoil from washing away during winter rains. By following this seasonal rhythm, you ensure that the landscape remains a productive and aesthetic asset year round.
Professional Landscaping FAQ
How do I know if my clay is good for firing?
Perform a simple test by rolling a small coil and wrapping it around your finger. If it does not crack, it has high plasticity. Fire a small sample in a kiln to determine the maturing temperature and shrinkage rate.
Will digging for clay ruin my lawn’s drainage?
Not if you backfill correctly. Always replace the volume of removed clay with porous soil or drainage gravel. Professional grading ensures that the extraction site does not become a permanent puddle, maintaining the health of your turf and plants.
What is the best tool for harvesting garden clay?
A drain spade with a long, narrow blade is ideal for reaching deep veins of clay without disturbing too much surface area. For larger projects, a trenching tool or a mattock can help break through highly compacted or stony layers.
How can I make my clay soil more workable for plants?
Incorporate large amounts of organic matter such as compost, aged manure, or leaf mold. Avoid adding sand to heavy clay, as this can create a concrete like substance. Consistent mulching and minimal tilling will gradually improve the soil structure.
Is it safe to use garden clay for dinnerware?
Only if you have tested for contaminants and ensured the clay reaches a vitrified state during firing. Native clays often contain minerals like iron or manganese, which affect color and food safety. Always use a lead free glaze for functional pieces.