
Integrating a mud oven into a residential landscape involves balancing rustic aesthetics with rigorous structural demands. These earthen structures, often constructed from a precise mixture of clay, sand, and straw, provide a sensory anchor for the garden. They present a unique challenge in terms of site selection and climate resilience. A landscape architect must evaluate the soil load-bearing capacity and prevailing wind patterns before breaking ground. Mud ovens are heavy, often weighing several tons. This means the underlying sub-base must be flawlessly executed to prevent shifting or cracking over time. Furthermore, the smoke must be managed so it does not interfere with the home’s ventilation or become a nuisance to neighbors. By treating the oven as a primary architectural element rather than an afterthought, a designer can enhance the property value while creating an outdoor kitchen that feels organic to its surroundings. Functionality is paramount in these designs, as the oven must be accessible from the main house yet far enough away to satisfy local fire codes. The visual impact of a well-placed mud oven can transform a standard backyard into a Mediterranean or Southwestern-style retreat, depending on the finishing materials used.
Landscape Design Principles
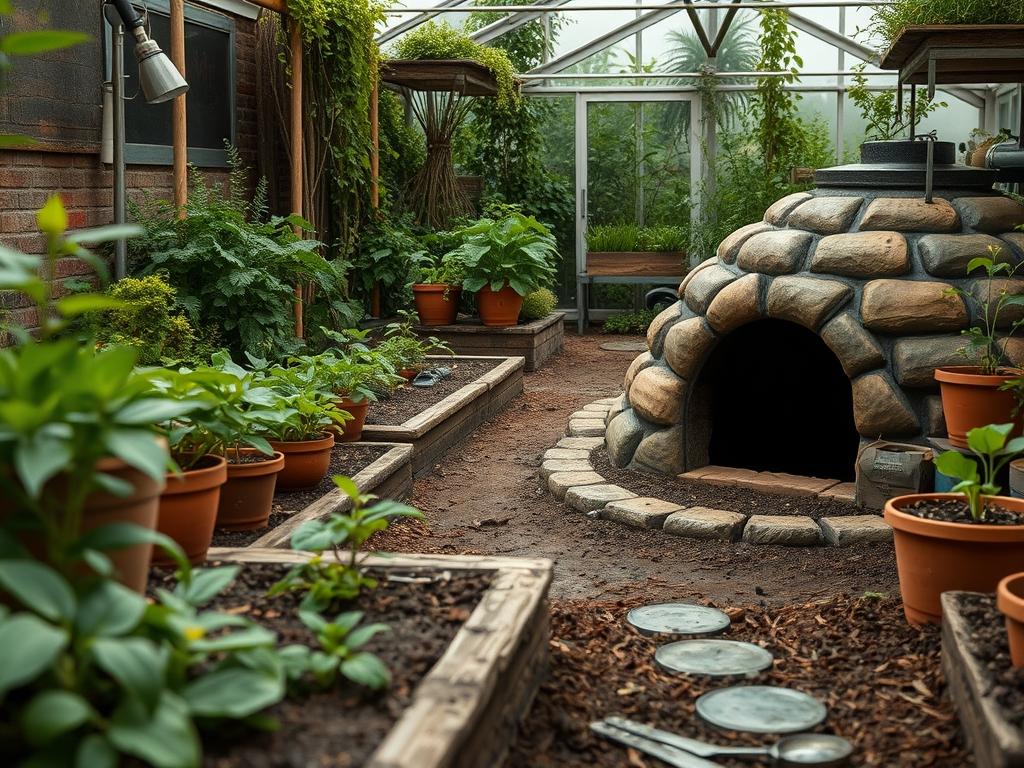
When building mud ovens, symmetry and focal points dictate how the eye moves through the space. An oven should rarely sit in isolation in the center of a lawn. Instead, use it to anchor a corner of a patio or integrate it into a retaining wall system. Visual balance is achieved by mirroring the bulk of the oven with vertical plantings or a pergola on the opposite side of the seating area. If the oven is taller than the surrounding shrubbery, it creates a dominant focal point that requires softened edges. Low-growing groundcovers and ornamental grasses can help transition the hard lines of the oven base into the softer textures of the lawn.
Elevation layers are critical for both drainage and ergonomics. Many designers prefer to elevate the oven on a masonry plinth made of reclaimed bricks or natural fieldstone. This brings the oven mouth to a comfortable working height and protects the cob structure from rising dampness. Irrigation planning must account for this structure; you should never place high-pressure sprinkler heads where they might spray the earthen walls. Use drip irrigation for nearby plant beds to keep moisture localized at the root zone and away from the oven’s foundation. Walkways should be at least 36 inches wide to allow for safe passage while carrying large pizza peels or heavy cast-iron cookware. Materials like decomposed granite or flagstone provide a stable, heat-resistant surface that complements the natural look of the mud.
Plant and Material Selection
The following table outlines the best plant choices to surround an outdoor cooking area. These species were selected for their resilience, fire resistance, or culinary utility.
| Plant Type | Sun Exposure | Soil Needs | Water Demand | Growth Speed | Maintenance Level |
| :— | :— | :— | :— | :— | :— |
| Rosemary (Rosmarinus officinalis) | Full Sun | Well-drained | Low | Moderate | Low |
| Culinary Sage (Salvia officinalis) | Full Sun | Sandy/Loamy | Low | Moderate | Low |
| Creeping Thyme (Thymus praecox) | Full Sun | Poor to Average | Medium | Fast | Moderate |
| Lavender (Lavandula angustifolia) | Full Sun | Gritty/Alkaline | Low | Moderate | Low |
| Switchgrass (Panicum virgatum) | Full/Partial | Various | Low to Medium | Fast | Minimal |
| Japanese Maple (Acer palmatum) | Partial Shade | Humus-rich | Medium | Slow | Medium |
Selecting high-quality building materials is just as important as the flora. The oven base requires 4 inches of compacted road base topped with 2 inches of leveling sand. For the thermal layer inside the oven, use refractory firebricks rated for high heat. The exterior can be finished with a lime-based plaster to provide weatherproofing while still allowing the structure to breathe.
Implementation Strategy
The first step in backyard layout planning is grading the site. You must ensure that the ground slopes away from the mud oven at a rate of at least 2 percent to prevent water from pooling at the base. Once the site is level, mark the perimeter of the oven and the surrounding social zone. Excavate the area for the foundation and install geotextile fabric to prevent soil mixing. This fabric provides a stable barrier between the native earth and your gravel base.
Hardscaping should precede any planting. Install the stone edging or brick borders that define the path to the oven. Once the oven structure is built and the scaffolding or forms are removed, you can begin the fine-tuning of the surrounding soil. Apply a layer of organic mulch at a depth of 3 inches to suppress weeds and retain moisture for your new plants. Ensure the mulch is kept several inches away from the oven base to prevent rot. Drainage is the most overlooked phase; consider installing a French drain if the oven is located at the foot of a slope. This keeps the earthen materials dry during heavy rains, which is the single most important factor in the longevity of a mud oven.
Common Landscaping Failures
The most frequent failure in projects involving mud ovens is poor drainage management. Because mud ovens are essentially sun-dried earth, prolonged exposure to standing water will cause the structure to melt or slump. If the oven is not placed on a raised, non-porous platform, it will draw moisture from the ground via capillary action. Another common mistake is root overcrowding. Planting large, fast-growing trees like Willow or Poplar too close to the oven will eventually lead to root systems heaving the foundation.
Soil compaction is often an issue during the construction phase. The heavy foot traffic and movement of materials can crush the soil structure, making it difficult for the surrounding landscape to thrive. Use plywood sheets to distribute weight when transporting heavy materials like fire clay or stone. Irrigation inefficiencies also plague these designs. If a lawn sprinkler is positioned to hit the side of a mud oven, the earthen plaster will erode within a single season. Finally, improper spacing of the social area can make the oven dangerous. There should be at least 5 feet of clear space in front of the oven door to allow the cook to work safely without backing into guests or vegetation.
Seasonal Maintenance
Seasonal management begins in the spring. This is the time to inspect the oven for any cracks that may have developed over winter. Apply a fresh clay slip or lime wash to seal the exterior. In the garden, prune away any frost-damaged limbs from your Rosemary or Lavender to promote new growth. Check the irrigation lines for leaks and ensure the emitters are still pointing away from the oven base.
Summer maintenance focuses on water management and fire safety. During dry spells, keep the surrounding vegetation hydrated to prevent it from becoming a fire hazard. Use a stiff brush to keep the flagstone paths clear of debris. In the autumn, clear fallen leaves away from the base of the oven immediately. Wet leaves can trap moisture against the earthen walls, leading to soft spots. This is also the best time to apply a fresh layer of bark mulch to protect plant roots from the coming cold.
Winter is the most critical time for the survival of a mud oven in colder climates. If the oven is not under a permanent roof, it must be covered with a high-quality breathable tarp. Do not use plastic, as it can trap condensation against the clay. Ensure that snow does not pile up against the sides of the structure. For the plants, minimal intervention is needed beyond ensuring that tall grasses are not flattened by snow, which might create a damp environment near the oven’s foundation.
Professional Landscaping FAQ
What is the best foundation for a mud oven?
A solid foundation consists of 4 inches of compacted gravel followed by a reinforced concrete slab or a thick masonry plinth. This prevents the oven from sinking and protects the base from groundwater.
Can I build a mud oven under a tree canopy?
It is generally discouraged due to fire risks and smoke damage to the foliage. If necessary, provide at least 10 feet of vertical clearance and use a spark arrestor on the chimney to protect the branches.
How do I prevent the mud oven from cracking?
Minor hairline cracks are normal due to thermal expansion. Prevent major structural failure by using the correct sand-to-clay ratio and ensuring the structure dries slowly and evenly over several weeks before the first firing.
Which plants are safest to grow near an outdoor oven?
Low resin, high moisture plants like succulents or herbaceous perennials like Sage and Thyme are ideal. Avoid volatile, oily plants like Eucalyptus or certain Evergreens that can ignite easily if a stray ember escapes.
How often does the landscape around the oven need renovation?
The hardscape should last decades if the drainage is correct. However, the mulch should be refreshed annually, and the oven exterior may need a new lime wash every two to three years to maintain its appearance.