
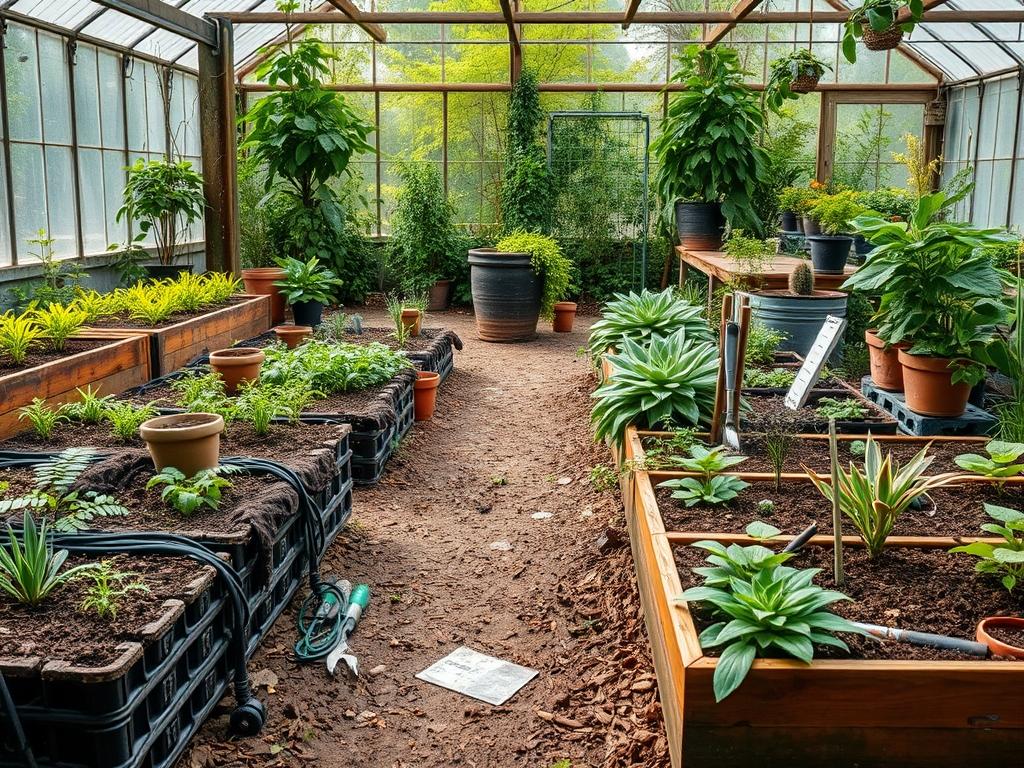
Converting a traditional turf grass lawn into a functional native woodland garden is one of the most rewarding challenges a homeowner can undertake. This process, often referred to as native woodland restoration, requires a departure from the high-maintenance, resource-heavy mentality of standard landscaping. Instead of fighting against the local ecosystem, you are inviting it back into your yard. This transition addresses critical climate considerations by reducing water consumption, mitigating local heat island effects, and creating a resilient habitat for native pollinators. From a design perspective, a well-executed woodland restoration significantly enhances curb appeal through its lush, multi-dimensional texture and year-round visual interest. Beyond aesthetics, the restoration provides a functional outdoor environment that offers natural cooling through shade and improved privacy via dense, tiered vegetation. To succeed, a designer must view the property as a vertical system of living layers rather than a flat green plane.
Landscape Design Principles
Successful native woodland restoration relies on several core architectural principles to ensure the space feels intentional rather than neglected. Symmetry in these environments is rarely rigid; instead, we aim for asymmetrical balance. This involves balancing a large Canopy Tree on one side of a view corridor with a cluster of mid-sized Understory Trees or dense shrubs on the opposite side. Focal points are essential to guide the eye through the space. A strategically placed Basalt Column Water Feature or a specimen Flowering Dogwood can serve as an anchor point that draws attention deeper into the garden.
Elevation layers are the hallmark of a true woodland. We design with five distinct tiers in mind: the overstory canopy, the understory, the shrub layer, the herbaceous layer, and the ground cover or “green mulch.” Irrigation planning must be specialized; while native plants are drought-tolerant once established, a Drip Irrigation System is vital during the first two to three years of root development. Walkways should be designed with organic curves, using materials like Decomposed Granite or Natural Pine Straw to mimic a forest floor. These paths provide the necessary human infrastructure to navigate the space without compacting the soil around sensitive root zones.
Plant and Material Selection
The following table outlines high-performance species and materials suitable for a temperate native woodland restoration. Selecting the right plant for the right microclimate within your yard is the foundation of long-term success.
| Plant Type | Species Example | Sun Exposure | Soil Needs | Water Demand | Growth Speed | Maintenance Level |
| :— | :— | :— | :— | :— | :— | :— |
| Canopy Tree | White Oak (Quercus alba) | Full Sun to Partial Shade | Well-drained, acidic | Moderate to Low | Slow | Low |
| Understory Tree | Eastern Redbud (Cercis canadensis) | Partial Shade | Moist, loamy | Moderate | Medium | Low |
| Deciduous Shrub | Oakleaf Hydrangea (Hydrangea quercifolia) | Partial Sun to Shade | Rich, organic | Moderate | Medium | Medium |
| Evergreen Shrub | Mountain Laurel (Kalmia latifolia) | Shade to Partial Sun | Cool, acidic | High (early) | Slow | High |
| Perennial Fern | Christmas Fern (Polystichum acrostichoides) | Full Shade | Moist, well-drained | Moderate | Medium | Low |
| Groundcover | Wild Ginger (Asarum canadense) | Deep Shade | Humus-rich | Moderate | Slow | Low |
| Hardscape Path | Cedar Wood Chips | N/A | Level grade | None | N/A | Moderate |
Implementation Strategy
Starting a Native Woodland Restoration requires a methodical approach to ensure the ecosystem stabilizes quickly. Follow these ten steps for a professional-grade installation.
Step 1: Conduct a thorough site inventory. Use a Soil pH Tester to determine acidity and observe drainage patterns after a heavy rain. You must identify where water pools and where it moves rapidly.
Step 2: Remove invasive species and existing turf. Avoid using broad-spectrum herbicides if possible; instead, use Deadeners or solarization methods using 6-mil Black Plastic Sheeting to clear the area without disrupting soil microbiology.
Step 3: Address grading and drainage. If your yard has steep slopes, install Rock Swales or small Retaining Walls made of Natural Fieldstone to slow down runoff and prevent erosion.
Step 4: Soil remediation. Woodland plants thrive in “fungally dominant” soil. Incorporate 3 inches of Aged Leaf Mold or Arborist Wood Chips into the top layer of soil to jumpstart the decomposition cycle.
Step 5: Define boundaries and hardscaping. Lay out your paths using Garden Edging or Steel Stakes. This defines the “human” areas versus the “wild” areas, ensuring the restoration looks like a deliberate landscape choice.
Step 6: Plant the canopy. Install your largest trees first. Use a Power Auger for large root balls, ensuring the Root Flare is slightly above the soil line to prevent rot.
Step 7: Install the understory and sub-canopy. These smaller trees, such as Serviceberry, provide the transition between the high branches and the shrub layer.
Step 8: Fill the shrub layer. Plant in drifts of three or five to create a naturalized appearing mass. Focus on species that provide berries or nesting sites for local birds.
Step 9: Layer the herbaceous perennials and groundcovers. Space these according to their mature width to avoid future overcrowding. Use a Hand Trowel to tuck in smaller 4-inch pots or plugs.
Step 10: Final mulching and hydration. Apply a 4-inch layer of Hardwood Mulch or Pine Bark Nuggets across all planted areas. This holds moisture and suppresses weed regrowth while the native plants establish their footprint.
Common Landscaping Failures
The most frequent mistake in woodland restoration is improper drainage management. Many homeowners plant moisture-loving woodland species in low-lying areas that lack oxygen, leading to root rot. Conversely, planting shade-loving species in areas that receive intense afternoon “sun scald” will cause premature leaf drop and plant death.
Root overcrowding is another significant issue. It is tempting to plant densely for immediate impact; however, a White Oak that looks small today will eventually require a 50-foot radius. Ignoring mature spread leads to competition for nutrients and poor air circulation, which invites fungal diseases. Furthermore, soil compaction is a silent killer. Heavy machinery used during the hardscaping phase can crush the pore spaces in the soil, making it impossible for roots to penetrate. Always use Plywood Sheets to distribute weight if heavy equipment is necessary. Finally, many restorations fail because the homeowner neglects the “Transition Zone.” The area where the woodland meets the remaining lawn or the street needs a clean, crisp edge to signal to neighbors that the wild look is intentional.
Seasonal Maintenance
Landscape management for a woodland restoration follows the rhythm of the forest. In the spring, focus on “editing” rather than “cleaning.” Remove any aggressive non-native weeds that emerge before the canopy fills in. Check your Irrigation Lines for leaks and ensure that the Flowering Dogwoods or other early bloomers are not being choked by winter debris.
Summer maintenance involves deep, infrequent watering during heat waves. This is also the time to monitor for pests. Rather than using pesticides, encourage beneficial insects by maintaining a diverse plant palette. In autumn, the most important task is to “leave the leaves.” Fallen foliage is the natural fertilizer for a woodland system. Use a Leaf Blower on its lowest setting to move leaves off your paths and back into the planting beds where they can decompose. Winter is the season for structural pruning. Use Bypass Pruners to remove dead or crossing branches from your trees while they are dormant, and check that your Mulch Depth is still sufficient to protect roots from the freeze-thaw cycle.
Professional Landscaping FAQ
How long does it take for a woodland restoration to look established?
Most installations require a “three-year window.” The first year they sleep, the second year they creep, and the third year they leap. Expect a full, lush appearance by the end of the third growing season.
Can I restore a woodland in a backyard that is currently full sun?
Yes, but the strategy changes. You must plant “pioneer species” like River Birch or Native Pines first. These fast-growing trees create the shade necessary for more sensitive woodland species to be planted five years later.
How do I prevent my woodland restoration from looking like a patch of weeds?
Clarity of intent is key. Maintain sharp edges with Steel Edging, include human elements like a Teak Bench, and plant in large, repetitive drifts rather than single, scattered plants to provide visual cohesion.
Is it necessary to use supplemental fertilizer?
In a true native restoration, supplemental chemical fertilizers are usually unnecessary and can actually harm the Mycorrhizal Fungi in the soil. High-quality Organic Compost or Leaf Mold is the preferred method for boosting nutrient levels.
Does a woodland garden increase the risk of ticks or pests?
While any vegetated area can host insects, a balanced woodland ecosystem attracts predators like birds, frogs, and beneficial wasps that keep pest populations in check. Keeping paths wide and mowed at the edges helps minimize direct contact.