
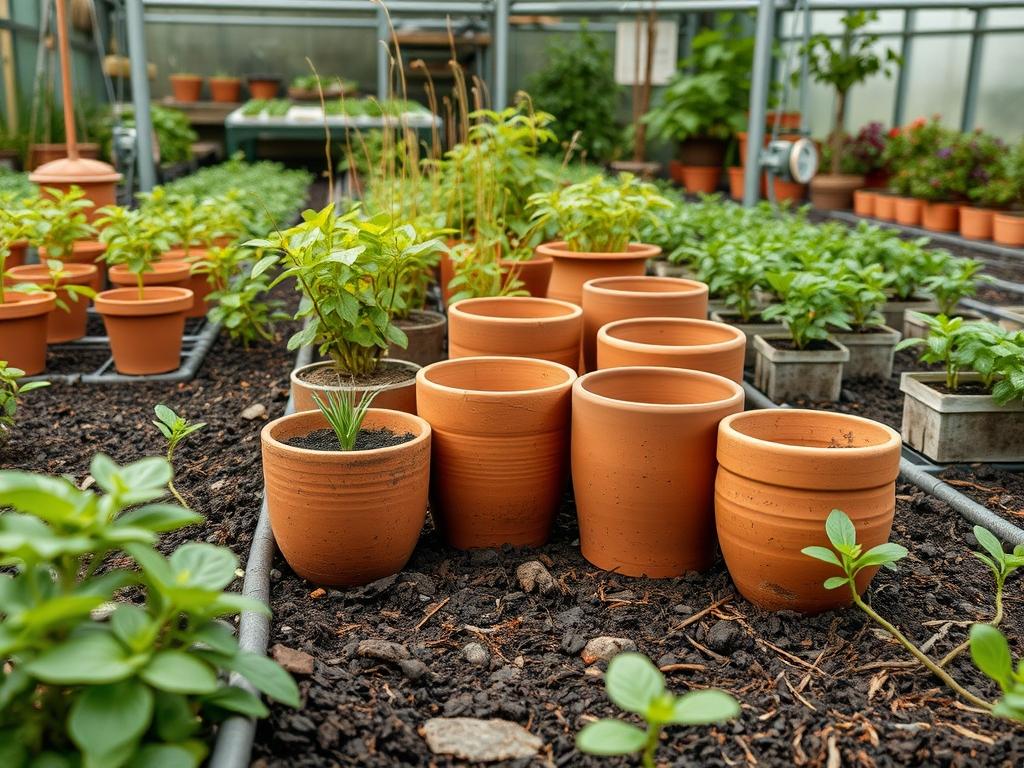
Successful landscape architecture requires a deep understanding of the transition from a controlled nursery environment to the unpredictable rigors of the open site. The utilization of Traditional Clay Seed Pots represents a sophisticated approach to this transition, offering a breathable, thermally stable vessel for young specimens. In professional practice, the goal is often to maximize curb appeal while ensuring the long-term viability of the botanical investment. When a designer introduces plants that have been hardened in Terracotta or Clay, the survival rate increases significantly compared to those grown in thin plastic liners. This is particularly relevant in climates with high diurnal temperature swings, where the thermal mass of the Natural Clay protects sensitive root systems. Theporous nature of these pots allows for essential gas exchange between the root zone and the atmosphere, preventing the anaerobic conditions that often plague modern container gardening. Consequently, integrating these traditional vessels into your propagation strategy serves both a functional and an aesthetic purpose, laying a foundation for a robust, resilient outdoor environment.
Each landscape project begins with a valuation of the site’s unique microclimate and soil profile. A professional outdoor environment consultant views the preparation phase as the most critical stage of the entire project. By using Traditional Clay Seed Pots, a designer can manage the moisture levels of specific plants more precisely during the early growth stages before they are locked into the permanent landscape plan. This methodology is particularly effective for high-value perennials or native species that require specific drainage parameters. As these plants develop, their root structures become denser and more fibrous within the clay walls, which simplifies the eventual transplanting process and reduces the likelihood of transplant shock. The result is a landscape that establishes faster, looks healthier, and contributes more effectively to the overall property value and visual harmony of the home.
Landscape Design Principles
In the realm of professional landscaping, the arrangement of elements must adhere to fundamental principles of symmetry and visual balance to achieve a cohesive look. When planning your garden beds, consider the use of focal points that draw the eye through the space. Starting your focal specimens in Traditional Clay Seed Pots allows you to move them around the site during the planning phase, testing their impact at different Elevation Layers. A well-planned garden uses these layers to create depth; low-growing groundcovers are placed in the foreground, while taller shrubs and ornamental trees form the backdrop. This tiered approach is essential for achieving a professional finish that feels intentional rather than haphazard.
Irrigation planning must be integrated into the design from the very beginning. The moisture-wicking properties of Clay serve as an indicator for the hydration needs of the landscape. If the exterior of the pot is damp, the soil is saturated; if it is bone dry and pale, the plant requires attention. This visual cue can be translated to the larger garden through the installation of a Drip Irrigation System. Furthermore, symmetry is not merely about mirroring the left side of a garden to the right side; it is about the balance of mass and void. Using uniform sets of Traditional Clay Seed Pots in the staging area can provide a rhythmic consistency that carries over into the permanent planting of Boxwood or Lavender along your Walkways. Visual balance is also achieved through the careful selection of materials that complement the architectural style of the residence, ensuring the transition from the indoor living space to the outdoor environment is seamless and professional.
Plant and Material Selection
Selecting the right plant for the right place is the hallmark of a skilled landscape architect. The following table outlines specific plants that thrive when started in traditional clay vessels, along with their primary requirements for successful establishment in the outdoor environment.
| Plant Type | Sun Exposure | Soil Needs | Water Demand | Growth Speed | Maintenance Level |
| :— | :— | :— | :— | :— | :— |
| Lavandula angustifolia | Full Sun | Well-drained Sandy Loam | Low | Moderate | Low |
| Echinacea purpurea | Full Sun | Organic Compost Mix | Moderate | Fast | Medium |
| Rosmarinus officinalis | Full Sun | Gravelly Soil | Low | Slow | Low |
| Salvia nemorosa | Full or Part Sun | Rich Loam | Moderate | Fast | Medium |
| Thymus vulgaris | Full Sun | Gritty Substrate | Low | Moderate | Low |
| Heuchera | Part Shade | Humus Rich Soil | Moderate | Slow | Medium |
In addition to plant selection, the materials used for the pots themselves are vital. Professionals prefer Red Earthenware Clay or Stoneware Clay because of its durability. For the substrate inside these pots, a mixture of Peat Moss, Perlite, and Coarse Sand at a ratio of 1:1:1 provides the ideal balance of aeration and moisture retention. When the time comes to move these starts into the ground, the use of High-Quality Mulch, such as Shredded Bark or Pine Straw, at a depth of 3 inches will help maintain the soil temperature and moisture levels that the plants became accustomed to within their clay starters.
Implementation Strategy
The process of making Traditional Clay Seed Pots begins with selecting a high-plasticity Natural Clay. You will need a Wooden Mandrel or a Basic Mold to ensure uniformity across your batch. Roll the clay out to a thickness of 0.5 inches and wrap it around the mold, ensuring the bottom is securely attached and a Drainage Hole is pierced in the center. Allow these to dry in a shaded area for 48 hours to reach the leather-hard stage before firing them in a Kiln or a High-Heat Fire Pit. Firing at roughly 1,800 degrees Fahrenheit will create a durable, porous finish that is characteristic of traditional terracotta.
Once your pots are ready, the planting strategy involves careful site preparation. Begin by Grading the area to ensure that water flows away from the home’s foundation and toward designated drainage zones. Use a Trenching Spade to create clean Edging for your garden beds, which prevents turf grass from encroaching on your ornamental areas. Before transplanting, scarify the soil to a depth of 8 inches to prevent Soil Compaction. Place your clay-grown starts into the ground at the same depth they were in the pot; burying the stem too deep can lead to rot, while leaving the roots exposed will cause dehydration. After planting, hand-water each specimen to settle the soil around the roots and eliminate air pockets. The final step of the implementation strategy is the application of a Slow-Release Fertilizer and a consistent layer of Hardwood Mulch to protect the new installation.
Common Landscaping Failures
One of the most frequent mistakes in professional landscaping is the failure to address drainage. When water pools around the base of a plant, it suffocates the roots, leading to a condition often mistaken for dehydration. By using Traditional Clay Seed Pots, you can mitigate some of this risk during the early stages, but the permanent site must have a proper Swale or French Drain if the native soil is heavy clay. Another common failure is root overcrowding, also known as being root-bound. While clay pots encourage healthy root branching, leaving a plant in a 4-inch Pot for too long will cause the roots to circle the interior, eventually strangling the plant once it is placed in the ground.
Improper spacing is another hallmark of an amateur installation. It is tempting to place plants close together for immediate impact, but a professional knows to account for the mature width of the species. For example, a Juniper that looks perfect at 12-inch spacing may require 4 feet of room after five years. Soil compaction is also a silent killer of new landscapes. Heavy foot traffic or the use of heavy machinery during construction can crush the soil structure, preventing water and oxygen from reaching the roots. Finally, irrigation inefficiencies, such as watering the leaves rather than the root zone or watering during the heat of the day, can lead to fungal diseases and wasted resources.
Seasonal Maintenance
A professional landscape requires a structured maintenance schedule that changes with the seasons. During the spring, focus on cleaning out your Traditional Clay Seed Pots with a solution of Vinegar and Water to remove mineral deposits and pathogens. This is also the time for Pruning any winter damage and applying a fresh layer of Compost to the beds. As summer arrives, the primary focus shifts to irrigation management. Monitor the soil moisture daily, especially during heat waves, and ensure that your Drip Tubing is functioning correctly without clogs or leaks.
Autumn is the season for soil building and preparation for dormancy. This is an excellent time to start new seeds in clay pots for the following year, allowing them to establish a strong root system before the ground freezes. Remove fallen leaves from the crown of your plants to prevent rot, and apply a final application of Mulch to insulate the roots against the coming cold. In the winter, focus on protecting your hardscape and any delicate pottery. Traditional Clay Seed Pots should be moved into a Shed or Basement if they are not frost-rated, as moisture trapped in the clay walls can expand and crack the pots during a freeze. Check on your dormant plants periodically to ensure they are not drying out completely, especially if there is a lack of snow cover.
Professional Landscaping FAQ
How do clay pots improve plant health?
Traditional Clay Seed Pots are highly porous, which facilitates superior gas exchange and moisture regulation. This prevents root rot and encourages a dense, fibrous root system that survives the transition to the permanent landscape much better than plastic-grown counterparts.
What is the best way to clean old clay pots?
To maintain a sterile environment, soak your Terracotta pots in a mixture of one part Bleach to nine parts water. Use a Stiff Brush to remove algae and salt buildup, then rinse thoroughly and air dry before reuse.
Can I leave clay pots outside during winter?
Standard Red Clay is prone to cracking in freezing temperatures because it absorbs water. It is best to store these pots in a dry Garage or Greenhouse to prevent the expansion of ice from shattering the earthen material.
How deep should I mulch around new starts?
A depth of 2 to 3 inches is ideal for most landscapes. Ensure the Organic Mulch does not touch the stems of the plants directly, as this can trap moisture against the bark and encourage pest infestations or fungal rot.
How do I know if my soil is compacted?
If a Garden Trowel cannot easily penetrate the soil, or if water pools on the surface for more than 10 minutes after a rain, you likely have compaction. Rectify this by incorporating Core Aeration and organic amendments.