
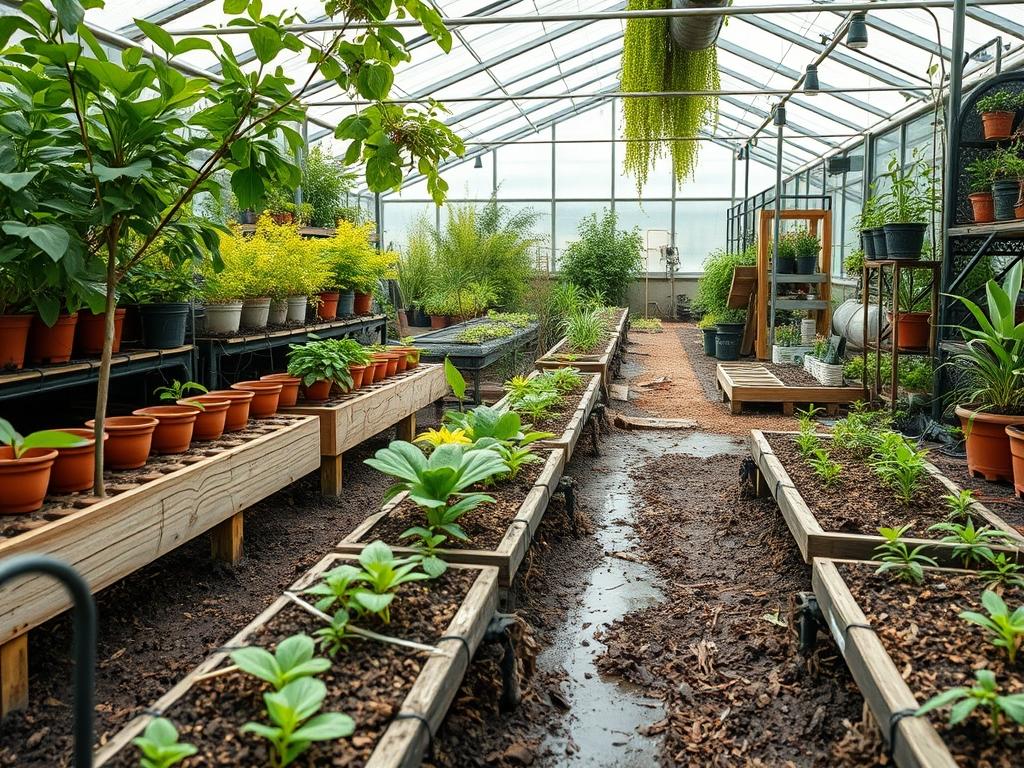
Transforming a poorly drained residential lot into a functional ecosystem requires more than just planting a few water-loving flowers; it necessitates a fundamental shift in how we perceive property aesthetics and site hydrology. Many homeowners view a soggy backyard or a depression that holds water after a storm as a structural liability. However, these zones offer a unique opportunity for a native wetland restoration project that can significantly enhance curb appeal while solving persistent drainage issues. Unlike traditional turf landscapes that struggle in anaerobic soil conditions, a deliberate wetland design leverages the natural topography to create a thriving, low-maintenance environment. This process integrates ecological restoration with high-end landscape architecture, ensuring the result is both scientifically sound and visually striking. By working with the land rather than against it, we can create outdoor living spaces that manage runoff, attract beneficial pollinators, and provide a lush, multi-textured backdrop for the home.
Landscape Design Principles
Successful native wetland restoration hinges on the same foundational principles used in traditional formal gardens, adapted for a wilder, more fluid environment. Visual balance is the starting point. When planning a wetland area, symmetry does not mean a mirror image, but rather a balanced distribution of visual weight across the landscape. We utilize focal points, such as a large Buttonbush or a strategically placed boulder, to draw the eye toward specific zones of the garden. These anchors prevent the space from looking unkempt or overgrown, which is a common concern for homeowners transitioning away from manicured lawns.
Elevation layers play a vital role in both the health of the plants and the depth of the visual field. We categorize these into zones based on their proximity to the water source: the emergent zone, the transition zone, and the upland buffer. By layering plants of varying heights, such as tall Common Rush behind low-growing Marsh Marigold, we create a sense of verticality that mimics natural pond edges. Irrigation planning is equally critical; even in a wetland, brand-new plantings require a reliable water source during their first year of establishment. We often incorporate a hidden drip irrigation system or a series of swales to ensure that even during dry spells, the restoration persists. To make the space functional for residents, we integrate walkways using decomposed granite or elevated timber boardwalks. These hardscaping elements provide a clean contrast to the soft, organic lines of the vegetation and allow for foot traffic without compacting the sensitive, saturated soil.
Plant and Material Selection
The success of any native wetland restoration relies on selecting species that thrive in the specific hydro-period of your site. The table below outlines high-performance plants used by professionals to create resilient wetland environments.
| Plant Type | Sun Exposure | Soil Needs | Water Demand | Growth Speed | Maintenance Level |
| :— | :— | :— | :— | :— | :— |
| Blue Flag Iris | Full Sun | Mucky, Acidic | High | Moderate | Low |
| Swamp Milkweed | Full Sun to Part Shade | Clay, Silty | High | Fast | Medium |
| Soft Rush | Full Sun | Wet Clay | Very High | Fast | Low |
| Cardinal Flower | Part Shade | Rich, Humus | High | Moderate | Medium |
| Buttonbush | Full Sun to Part Shade | Saturated | High | Moderate | Low |
| Joe Pye Weed | Full Sun | Fertile, Moist | High | Very Fast | Low |
Implementation Strategy
Implementing a native wetland restoration begins with a precise site assessment and the use of the right tools. We start by using a laser level or transit level to map the site’s contours, identifying the lowest points where water naturally collects. Once the footprint is established, we use a square-point shovel or a mini-excavator to refine the grading. It is essential to create gentle slopes rather than steep drops; a 3:1 ratio (three feet of horizontal run for every one foot of vertical drop) is generally the gold standard for residential wetland edges. This grading ensures that water moves slowly, allowing for maximum infiltration before it leaves the property.
After the rough grading is complete, we install a 4-ounce non-woven geotextile fabric in areas planned for walkways or heavy stone features to prevent them from sinking into the soft Earth. If the soil is heavily compacted from construction, we use a broadfork to aerate the top 12 inches of soil without flipping the layers, which preserves the existing microbial life. When it comes time to plant, we follow a pattern of clusters. Grouping at least five individuals of the same species together creates a more intentional, designed look and makes the area more attractive to pollinators. Once the plants are in the ground, we apply a 3-inch layer of hardwood mulch or pine bark. In a wetland setting, we avoid lightweight mulches like straw, which will simply float away during the next heavy rain event. Instead, we may use river rock or pea gravel around the immediate water inlet to dissipate the energy of incoming runoff and prevent erosion.
Common Landscaping Failures
The most frequent failure in home wetland restoration is improper drainage planning, specifically “the bathtub effect.” This occurs when a homeowner digs a depression in heavy clay soil without providing an overflow outlet. Without an exit point, the water becomes stagnant and goes anaerobic, which can kill even water-loving plants and create a breeding ground for mosquitoes. A professional design always includes a clear overflow swale or a pop-up emitter to handle extreme weather events.
Another common mistake is root overcrowding and improper spacing. Homeowners often want “instant” privacy or coverage, leading them to plant species too close together. This creates a lack of airflow, which encourages fungal diseases like powdery mildew. It is vital to respect the mature spread of the plant; for example, a Buttonbush can grow up to 8 feet wide, and starving it of space will lead to a leggy, unhealthy specimen. Finally, soil compaction remains a silent killer. Heavy machinery used during the installation phase can crush the soil structure, making it impossible for roots to penetrate or for water to drain. We always designate a “no-go zone” for heavy equipment to protect the integrity of the planting beds.
Seasonal Maintenance
Winter is the season for structural assessment and dormant pruning. We use bypass loppers to remove dead wood from woody shrubs and cut back herbaceous perennials like Joe Pye Weed to about 6 inches above the ground. This allows the crowns of the plants to rest and prevents heavy snow from snapping brittle stems. It is also the best time to inspect the retaining walls or stone edging for any signs of shifting caused by the freeze-thaw cycle.
Spring requires a focus on weed management and sediment removal. As the ground thaws, we check the inlets of our drainage swales for any debris or leaf litter that may have accumulated over the winter. This is also the time to apply a fresh 2-inch layer of mulch if the previous year’s layer has decomposed. Summer maintenance is primarily about monitoring water levels. During extreme heat, even a wetland can dry out. We check for signs of wilt in the transition-zone plants and ensure the irrigation system is providing enough supplemental moisture to keep the soil damp. In Autumn, the goal is to manage biomass. While we leave most seed heads for the birds, we remove any invasive species that may have drifted in, ensuring the native plants have the best chance to thrive when they emerge the following spring.
Professional Landscaping FAQ
How do I prevent mosquitoes in my home wetland?
Mosquitoes require stagnant water. By incorporating native fish, attracting dragonflies with plants like Blue Flag Iris, and ensuring water moves via a solar pump or natural drainage, you break the breeding cycle. Healthy wetlands are actually mosquito sinks.
Can I build a wetland restoration over a septic field?
No, you should never plant a wetland or deep-rooted trees over a septic leach field. The excess moisture can interfere with the evaporation process required for the system to function. Keep wetland restorations at least 15 feet away from septic components.
Will a wetland restoration decrease my property value?
On the contrary, a professionally designed wetland increases value by solving drainage problems and creating a unique edible or pollinator-friendly landscape. It replaces high-maintenance turf with a high-performing ecological asset that provides year-round visual interest and privacy.
What is the best mulch for a wet area?
Avoid light, floating mulches. Use double-ground hardwood mulch or shredded cedar, which knits together and stays in place. For high-flow areas near downspouts, use river rock or rip-rap to prevent the soil from washing away.
How long does it take for a wetland to look “finished”?
Most native wetland plants are fast growers. With proper soil preparation and irrigation, a restoration typically reaches 70 percent maturity within two growing seasons. By the third year, the ecosystem is usually self-sustaining and fully established.