
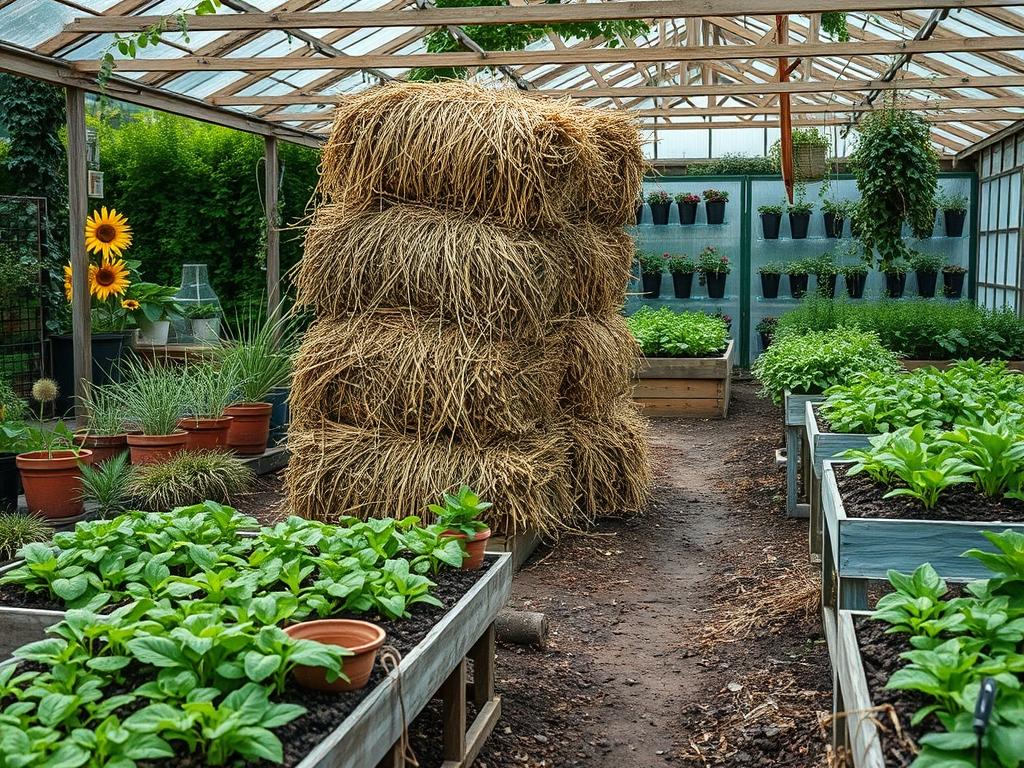
Small acreage landowners often face a difficult choice between industrial efficiency and aesthetic preservation. In the context of a working farm, the storage of forage represents one of the most significant spatial challenges. While modern plastic-wrapped bales offer convenience, they frequently detract from the visual harmony of a managed landscape and create long-term waste management issues. Traditional hay stacking, an ancient architectural practice, provides a sophisticated alternative that enhances curb appeal while serving a vital functional role. By treating the haystack as a deliberate landscape feature, a consultant can transform a mundane pile of fodder into a structured element that responds to local climate conditions and topographic variations. This approach requires a deep understanding of site orientation, wind patterns, and moisture management. A well-placed stack acts as a windbreak and a vertical focal point, anchoring the open space of a pasture and providing a sense of historical continuity.
Landscape Design Principles
Integrating a traditional haystack into a professional landscape plan begins with the principle of spatial hierarchy. The stack should serve as a primary focal point, similar to how one might position a gazebo or a large specimen tree. For small farms, symmetry is often achieved by flanking the stack with secondary structures or permanent plantings. Designers must consider the elevation of the site; placing a stack on a natural rise increases its visual impact and significantly improves its utility by facilitating natural drainage away from the base.
Visual balance is achieved through the use of “layers” in the landscape. The stack represents the vertical layer, which should be tempered by mid-level shrubs and low-lying groundcovers. This creates a transition from the heavy, textured mass of the hay to the surrounding lawn or pasture. Walkways are another critical design element. A defined path made of crushed limestone or decomposed granite should lead from the primary barn or tool shed to the stack. This ensures the area remains accessible during wet seasons and prevents the soil from becoming a muddy eyesore. Furthermore, the stack should be oriented to account for the prevailing winds. In most temperate regions, positioning the narrowest profile of the stack toward the strongest gusts reduces the risk of structural collapse and minimizes moisture penetration.
Plant and Material Selection
The following table outlines plants and materials that complement the environment of a traditional hay stack, focusing on species that thrive in the disturbed or high-nutrient soils often found near forage storage areas.
| Plant Type | Sun Exposure | Soil Needs | Water Demand | Growth Speed | Maintenance Level |
| :— | :— | :— | :— | :— | :— |
| Timothy Grass | Full Sun | Well-drained | Moderate | Fast | Low |
| Red Clover | Full or Partial | Loamy or Clay | Moderate | Medium | Medium |
| Switchgrass | Full Sun | Varied | Low | Fast | Low |
| Creeping Juniper | Full Sun | Sandy or Dry | Low | Slow | Very Low |
| Perennial Rye | Full or Partial | Rich Loam | High | Fast | Medium |
| Smooth Brome | Full Sun | Deep Loam | Low | Fast | Medium |
When selecting materials for the stack base, durability is paramount. Use pressure-treated 4×4 timbers or cedar posts to create a raised platform. This elevation prevents ground moisture from wicking into the hay. For the thatch or “cap” of the stack, long-stemmed cereal rye straw is the traditional material of choice because of its superior water-shedding properties compared to standard meadow hay.
Implementation Strategy
The successful execution of a traditional hay stack begins with rigorous site preparation. First, the area must undergo professional grading to ensure a 2 percent slope away from the center of the stack site. This prevents water from pooling at the foundation. Once the grade is established, an 8-inch layer of coarse gravel or recycled concrete should be laid down to create a stable, well-draining pad.
Over this base, a framework of hardwood poles is typically erected. For a standard conical stack, a central 12-foot cedar pole acts as the primary axis. The stacking process itself is a form of manual hardscaping. The hay must be “locked” by overlapping the handfuls of forage in a spiral pattern, moving from the outside edge toward the center. This creates internal tension that holds the structure together against gravity and wind.
As the stack reaches its desired height, the architect should oversee the “combing” of the exterior. Use a wooden landscape rake to pull the outer straws downward. This creates a vertical grain that encourages rainwater to run off the surface rather than soaking into the core. Finally, the perimeter should be defined with steel landscape edging or a retaining wall of native fieldstone to keep the area tidy and prevent the hay from creeping into adjacent garden beds. A 3-inch layer of wood chip mulch placed around the stone base will suppress weeds and provide a clean walking surface for daily maintenance.
Common Landscaping Failures
The most frequent failure in managing farm-based landscapes is poor drainage. If a hay stack is placed in a low-lying area, hydrostatic pressure will force water upward through the base, leading to mold and internal combustion risks. Even a few inches of standing water can ruin an entire season of work. Another common mistake is root overcrowding. While it is tempting to plant decorative shrubs directly against the stack, these plants compete for space and hold humidity against the hay. A minimum 4-foot clearance must be maintained between any permanent vegetation and the stack.
Improper spacing also affects airflow. In a professional layout, multiple stacks should be spaced at a distance equal to 1.5 times their height. This prevents “wind tunneling” effects that can strip the thatch from the roof of the stack. Soil compaction is another silent killer of farm aesthetics. Repeated foot traffic or machinery use around the stack without a proper hardscape path will compress the soil, killing the microorganisms necessary for healthy plant growth and leading to unsightly bare patches and erosion. Finally, irrigation inefficiencies occur when automated sprinters are not recalibrated for the presence of the stack. Water should never hit the stack directly; it must be directed solely toward the surrounding ornamental plants.
Seasonal Maintenance
Landscape management on a small farm follows the rhythm of the harvest and the weather. In the Spring, focus on site remediation. Inspect the gravel base for settling and replenish the mulch layers. This is also the time to divide any native grasses or perennials that have become too large for their designated beds.
Summer is the peak of activity, involving the actual harvest and stack building. During this phase, maintenance focuses on “topping off” the stack as the hay settles. It is vital to check the structural integrity of the central pole and ensure that the irrigation lines are functioning correctly for the surrounding greenery without leaking near the forage.
Autumn prep involves “winterizing” the landscape. The outer layer of the stack should be inspected for thin spots. Many professionals apply a sacrificial layer of wheat straw at this time to act as an umbrella against winter precipitation. Cut back any dead perennial stalks to maintain a clean aesthetic.
During the Winter, the focus shifts to access and usage. Ensure that snow removal does not damage the fieldstone edging or the base of the stack. As the hay is consumed from the stack, it should be taken in “sections” to maintain the overall balance and prevent the remaining structure from leaning or collapsing.
Professional Landscaping FAQ
How do I prevent my stack from rotting at the bottom?
Always construct the stack on a raised foundation. Use 6-inch gravel beds and a wooden pallet system to ensure air circulates beneath the forage. This separation prevents capillary action from drawing moisture out of the soil into the hay.
What is the best way to anchor a stack against high winds?
Use a central cedar heartwood pole buried at least three feet deep. For additional security, weighted ropes can be draped over the top of the stack and anchored to heavy limestone blocks at the base of the structure.
Can I use decorative plants to hide the base of the stack?
Yes, but maintain a 4-foot buffer zone. Use creeping juniper or switchgrass in the surrounding beds. These species provide a visual anchor without trapping moisture or interfering with the structural integrity of the hay storage area.
Is specialized equipment needed for traditional stacking?
A landscape rake, a high-quality pitchfork, and a leveling tool are essential. For the base, you will need a plate compactor to ensure the gravel pad is stable enough to support the weight of several tons of hay.
How does the haystack affect my overall property drainage?
A large stack acts as an impermeable surface. You must plan for “roof runoff” by installing a French drain or a shallow gravel swale around the perimeter to catch diverted rainwater and move it toward a safe discharge point.