
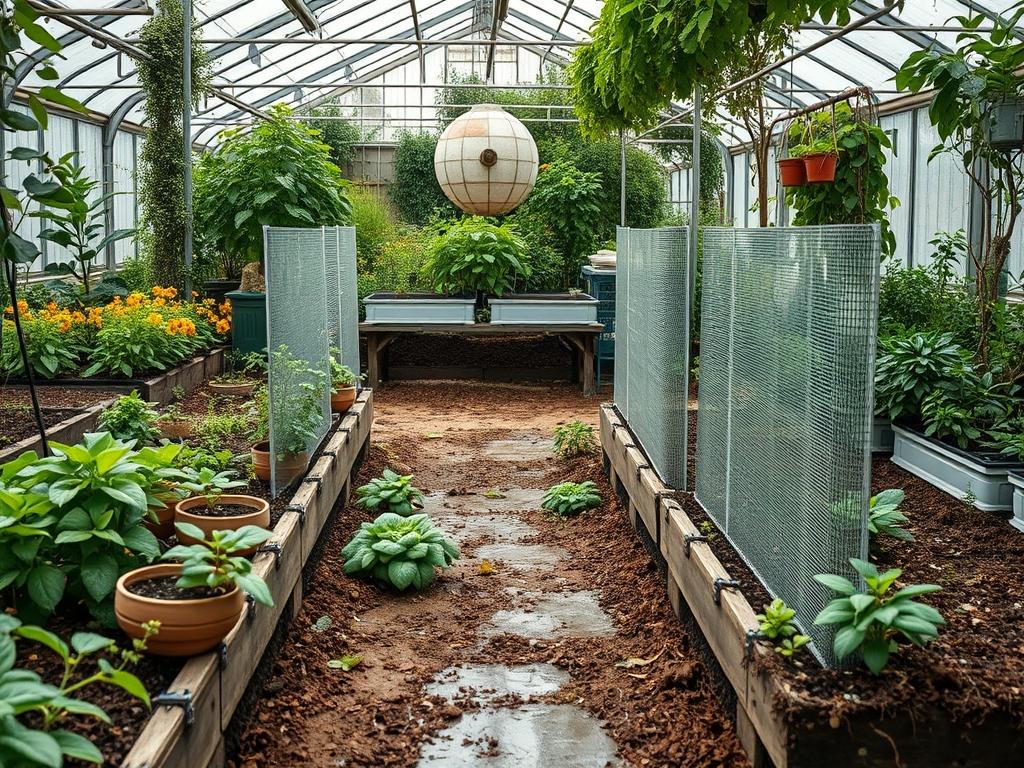
Safeguarding the genetic integrity of specialized crops or heirloom varieties requires more than just physical distance; it demands a sophisticated architectural approach to the landscape. When designing for seed purity, the primary challenge involves disrupting the flight paths of pollinators and the drift of windborne pollen without compromising the visual appeal of the estate. Professional seed savers often struggle with the limitations of small acreage, where the standard isolation distances recommended by agricultural extensions are impossible to meet. Here, the landscape architect must intervene to create vertical obstructions and dense vegetative filters that serve as functional barriers. This strategy, known as biological isolation, utilizes living structures to redirect air currents and baffle insects. By integrating these barriers into a cohesive outdoor environment, a property owner can maintain a high-functioning seed sanctuary while increasing curb appeal and providing a lush, private retreat.
Functional landscaping for seed purity must account for the local microclimate and the specific mechanisms of pollination for the target species. Some plants rely on the wind, necessitating thick, non-porous barriers that can break a breeze. Others depend on bees or butterflies, requiring the use of trap crops or physical height to steer these insects away from the sensitive zones. Beyond the technical requirements, the design must remain grounded in core landscaping principles such as elevation layering and proper drainage. A well-planned garden does not look like a series of walls; instead, it appears as a sequenced outdoor room where each layer serves a dual purpose of beauty and protection. Integrating these elements requires a deep understanding of soil health, irrigation infrastructure, and the long-term growth habits of the chosen flora.
Landscape Design Principles
The foundation of a successful cross-pollination barrier lies in visual balance and the strategic use of elevation layers. In a professional landscape, we utilize the rule of thirds to place focal points, ensuring that high-density barriers do not overwhelm the line of sight. Symmetry can be employed to create formal “isolation rooms” within a larger backyard, using Boxwood or Arborvitae to frame central planting beds. By varying the height of the plantings, we create a stepped effect. The lowest layer consists of the seed crops themselves, followed by a mid-tier of flowering perennials that attract pollinators away from the crop, and finally, a high-tier perimeter of tall, dense evergreens. This verticality ensures that windborne pollen is forced upward, into different air currents, while insects find nectar sources in the outer layers before reaching the interior.
Walkways and circulation paths are equally vital to the design. A well-placed Stone path or Decomposed granite walkway provides a clean break between isolation zones, reducing the likelihood of physical seed transfer during maintenance. These hardscaped areas also act as heat sinks, which can influence the microclimate by warming the soil earlier in the spring. Irrigation planning must be centralized to ensure that high-maintenance barriers receive adequate hydration without over-saturating the sensitive seed crops. By using Drip irrigation lines with individual zone controls, the architect can maintain precise moisture levels. This prevents the fungal issues often associated with the high humidity found in the center of dense, walled-off garden spaces.
Plant and Material Selection
| Plant Type | Sun Exposure | Soil Needs | Water Demand | Growth Speed | Maintenance Level |
| :— | :— | :— | :— | :— | :— |
| Arborvitae | Full Sun to Partial | Well-drained | Moderate | Medium | Low |
| Clumping Bamboo | Full Sun | Rich, Moist | High | Fast | Moderate |
| Privet Hedge | Full Sun to Shade | Adaptable | Low | Fast | High (Pruning) |
| Switchgrass | Full Sun | Sandy to Clay | Low | Fast | Low |
| Juniper | Full Sun | Well-drained | Low | Slow | Very Low |
| Corn (Non-Pure) | Full Sun | Nitrogen Rich | Moderate | Fast | Low (Trap Crop) |
Implementation Strategy
The successful implementation of a barrier system begins with a detailed survey of the existing site grading. Proper grading ensures that water flows away from the base of the barriers to prevent root rot, which is common in high-density plantings. Before any plants go into the ground, we utilize Trenching shovels to establish the perimeter of each isolation zone. We recommend a trench depth of at least 12 inches for installing Steel edging or Plastic root barriers, particularly if using aggressive species like Privet. This physical edging prevents the root systems of the barrier plants from competing with the nutrients required by the seed crops.
Once the hard edges are set, soil preparation is the next priority. Adding 3 inches of organic compost to the barrier zones will accelerate the growth of the screen. For windbreak functionality, the plants should be staggered in a “zigzag” pattern rather than a straight line. This configuration provides a more effective air filter and eliminates gaps that occur as the plants age and lose lower foliage. After planting, a layer of 4 inches of wood chip mulch should be applied across the entire area. Mulch suppresses weeds and retains moisture, but more importantly, it creates a clean aesthetic that Ties the various zones together. For drainage, ensure the ground slopes at least 2 percent away from the center of the garden to prevent puddling during heavy rainfall.
Common Landscaping Failures
The most frequent error in building cross-pollination barriers is improper plant spacing. Overcrowding plants to achieve an “instant” screen often leads to poor air circulation and the rapid spread of powdery mildew. In a professional setting, we adhere to the maximum spread specifications for each species. While the barrier may look thin in the first year, it will be healthier and more effective once the canopy closes naturally. Another failure involves soil compaction during the construction phase. Heavy equipment or repeated foot traffic can collapse the soil structure, making it difficult for the barrier plants to establish deep, stable root systems. We typically use Aeration tools to fix compacted earth before the final planting begins.
Irrigation inefficiencies also compromise seed purity indirectly. If a barrier plant dies due to underwatering, it leaves a “pollen gap” that can remain open for years while the replacement plant matures. Conversely, overwatering can cause the barrier to grow too soft and succulent, making it susceptible to wind damage. Finally, many gardeners ignore the impact of root competition. Large evergreens or Bamboo can send lateral roots into the seed beds, robbing the pure seeds of the phosphorus and potassium needed for high-quality seed production. Installing a Root barrier at the time of planting is the only reliable way to prevent this encroachment.
Seasonal Maintenance
Spring maintenance focuses on structural integrity and growth stimulation. This is the optimal time to use Pruning shears to shape the heights of the barriers. You should clear any debris from the Drainage grates and check the Irrigation timers for battery life and program accuracy. As the first pollinator waves appear, ensure that your trap crops, the sacrificial plants designed to lure insects away, are healthy and flowering. In the summer, the priority shifts to hydration. Deep watering twice a week is preferable to shallow daily misting, as it encourages roots to grow deeper, making the barrier more resilient against summer storms.
During the autumn, the focus moves to containment and cleanup. Remove any spent plant material from the seed beds to prevent the overwintering of pests. This is also the time to replenish Mulch layers and check for any gaps in the barrier caused by summer die-back. Winter is the season for structural evaluation. Without leaves, deciduous barriers are exposed, allowing you to see the branch architecture. Use this time to remove any diseased wood and to plan for new additions in the spring. If you are in a climate with heavy snow, use Burlap wraps to protect young evergreen barriers from “winter burn” caused by cold winds and reflective sun.
Professional Landscaping FAQ
How tall should a cross-pollination barrier be?
A barrier should be at least 2 feet taller than the crops it is protecting. For wind-pollinated species, a 10-foot screen is ideal to lift the pollen into higher air currents and away from the receptive flowers.
Can I use hardscaping as a pollen barrier?
While a Brick wall or Wooden fence provides an immediate physical block, they create turbulence. Solid walls cause air to tumble over the top, whereas vegetative barriers filter and slow the air, which is generally more effective for seed purity.
What is a trap crop in this context?
A trap crop is a highly attractive flowering plant, such as Sunflowers or Zinnias, placed on the outer perimeter. It encourages bees to unload foreign pollen and feast on nectar before they ever reach the protected seed area inside.
Is mulch necessary for seed isolation?
Yes. Organic mulch at a depth of 3 to 4 inches prevents “puddle splashing,” where soil-borne pathogens or dropped seeds from foreign plants are splashed up onto your pure crops during heavy rains or overhead irrigation sessions.
How do I prevent root rot in thick hedges?
Install a French drain or ensure the area is properly Graded at a 2 percent slope. Thick barriers create shade and hold moisture, so the soil must have excellent vertical drainage to keep the root systems healthy and functional.