
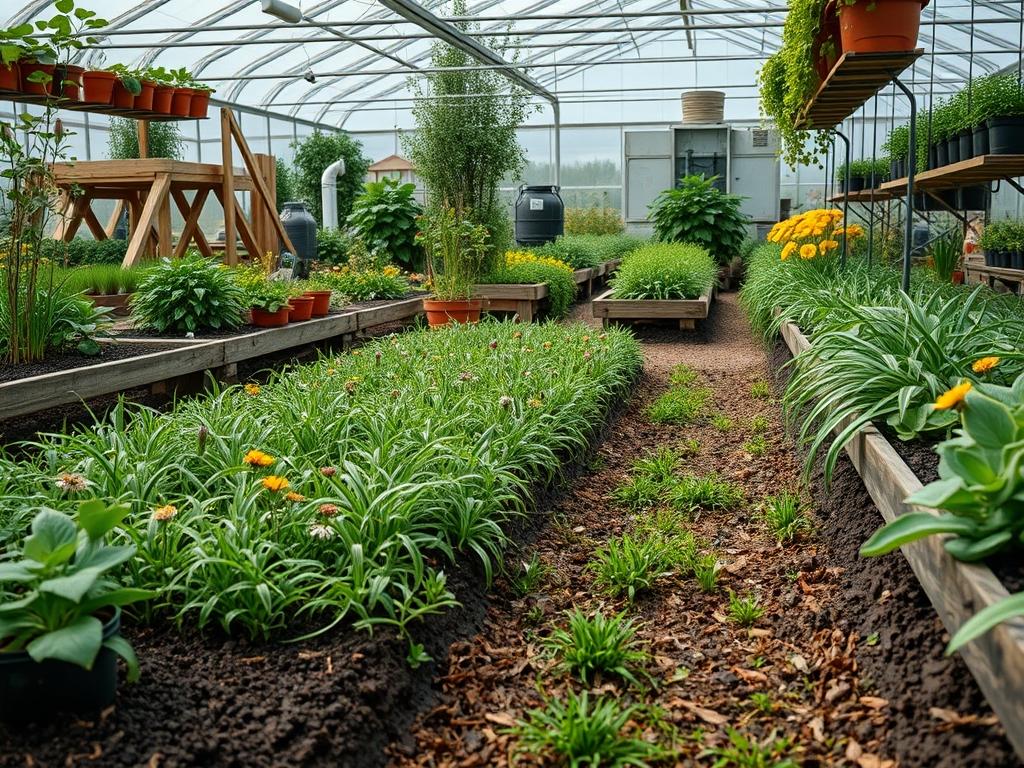
Traditional turf lawns present a persistent challenge for the modern homeowner and the professional landscape architect alike. High water requirements, chemical dependency, and the relentless need for weekly mowing create a high-maintenance environment that often lacks ecological value. While traditional seeding is a common alternative, the long waiting period for establishment often results in erosion or weed encroachment. The solution lies in the development of Native Wildflower Sod. This technique involves pre-growing a dense mat of indigenous species on a temporary substrate, allowing for immediate installation and instant curb appeal. By treating wildflowers as a modular sod product, we can bypass the vulnerable early growth stages and provide an outdoor space with immediate functionality and visual complexity. This approach addresses common climate considerations such as drought and heat stress by utilizing species that have evolved to thrive in local conditions without supplemental fertilizers.
Landscape Design Principles
Integrating Native Wildflower Sod into a professional landscape requires more than just scattering seeds across a yard. It demands an understanding of visual balance and structural hierarchy. Symmetry often plays a vital role in formal entryways, where wildflower mats can be edged with sharp, geometric hardscaping to create a contrast between organic textures and clean lines. Using focal points is equally important. A central sculpture, a large specimen tree, or a water feature can anchor the space, preventing the diverse textures of the wildflowers from appearing disorganized. By surrounding these anchors with wildflower sod, you create a soft, undulating foreground that draws the eye toward the intended destination.
Elevation layers are another critical component of a professional plan. Wildflower sod should generally occupy the lower or middle tiers of the landscape. When planning the layout, ensure that taller shrubs and perennials are placed in the background or at the perimeter to prevent the lower-growing sod from being obscured. Visual balance is achieved by repeating specific flower colors or foliage textures across different zones of the property. This repetition creates a sense of cohesion even when the plant palette is diverse. Additionally, irrigation planning must be integrated into the initial design. Even though native plants are drought-tolerant once established, the initial sod layers require precise moisture management during the first few weeks of installation to ensure the roots penetrate the underlying soil horizon.
Walkways and circulation paths should be defined before any sod is laid. Using materials such as crushed limestone, decomposed granite, or flagstone can create a clear boundary for the wildflower area. These paths serve a dual purpose: they provide access for maintenance and they act as a firebreak or a “neatness frame” that signals the intentionality of the design. A well-defined edge, whether made of steel, brick, or stone, helps the native sod look like a deliberate garden feature rather than an untended meadow.
Plant and Material Selection
| Plant Type | Sun Exposure | Soil Needs | Water Demand | Growth Speed | Maintenance Level |
| :— | :— | :— | :— | :— | :— |
| Purple Coneflower | Full Sun | Well-drained | Low | Moderate | Low |
| Black-eyed Susan | Full to Part Sun | Adaptable | Moderate | Fast | Low |
| Little Bluestem | Full Sun | Sandy/Loamy | Very Low | Moderate | Low |
| Lanceleaf Coreopsis | Full Sun | Poor to Average | Low | Fast | Minimal |
| Wild Bergamot | Full to Part Sun | Moist to Dry | Moderate | Fast | Moderate |
| Blue Grama Grass | Full Sun | Well-drained | Low | Moderate | Minimal |
Implementation Strategy
The process for creating Native Wildflower Sod begins with site preparation and the construction of a growing medium. To grow sod that can be moved or rolled, you must first lay down a barrier, such as heavy-duty landscape fabric or plastic sheeting, over a flat surface. This prevents the roots from anchoring deep into the earth and instead encourages them to intertwine into a moveable mat. On top of this barrier, spread a 2 inch layer of a specialized growing medium consisting of a 50/50 mix of weed-free compost and coarse sand. This provides the necessary drainage and nutrients for rapid germination.
Once the medium is leveled, sow a dense mixture of native seeds. For a true sod effect, the seeding rate should be roughly double what is recommended for a standard meadow planting. After seeding, cover the area with a thin layer of peat moss or fine mulch to retain moisture. Irrigation should be consistent, using a fine mist to keep the medium damp but not saturated. Within 8 to 12 weeks, the root systems of the various species will have knit together into a solid mat.
While the sod is growing on its nursery bed, you must prepare the final destination in the backyard or garden. Grading is the most critical step. Ensure the area has a 2 percent slope away from any building foundations to facilitate proper drainage. If the soil is heavily compacted, use a rototiller to break up the top 6 inches and incorporate organic matter. Edging should be installed at this stage to provide a clean perimeter. When the sod is ready, it is cut into manageable sections, usually 1 foot by 3 feet, and transported to the prepared site. Lay the sections tightly against one another, ensuring there are no gaps where weeds could take root. Once in place, use a water-filled roller to press the sod into the soil, removing air pockets and ensuring direct root contact.
Common Landscaping Failures
One of the primary causes of failure in native landscaping is poor drainage. If the site is located in a low-lying area where water collects, the roots of many native species will rot, leading to a patchy and unsightly appearance. Professionals must often install French drains or create bioswales to manage excess runoff before laying sod. Another frequent mistake is root overcrowding caused by an incorrect seed mix. If the sod contains too many aggressive species, they will outcompete the slower-growing flowers, resulting in a monoculture of grasses or a single dominant weed.
Soil compaction is a silent killer in new developments. Often, the heavy machinery used in home construction leaves the earth beneath the topsoil as hard as concrete. If the native sod is laid over this compacted layer, the roots will remain shallow, making the plants highly susceptible to drought. Irrigation inefficiencies also contribute to failure. While native sod is hardy, “set it and forget it” mentalities lead to loss. If the irrigation heads are not adjusted to provide uniform coverage, certain sections of the sod will desiccate while others become anaerobic. Finally, the use of high-nitrogen fertilizers is a common error. Native plants are adapted to lean soils; excess nitrogen promotes rapid, weak growth that flops over and attracts pests.
Seasonal Maintenance
Seasonal management ensures the long-term viability of the native sod. In the Spring, the primary task is a high mow. Set your mower to a height of 6 inches to remove the previous year’s dead growth while protecting new shoots. This is also the time to inspect for any invasive species that may have found a gap in the sod mat. Hand-pulling these early prevents them from setting seed.
During the Summer, maintenance is minimal. Monitor the landscape for extreme drought. While these plants are resilient, an occasional deep soak during a heatwave will keep the foliage looking lush for curb appeal. Avoid deadheading every flower, as many native species provide essential nectar for pollinators during the peak of summer.
In the Autumn, allow the plants to go to seed. The dried seed heads and stalks provide structural interest and food for local bird populations. This is also the best time to apply a thin layer of fine mulch or leaf mold to the base of the plants to protect the crowns from freezing temperatures.
Winter maintenance is mostly aesthetic. Leave the stalks standing until late winter to provide habitat for nesting insects. If the landscape looks too cluttered, you can perform a “structural prune” by cutting back only the most tattered stems. This maintains a sense of order while still supporting the local ecosystem.
Professional Landscaping FAQ
Can I grow wildflower sod directly on top of my existing grass?
No. Existing turf must be removed or killed using sheet mulching. If you ignore this step, the aggressive turf grass will grow through your new wildflower mat, leading to an inextricable and messy competition for nutrients and sunlight.
How long does it take for native sod to become fully established?
While the visual impact is immediate, it takes a full growing season for the roots to penetrate the native soil. During this first year, consistent monitoring and occasional deep watering are required to ensure the sod remains resilient against heat.
What is the best way to prevent weeds in my wildflower sod?
The best defense is a dense planting. By seeding at a higher rate when growing the sod, you create a thick canopy that shades out weed seeds. Using weed-free compost in your growing medium is also a vital preventative measure.
Do I need to fertilize my native wildflower sod?
Typically, no. Native species thrive in poor to average soils. Adding synthetic fertilizers often backfires by encouraging leggy growth or favoring invasive weeds over the native plants. A light application of organic compost in the spring is usually sufficient.
Is native wildflower sod suitable for high-traffic areas?
It is not as durable as traditional turf for heavy foot traffic. However, it can handle occasional traffic. For paths used daily, it is best to integrate stepping stones or gravel walkways within the wildflower sod layout to preserve the plants.