
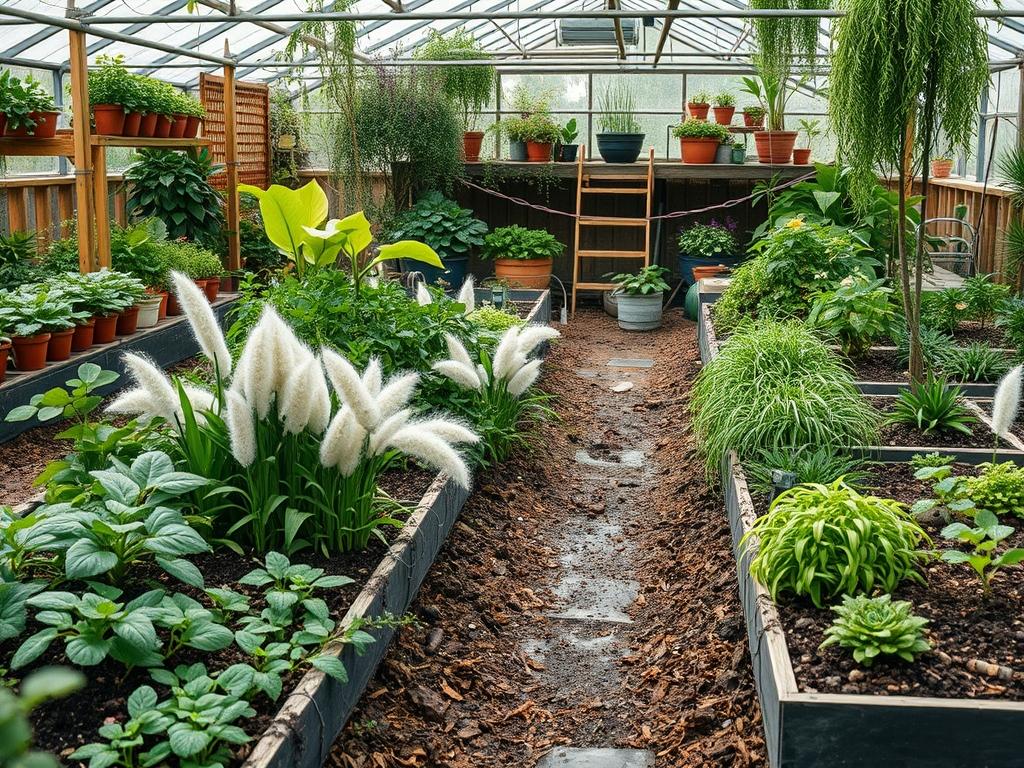
Integrating functional utility with ornamental aesthetics represents the pinnacle of modern landscape architecture. Homeowners increasingly demand environments that offer more than simple curb appeal; they seek productive landscapes that provide tangible resources while maintaining a high standard of design. The intentional cultivation of natural wool dye plants offers a unique opportunity to bridge this gap. By selecting species that yield a full spectrum of pigments, a designer can create a vibrant, multi-layered environment that serves the artisan and the gardener alike. This approach requires a deep understanding of site conditions, from soil acidity to microclimates, ensuring that the botanical palette thrives without compromising the structural integrity of the outdoor living space.
The primary challenge in designing a dye garden lies in the varying growth habits of the species involved. Many traditional dye plants, such as Madder or Woad, possess sprawling or biennial tendencies that can appear unkempt if not properly contained within a structured layout. To mitigate this, a professional consultant must employ strategic zoning. By utilizing Retaining Walls or Raised Beds, a landscape architect can manage root spread and provide the specific drainage requirements many of these species demand. Furthermore, the inclusion of these plants impacts the overall value of the property. A well-executed dye garden demonstrates sophisticated land management and environmental stewardship, factors that resonate deeply in today’s real estate market.
Landscape Design Principles
Successful integration of dye plants depends heavily on the principle of elevation layers. In a professional landscape, plants are organized by height to create visual depth and ensure that every specimen receives adequate sunlight. For instance, tall, statuesque species like Hollyhocks or Elderberry should be positioned at the rear of a border or as central focal points. These serve as the structural backbone of the garden. In front of these, mid-sized shrubs and perennials like Weld or Japanese Indigo provide a dense, leafy texture that fills the mid-ground. Finally, low-growing species such as Coreopsis or St. Johns Wort act as a finishing fringe, softening the transition between the garden bed and the Stone Walkways.
Symmetry and balance play critical roles in keeping a productive garden looking professional. While a wild meadow aesthetic is charming, it often fails in high-end residential settings. To create a sense of order, use repeating patterns of colors and textures. If you plant a cluster of Goldenrod on the left flank of a patio, mirror it with a similar massing on the right. This creates a rhythmic flow that guides the eye. Additionally, the use of hardscaping elements, such as Steel Edging or Paver Borders, provides a crisp line of demarcation. These boundaries prevent the dye garden from bleeding into the primary lawn area, maintaining a manicured appearance regardless of how vigorous the plants grow during the peak season.
Irrigation planning is the silent partner of landscape design. Dye plants have diverse water needs that cannot be satisfied by a single, uniform sprinkler zone. A professional installation should utilize Drip Irrigation systems with programmable timers, allowing for precise moisture delivery to the roots while keeping foliage dry. This is particularly important for plants like Madder, which require consistent moisture for root development, versus drought-tolerant species like Woad. By segmenting the garden into hydro-zones, the landscape architect ensures longevity and minimizes water waste.
Plant and Material Selection
The following table summarizes the essential characteristics of the top ten natural dye plants. Each selection has been vetted for its pigment yield and its ability to contribute to a structured landscape environment.
| Plant Type | Sun Exposure | Soil Needs | Water Demand | Growth Speed | Maintenance Level |
| :— | :— | :— | :— | :— | :— |
| Madder (Rubia tinctorum) | Full Sun | Deep, Sandy Loam | Moderate | Slow/Perennial | Medium |
| Weld (Reseda luteola) | Full Sun | Chalky/Alkaline | Low | Moderate | Low |
| Woad (Isatis tinctoria) | Full Sun | Well-Drained | Low | Fast/Biennial | Medium |
| Japanese Indigo (P. tinctoria) | Partial Shade | Rich, Organic | High | Fast/Annual | High |
| Coreopsis (C. tinctoria) | Full Sun | Poor to Average | Low | Fast/Annual | Low |
| Goldenrod (Solidago) | Full Sun | Adaptable | Low | Fast/Perennial | Low |
| Hollyhocks (Alcea rosea) | Full Sun | Rich, Well-Drained | Moderate | Moderate/Biennial | Medium |
| St. Johns Wort (H. perforatum) | Full/Part Sun | Sandy/Rocky | Low | Moderate | Low |
| Stinging Nettle (Urtica dioica) | Part Shade | Nitrogen Rich | High | Fast/Perennial | High |
| Elderberry (Sambucus nigra) | Full/Part Sun | Moist/Rich | Moderate | Fast/Shrub | Medium |
Implementation Strategy
The transition from a design concept to a physical garden requires a meticulous implementation phase. Begin with professional grading. The land must be sloped at a minimum of 2 percent away from the home’s foundation to prevent water pooling. If the site is naturally flat, consider the installation of a French Drain or a subterranean gravel bed to facilitate rapid drainage. Natural dye plants are particularly susceptible to root rot if they sit in stagnant water during the winter months.
Once the grade is established, define the garden beds using a Spade or an Edging Tool. For a permanent, high-end look, install Stone Edging set in a 2-inch bed of leveling sand. This prevents grass from encroaching on the dye plants. Soil preparation should involve amending the native earth with at least 3 inches of organic compost. For plants like Madder, which is harvested for its roots, ensure the soil is tilled to a depth of 12 inches and is free of large stones. This allows the roots to grow straight and deep, which maximizes the pigment concentration.
Planting should occur in the spring after the final frost. Space the plants according to their mature width to avoid the common mistake of overcrowding. Once the plants are in the ground, apply a 4-inch layer of Mulch, such as shredded cedar or pine bark. This layer is essential for moisture retention, weed suppression, and temperature regulation. In areas with high wind exposure, consider installing a Trellis or Support Stakes for taller species like Hollyhocks to prevent them from toppling during summer storms.
Common Landscaping Failures
The most frequent failure in a dye garden is the neglect of root management. Perennials like Stinging Nettle and Madder are incredibly resilient but can become invasive if left unchecked. Without a Polyethylene Root Barrier buried 18 inches deep, these plants may colonize the entire garden, choking out more delicate species like Japanese Indigo. Architects must plan for this expansion during the initial layout to prevent future maintenance headaches.
Input inefficiencies also plague many amateur landscapes. This often manifests as improper spacing, which leads to poor air circulation. When plants are too close, humidity levels rise, creating a breeding ground for powdery mildew and fungal infections. This is devastating for dye quality, as stressed plants often produce inferior pigment. Furthermore, soil compaction is a silent killer. Heavy foot traffic directly on garden beds collapses the air pockets in the soil, suffocating roots. Designing dedicated Walkways made of flagstone or crushed granite ensures that the soil remains aerated and productive.
Seasonal Maintenance
Landscape management is a year-round commitment. In the spring, the focus is on rejuvenation. Tasks include removing winter debris, checking the Drip Irrigation for leaks, and applying a slow-release organic fertilizer. This is also the time to thin out seedlings if you are growing biennials like Woad to ensure the strongest plants have room to thrive.
Summer maintenance centers on hydration and pest control. During heat waves, monitor the Japanese Indigo closely, as its high water demand makes it the “canary in the coal mine” for the rest of the garden. Deadheading spent blooms on Coreopsis will encourage a second flush of flowers, extending your harvest and the garden’s visual appeal. As autumn arrives, it is time for the harvest. Many dye plants, especially those used for their roots or berries, are ready when the foliage begins to yellow. After harvesting, cut back perennials and apply a fresh layer of Mulch to protect the crowns from freezing temperatures.
Winter is the season for structural assessment. With the foliage gone, the “bones” of the landscape are visible. Use this time to repair any shifting Retaining Walls or to prune the Elderberry shrubs. Dormant pruning encourages vigorous new growth in the spring, which is vital for plants that produce dye on new wood.
Professional Landscaping FAQ
How do I choose between annual and perennial dye plants?
Perennials like Madder provide long-term structure but require years to mature for harvest. Annuals like Japanese Indigo offer immediate results and flexibility. A professional design blends both to ensure year-round interest and a continuous supply of dye materials.
Can I grow dye plants in a small urban backyard?
Absolutely. Utilizing Vertical Gardening techniques and Large Planters allows you to grow species like Hollyhocks or Woad in limited footprints. Focus on high-yield plants and maintain strict pruning habits to keep the space organized and functional.
What is the best way to prevent weeds in a dye garden?
A combination of Physical Barriers and Mulching is most effective. Use a heavy-duty landscape fabric under Walkways and maintain a consistent 4-inch Mulch layer in planting beds. Hand-pulling weeds early in the spring prevents them from setting seed.
How does soil pH affect my dye garden?
Soil chemistry significantly influences plant health and pigment intensity. For example, Weld prefers alkaline conditions, while others are more neutral. Conduct a soil test and use Sulfur or Lime to adjust the pH in specific zones of your garden.
Do natural dye plants require heavy fertilization?
Most dye plants thrive in average soil; over-fertilization can actually lead to lush foliage with very little pigment concentration. Use a Balanced Organic Fertilizer sparingly in the spring, focusing more on soil structure and microbial health than high nitrogen inputs.